Every click, in order. With a picture of each one.
Written for someone who has never installed a trading program before. Follow it top to bottom. Nothing here needs you to know what any of the words mean in advance — where a word matters, it is explained the first time it appears. Budget an hour. You can stop at any point and pick up later; your progress is kept.
▶Prefer to watch?
The same walkthrough as a narrated video, 24 minutes, every click from the download to the first practice trade: watch the setup guide. Right-click to save it if you would rather keep a copy.
1What you need before you start
A Windows PC that can stay on. Windows 10 or 11. Threepio runs on your machine, not in the cloud, so the machine has to be awake while the markets are open. A laptop is fine if it is plugged in and not set to sleep. On a Mac, or if you would rather not leave a PC on, a small rented Windows machine (a "VPS") works — the Setup page covers that.
Your delivery email. It holds your licence key (a code you paste once, during install) and the download link. Keep it open in another window.
NinjaTrader 8, free. This is the trading platform Threepio talks to for futures. You do not need a
funded account or a prop firm to start: NinjaTrader gives everyone a free practice account called
Sim101, and that is exactly what Threepio practises on. Section 5 installs it.
2Download and install
Click the download link in your delivery email. A file called
MillenniumFalcon-Setup-<version>.exe downloads. It is large (about a quarter of a gigabyte),
so give it a minute.
If your browser says the file "is not commonly downloaded and may be dangerous", keep it. Click the three dots beside the download, then Keep, then Keep anyway. Windows shows this for any program it has not seen many times before; it is not a virus warning.
Open the downloaded file. A blue box says "Windows protected your PC" and shows only a Don't run button. Click the small More info link; a Run anyway button appears. Click that.
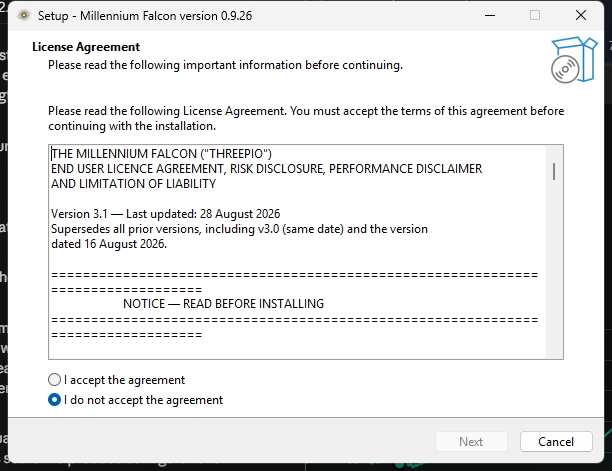
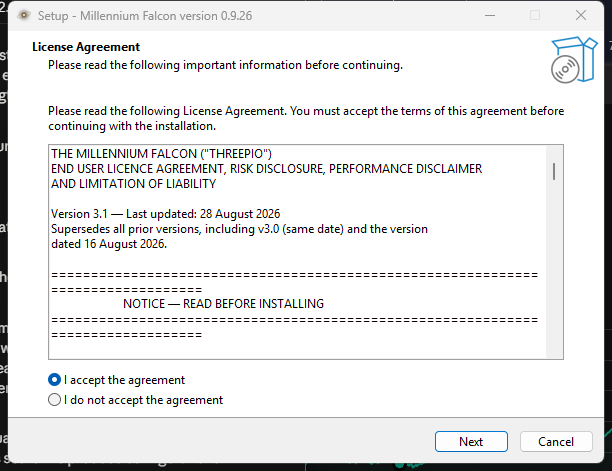
The installer opens on the licence agreement. Read it, click I accept the agreement, then Next. The version and date at the top of the text are the agreement's own (it was last revised on 28 August), not the software's — every installer shows the same agreement.
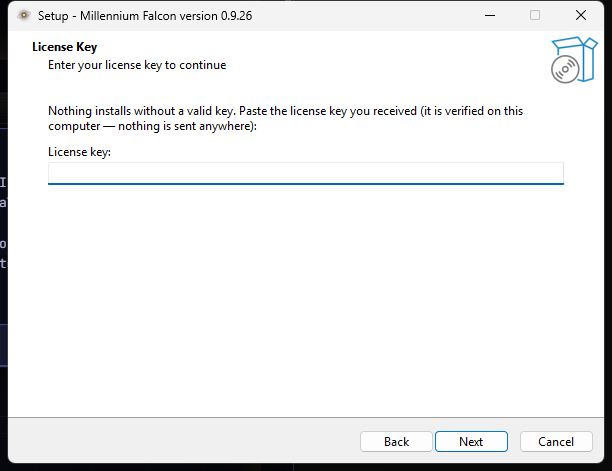
Paste your licence key. Copy it from the delivery email and paste it into the box. No spaces before or after, no line break. Then Next. The key is checked on your computer; nothing is sent anywhere. If it is refused, the usual cause is a stray space picked up when copying — delete and paste again. (Updating over an existing install? This page is skipped; your key is already there.)
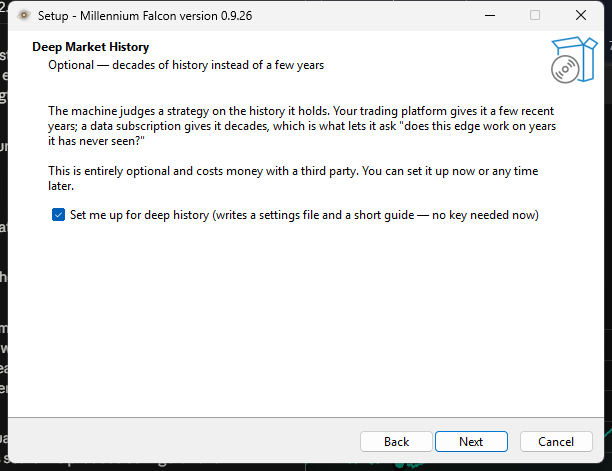
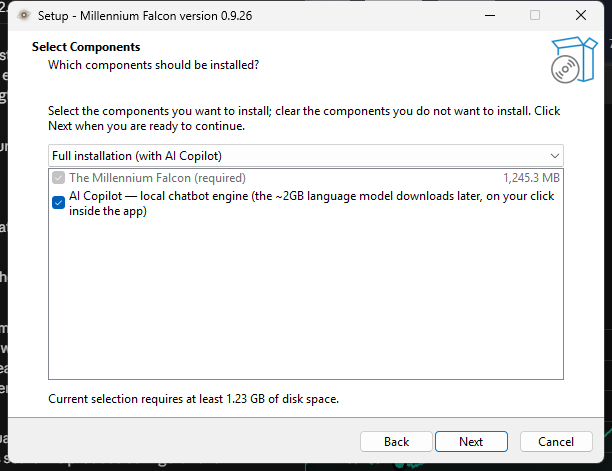
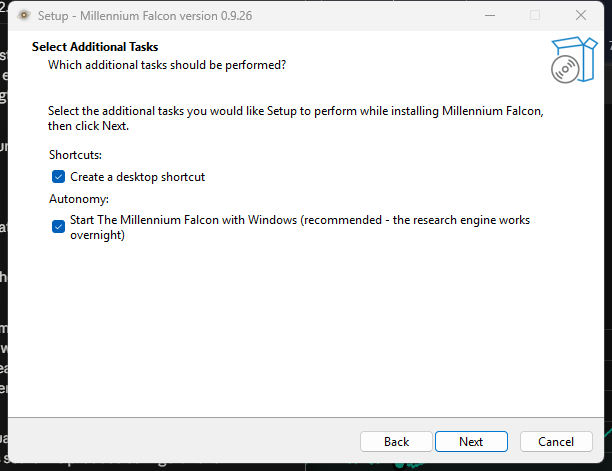
Three quick pages you can leave as they are. Deep Market History is optional — leave it unticked for now (it is about a paid data subscription for decades of history; you can set it up later). Select Components: keep Full installation (with AI Copilot). Additional Tasks: keep the defaults. Click Next on each.
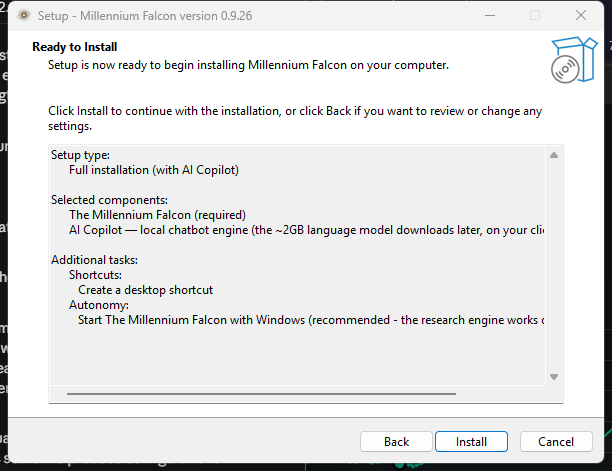
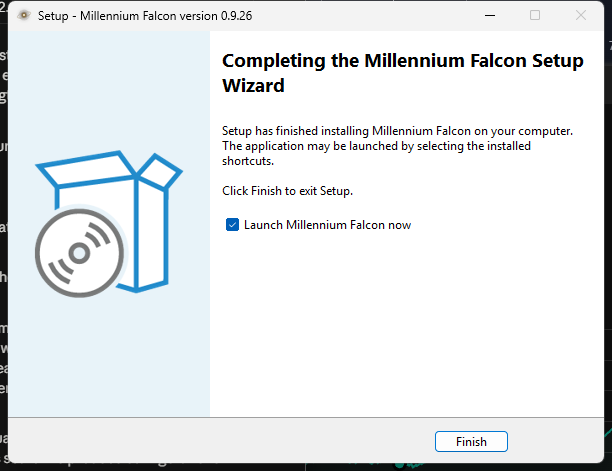
Click Install, then Finish. The Ready page shows what it is about to do; click Install and wait (a couple of minutes — it is a large program). On the last page leave Launch Millennium Falcon now ticked and click Finish. Threepio opens in its own window — no browser, no address bar.
3The first start and the tutorial
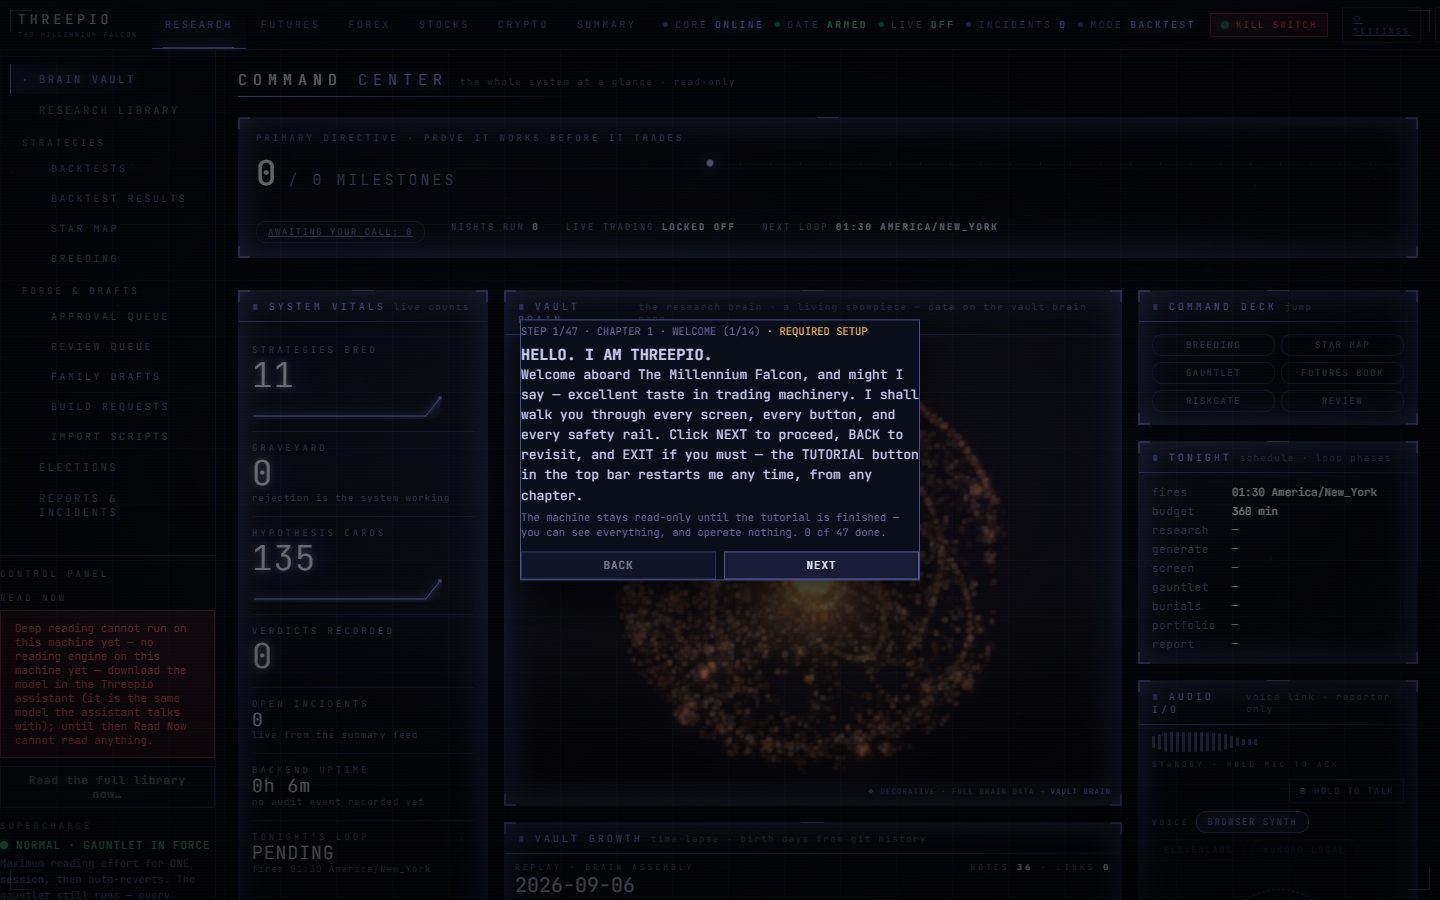
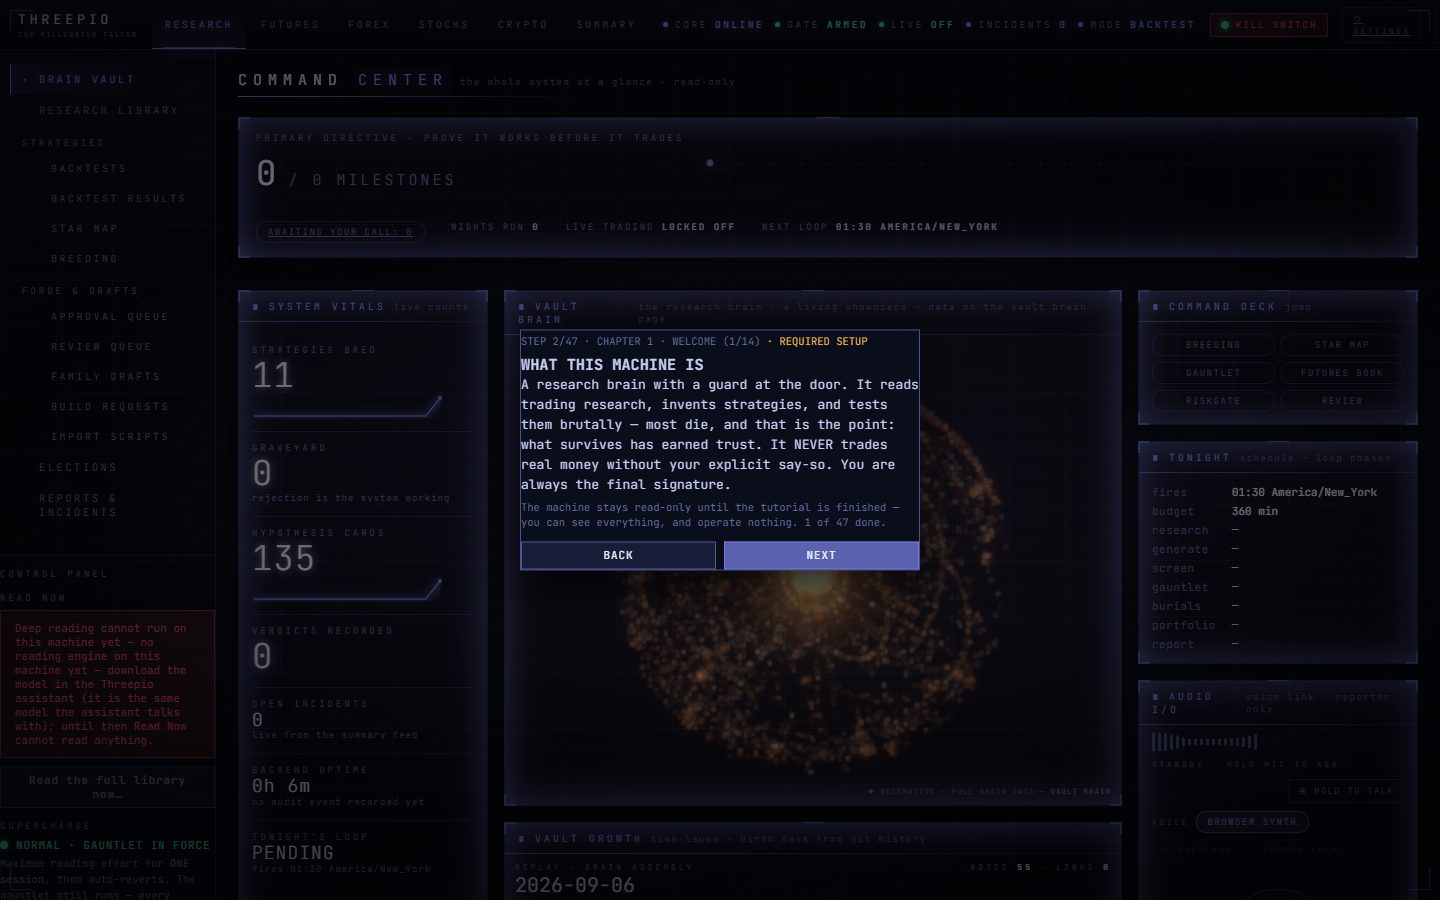
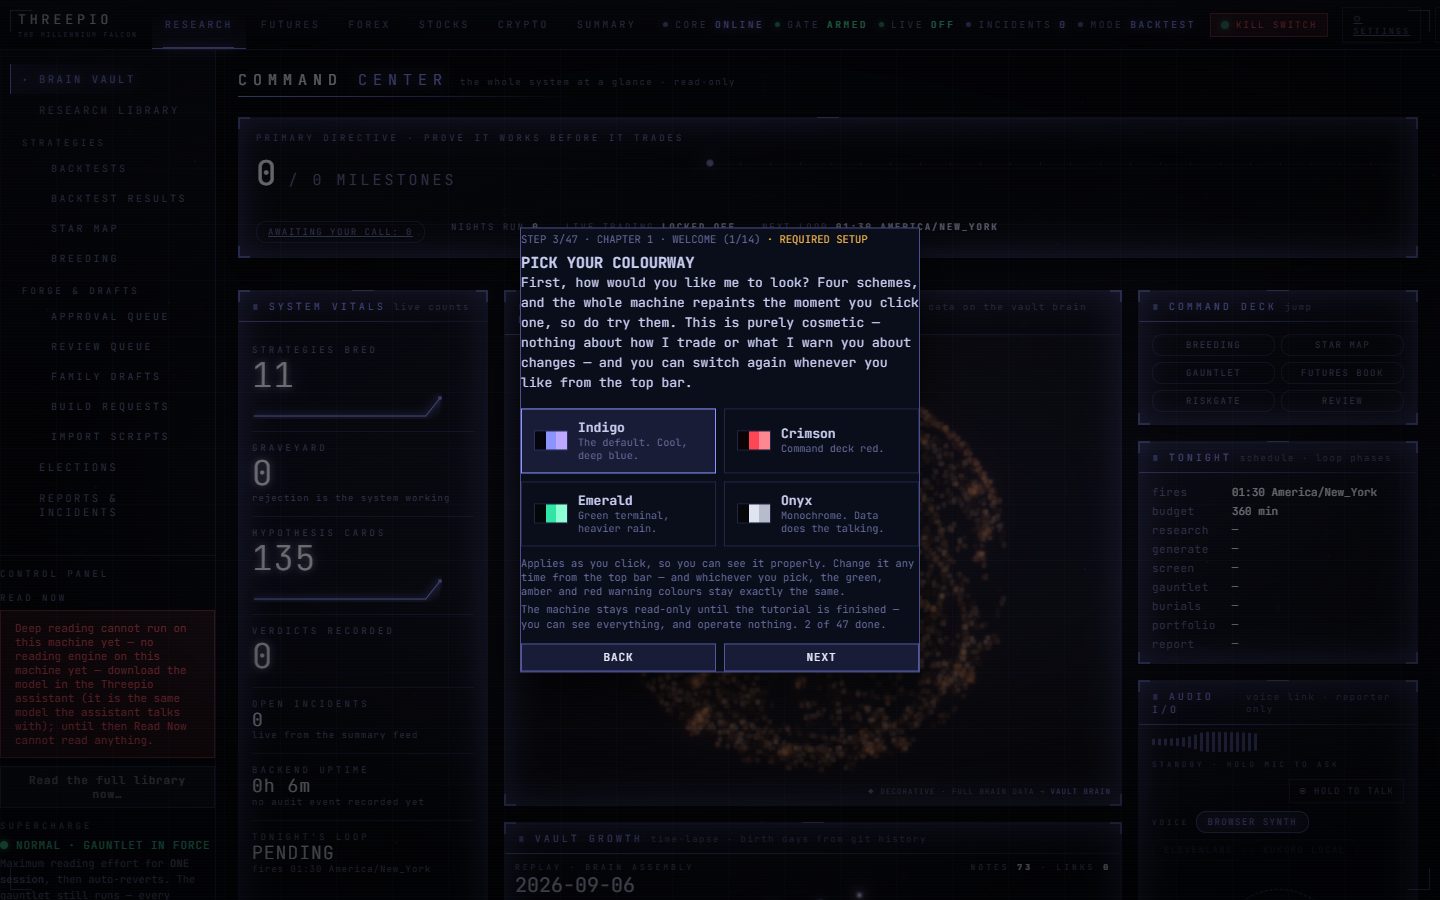
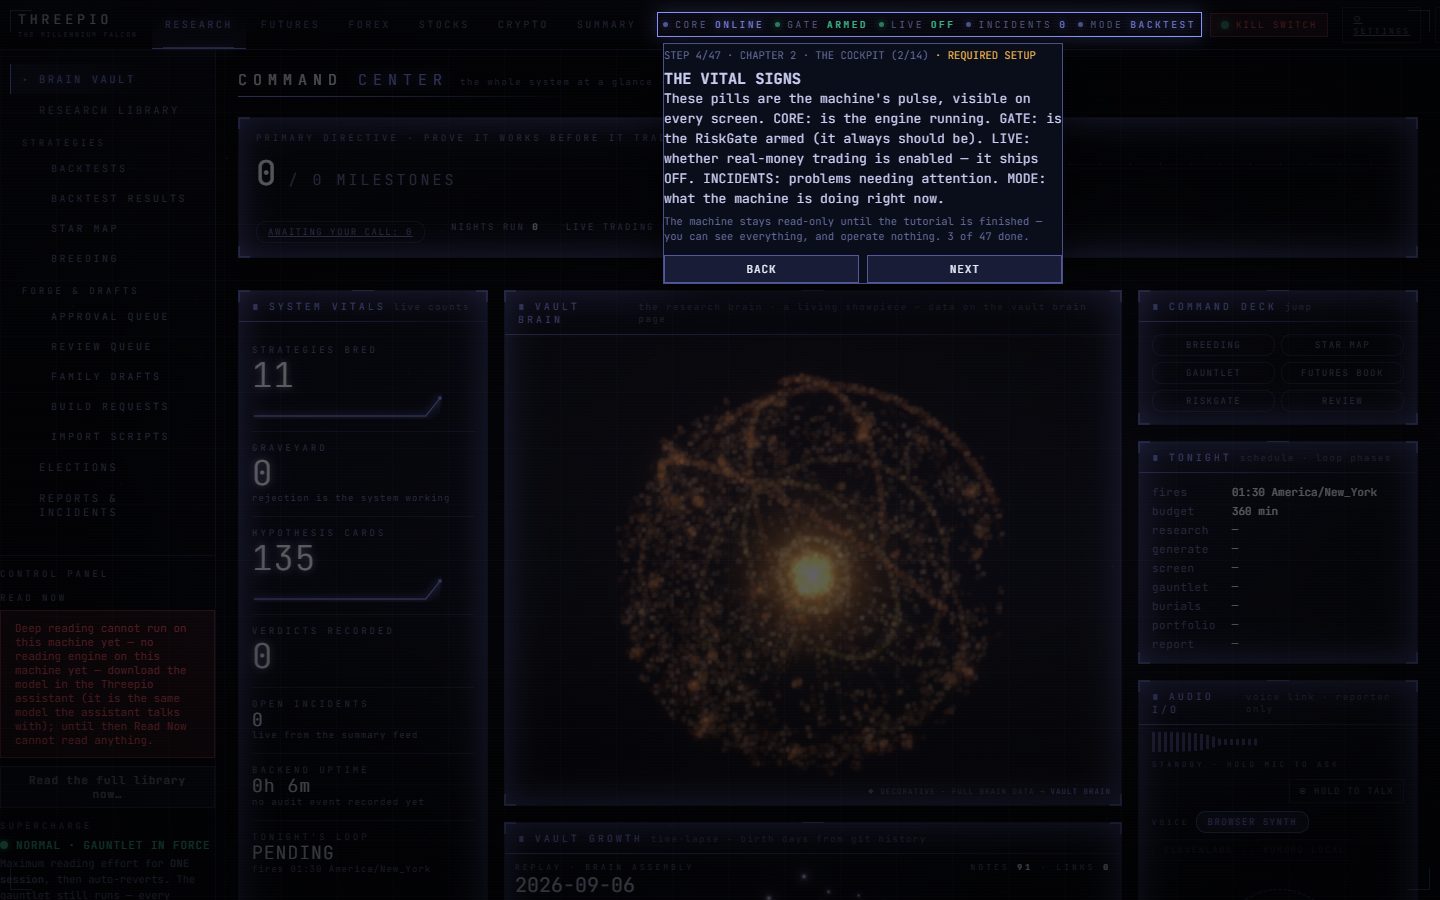
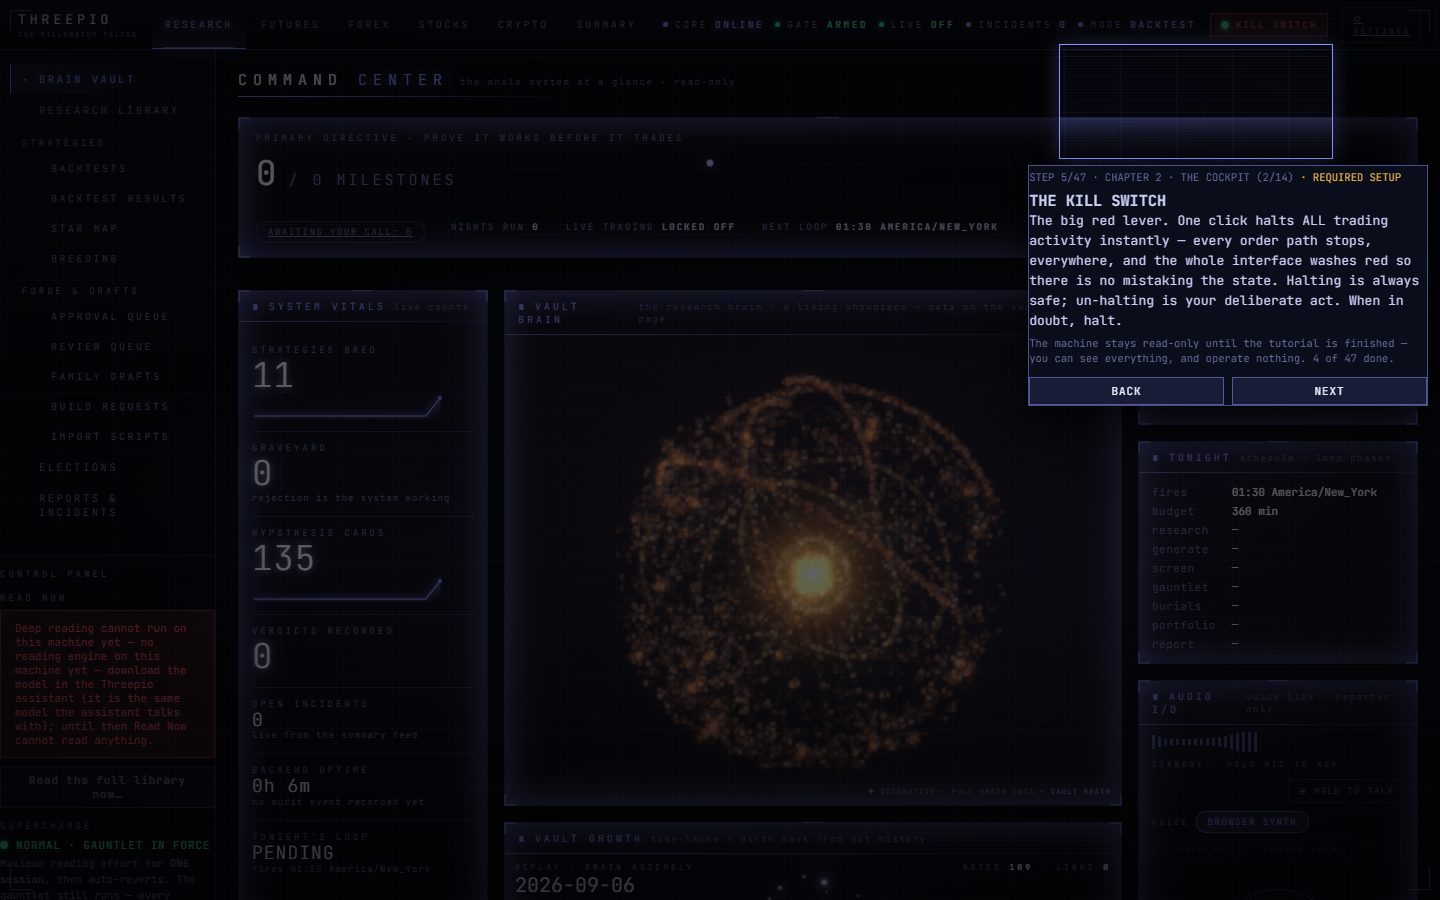
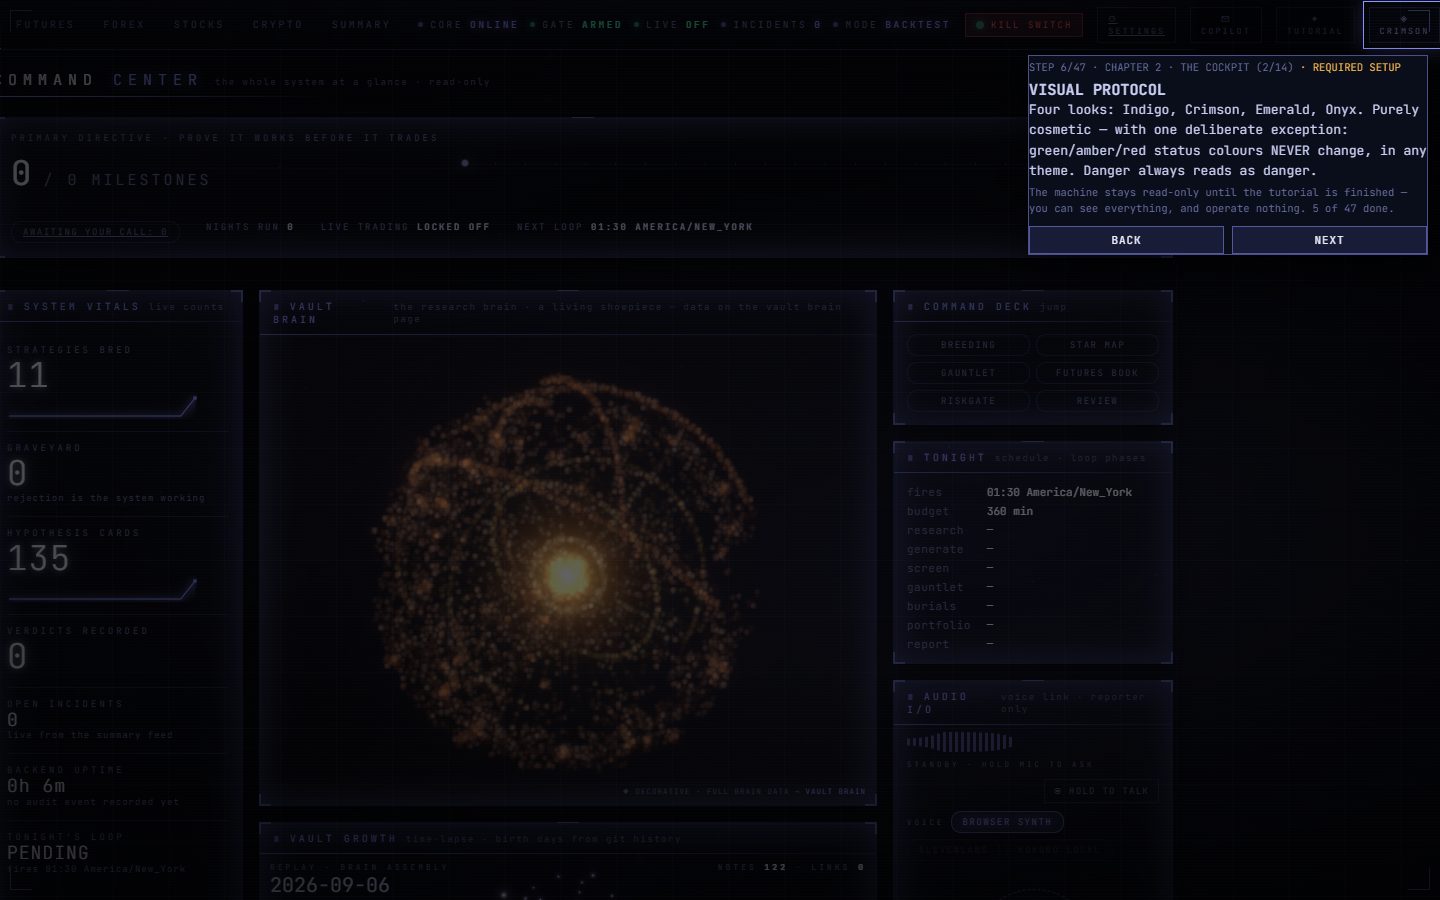
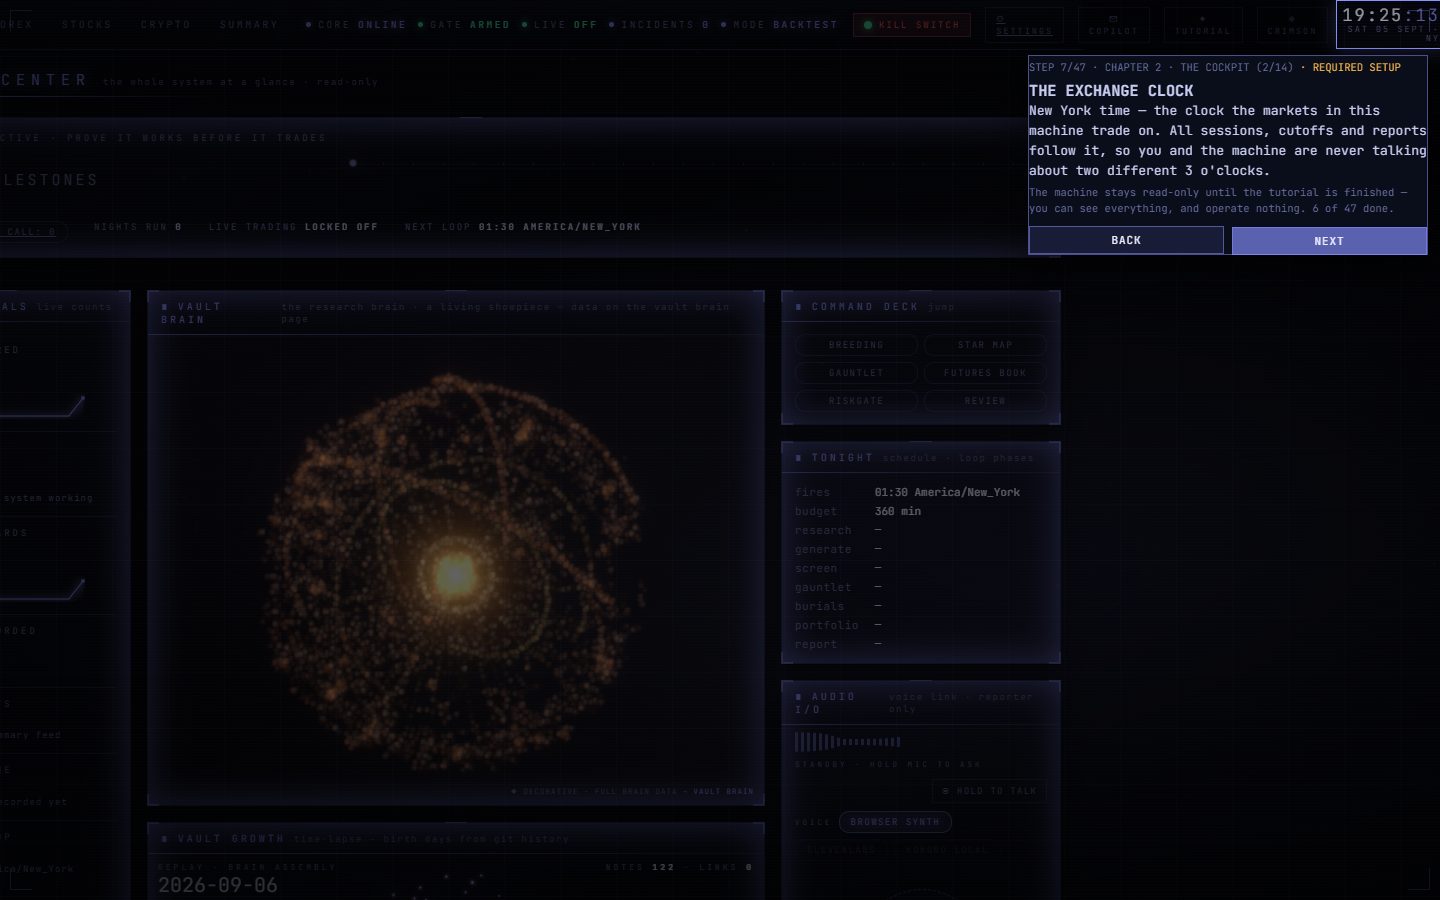
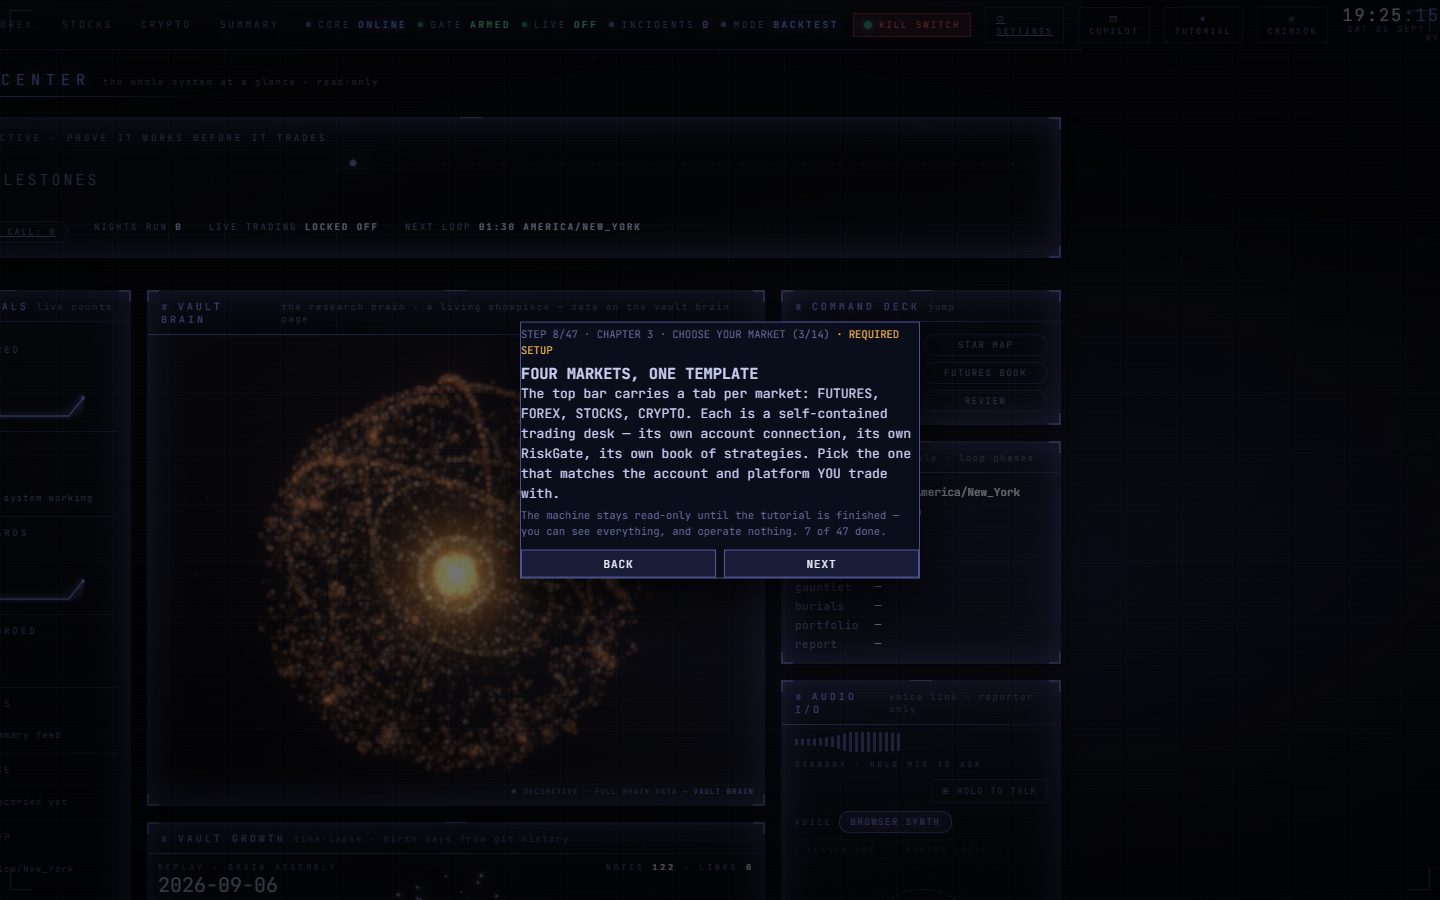
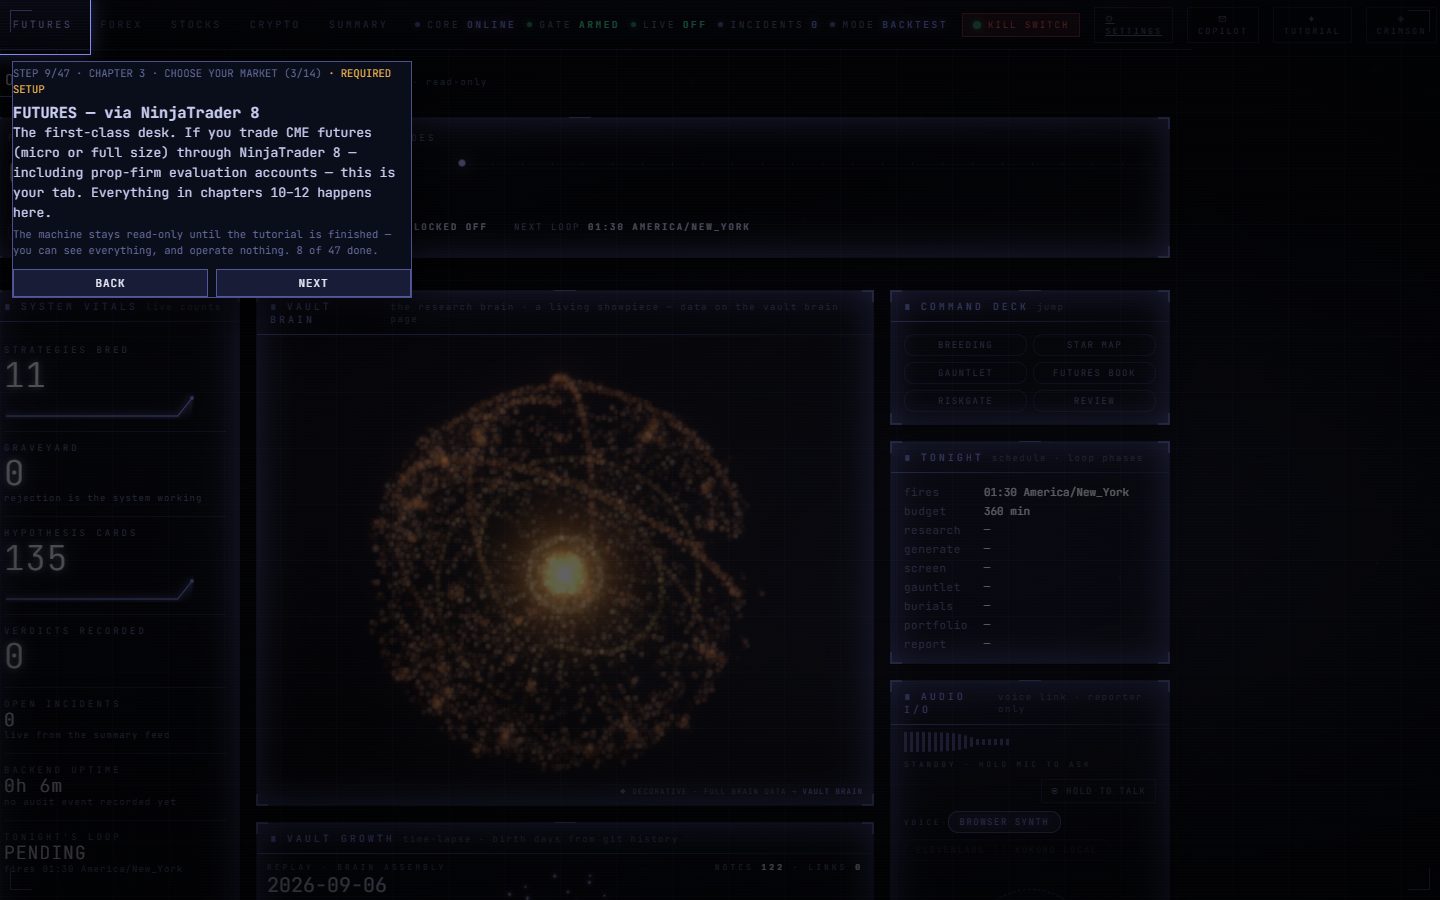
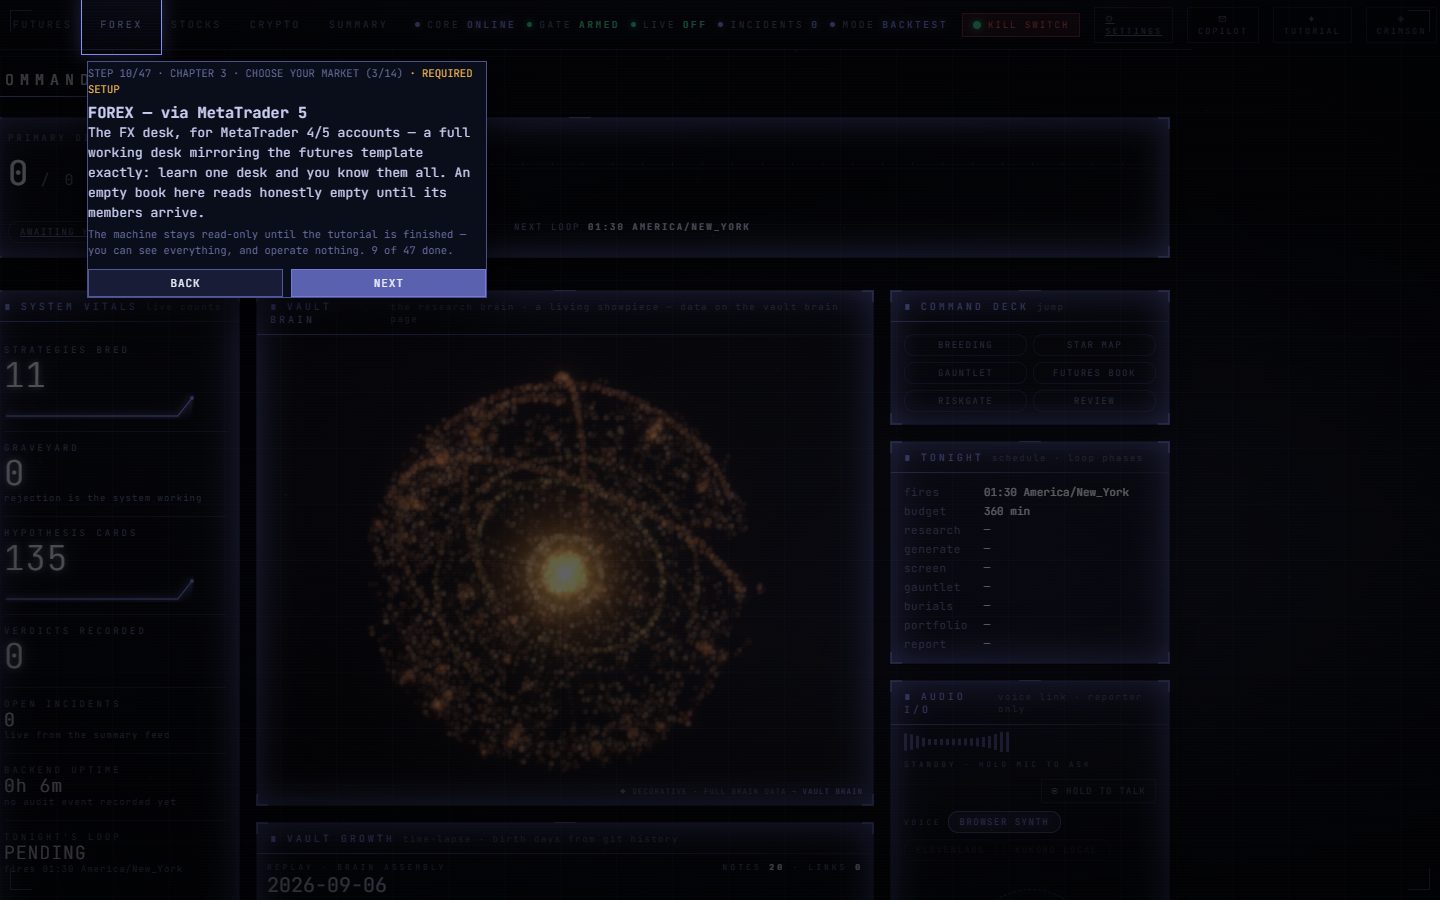
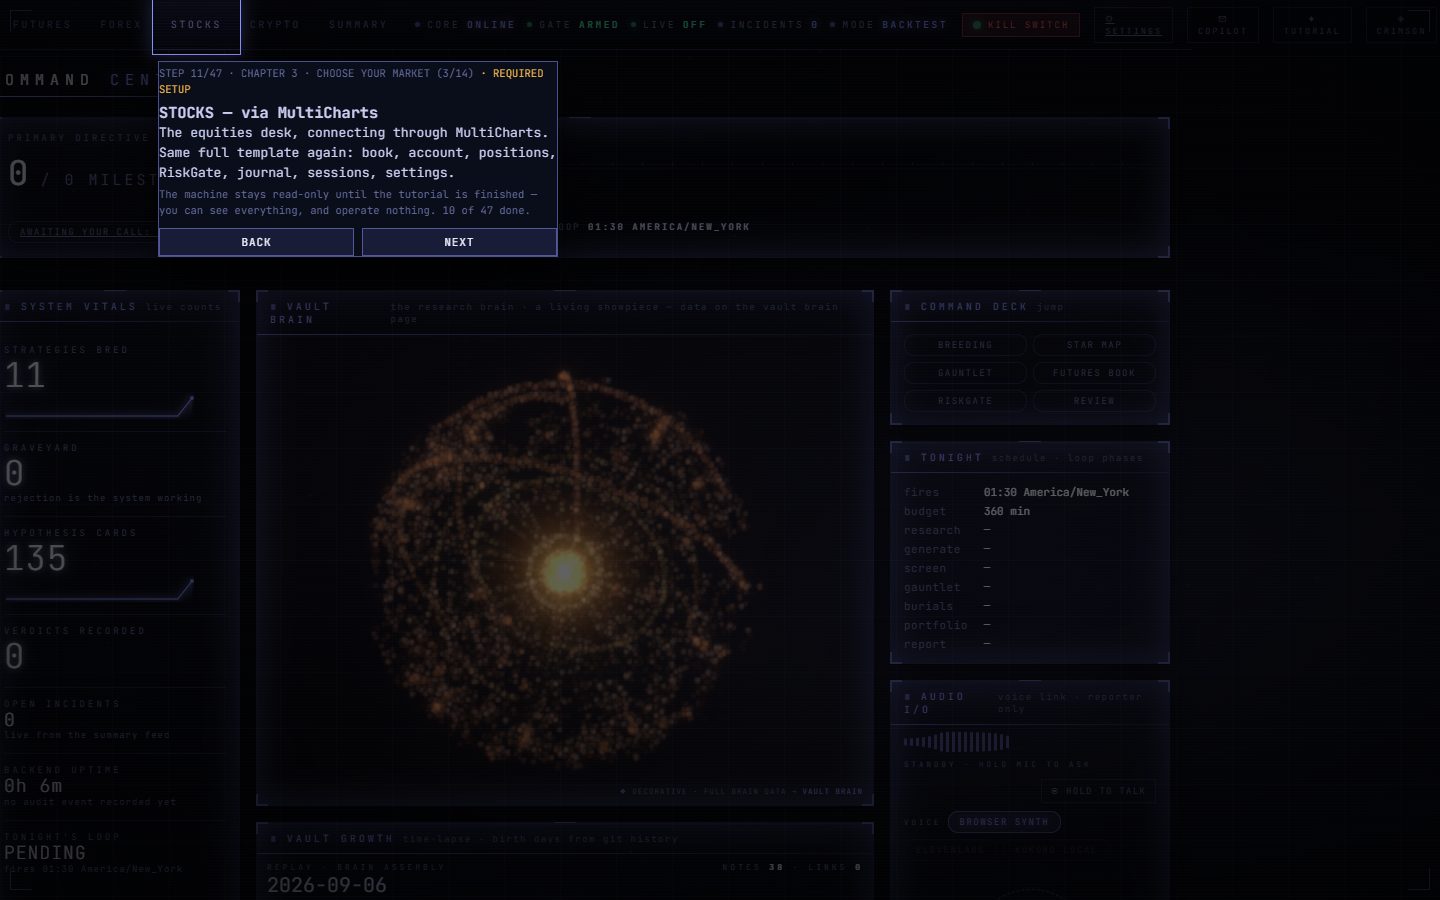
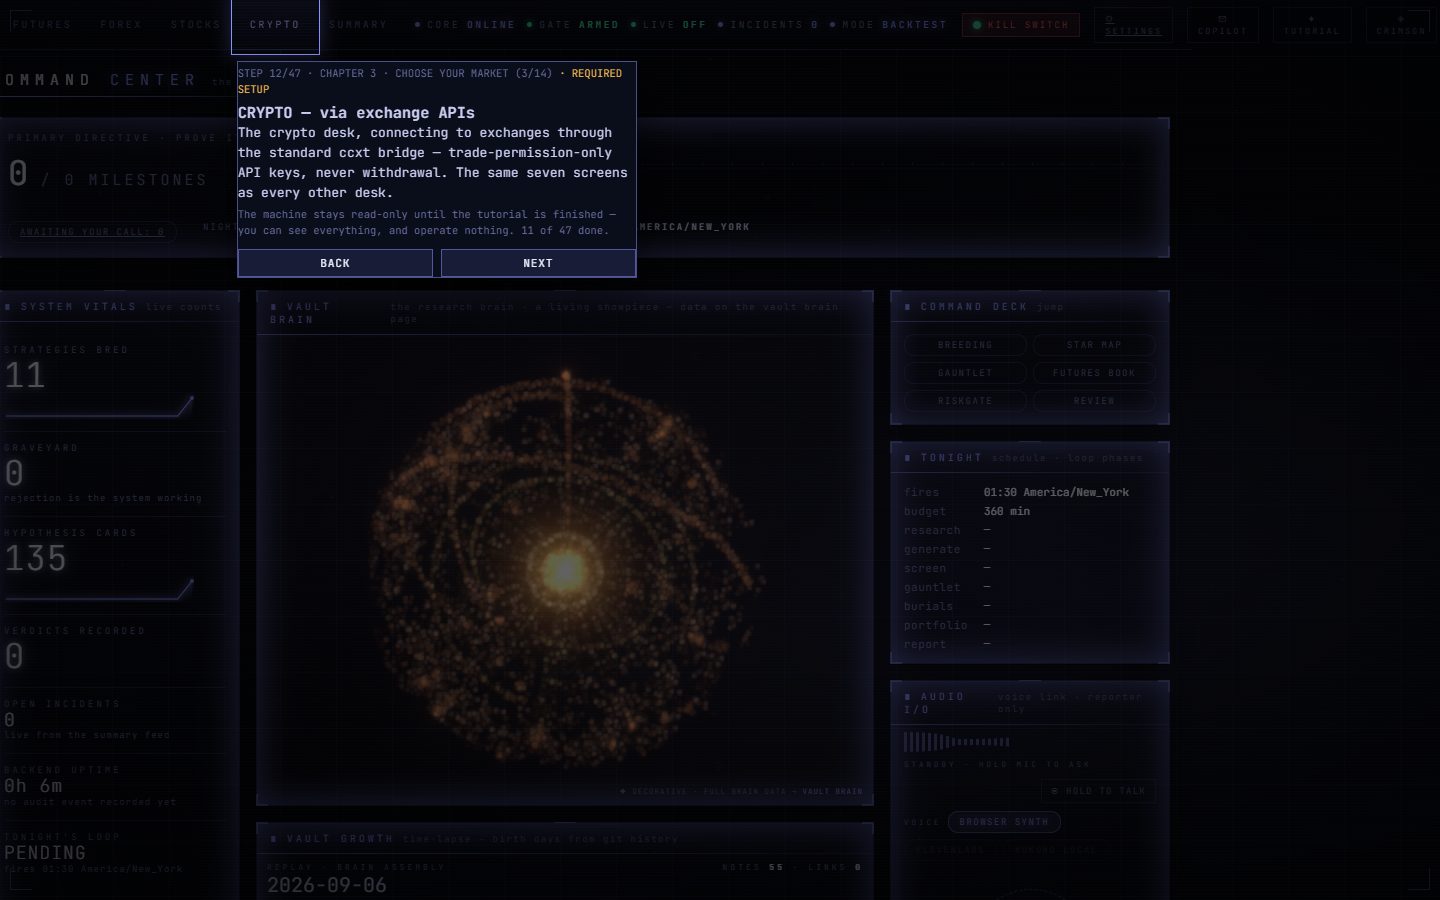
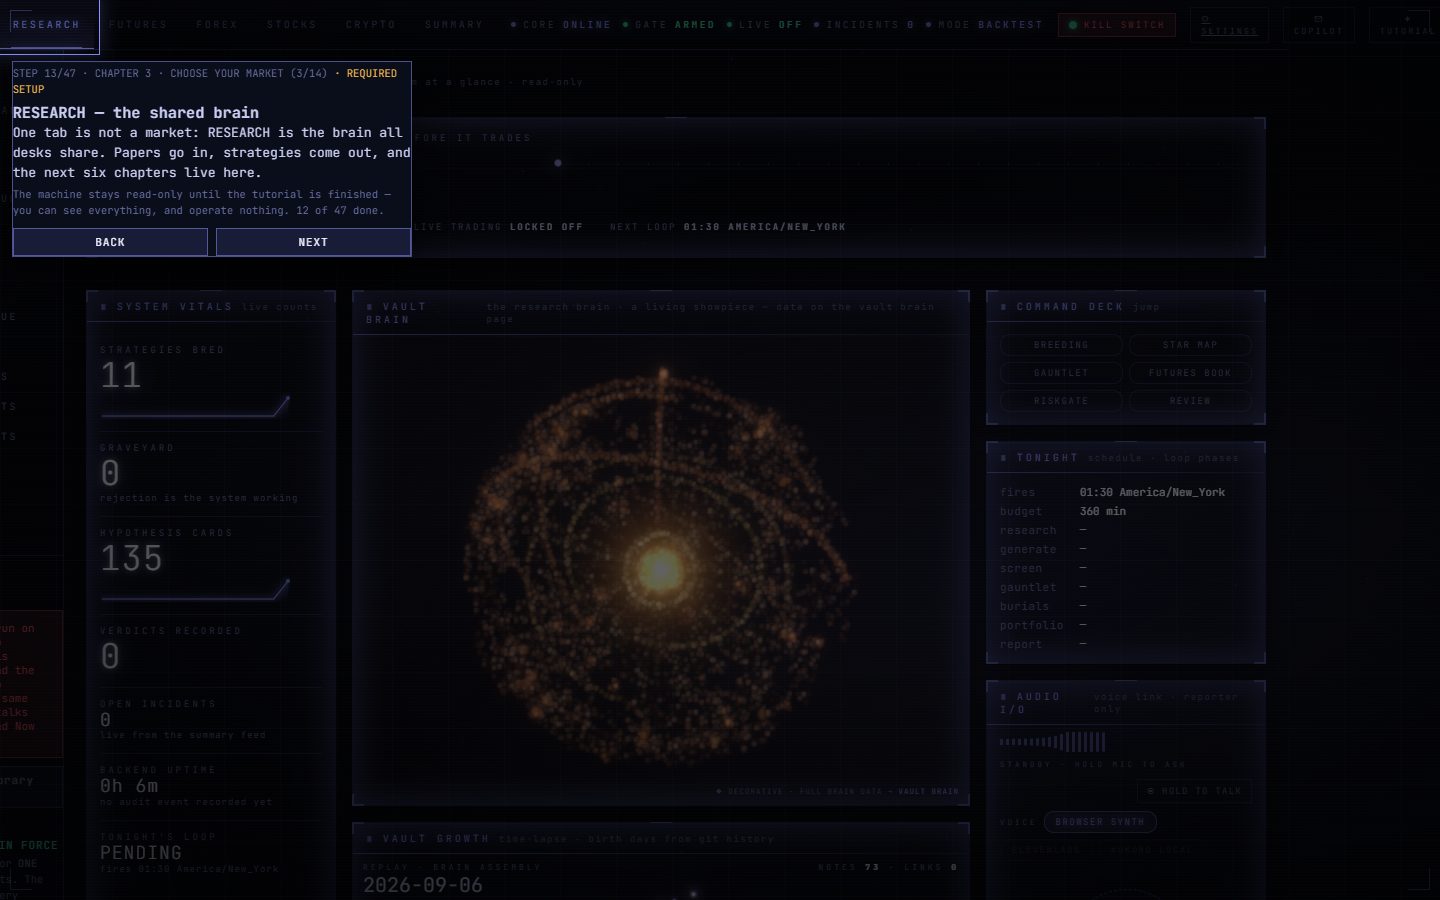
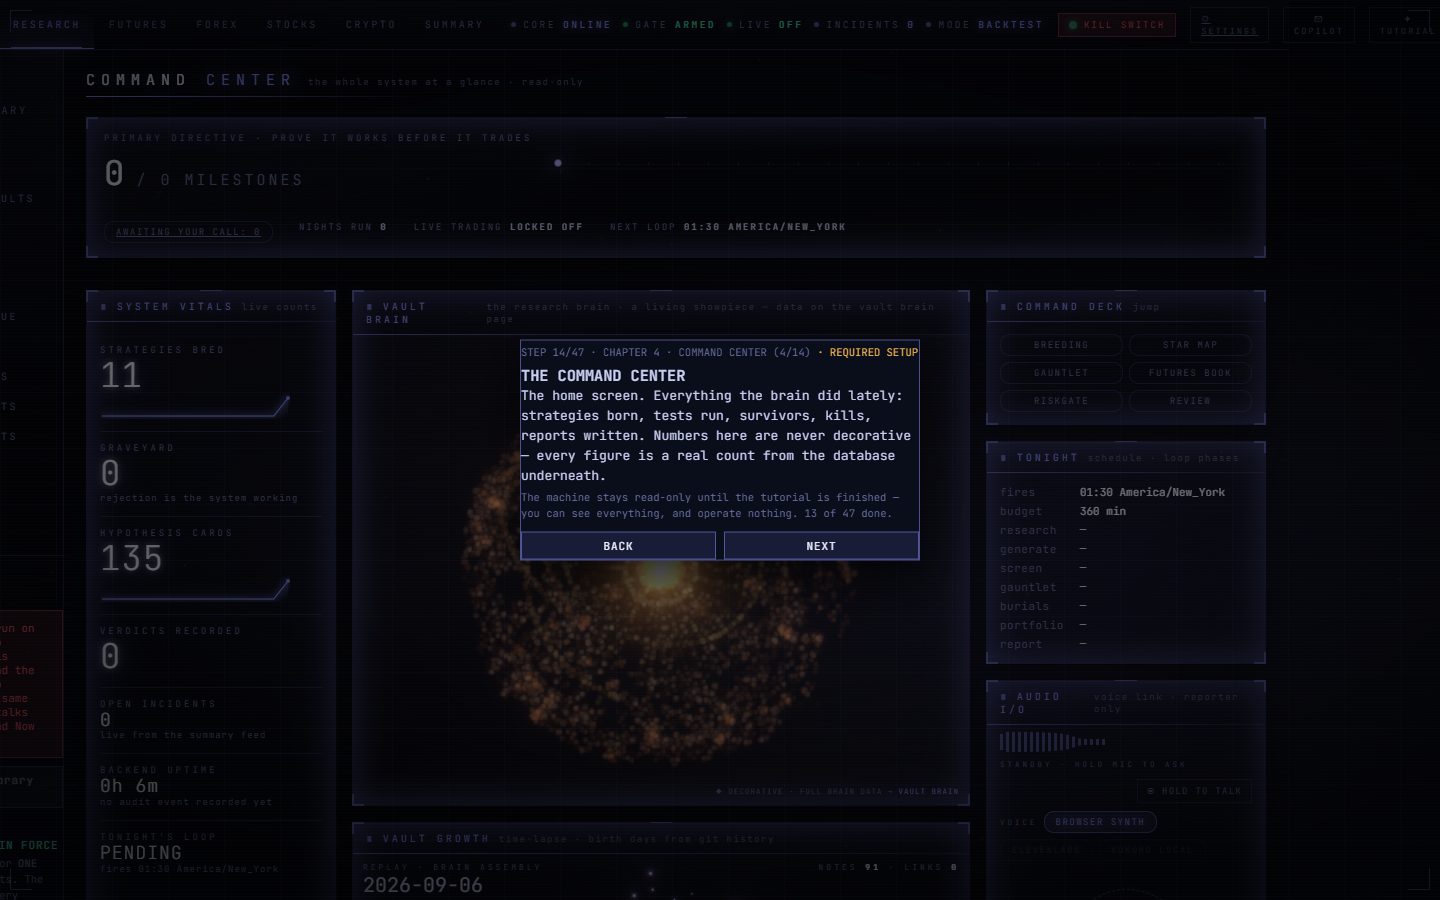
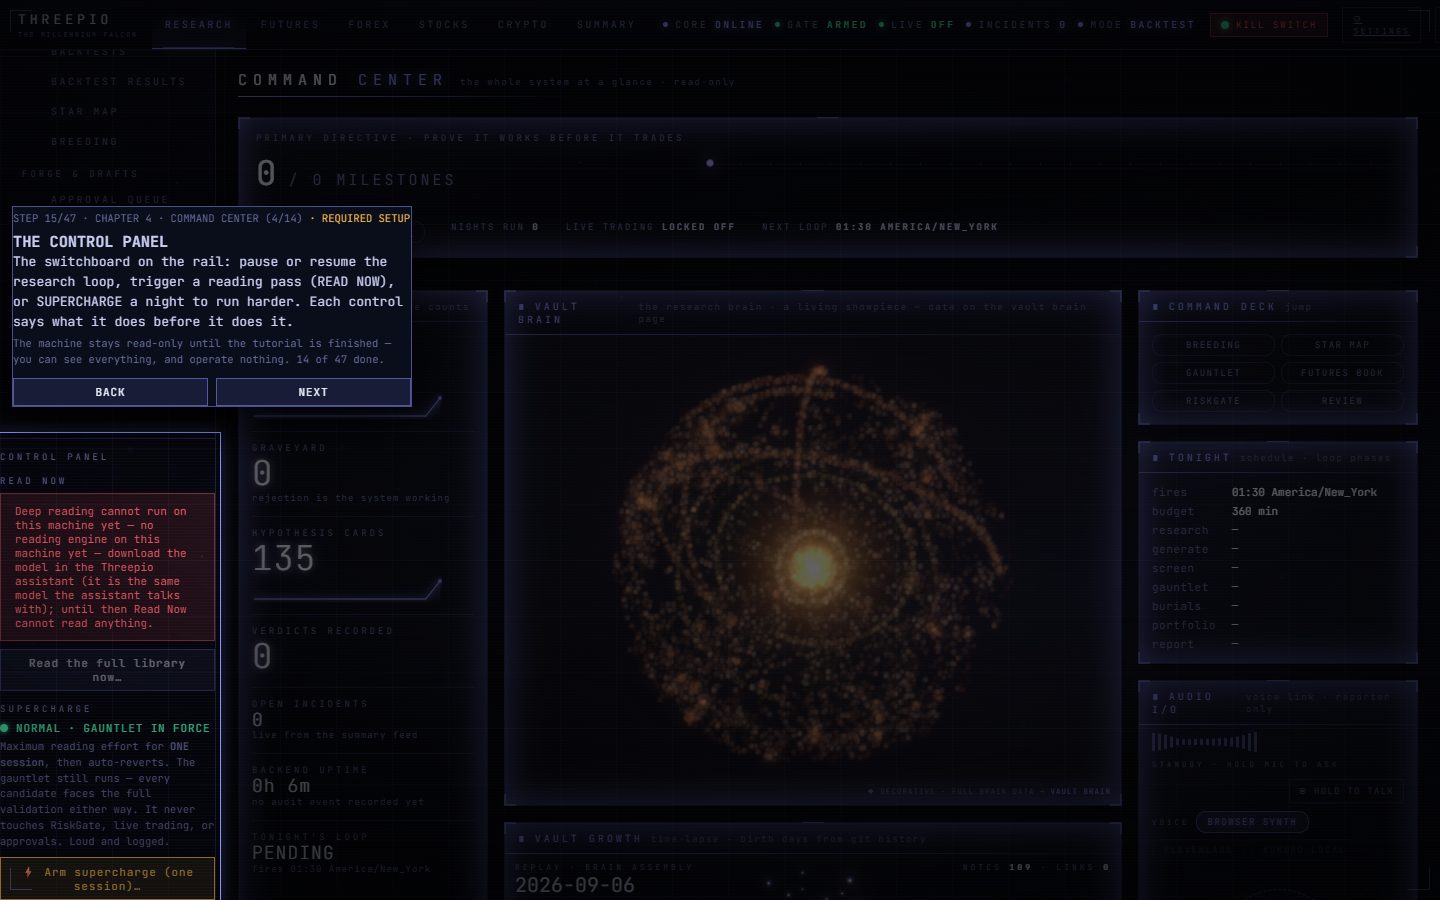
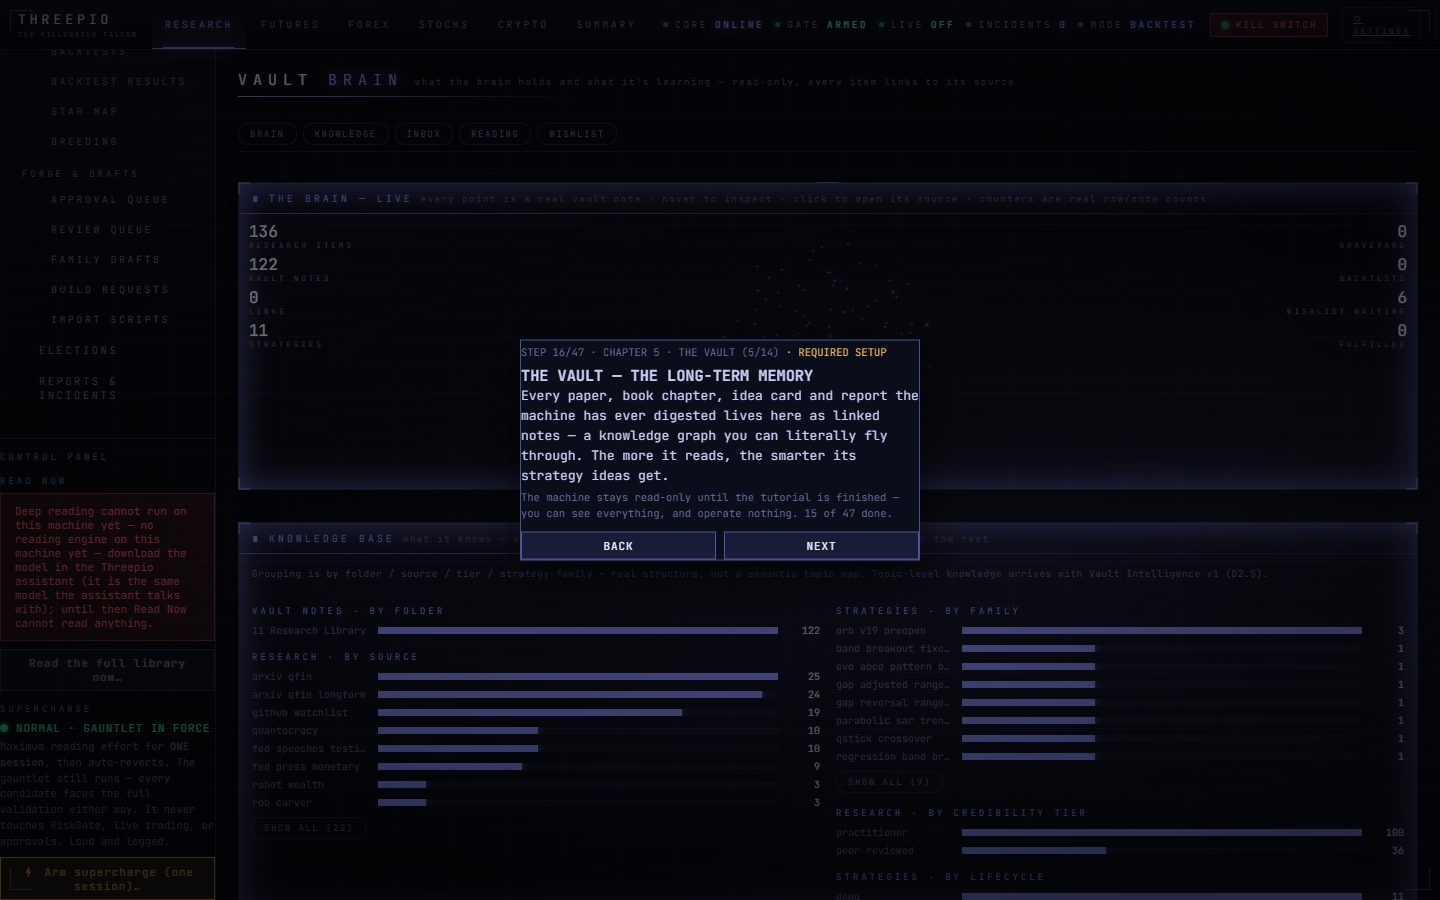
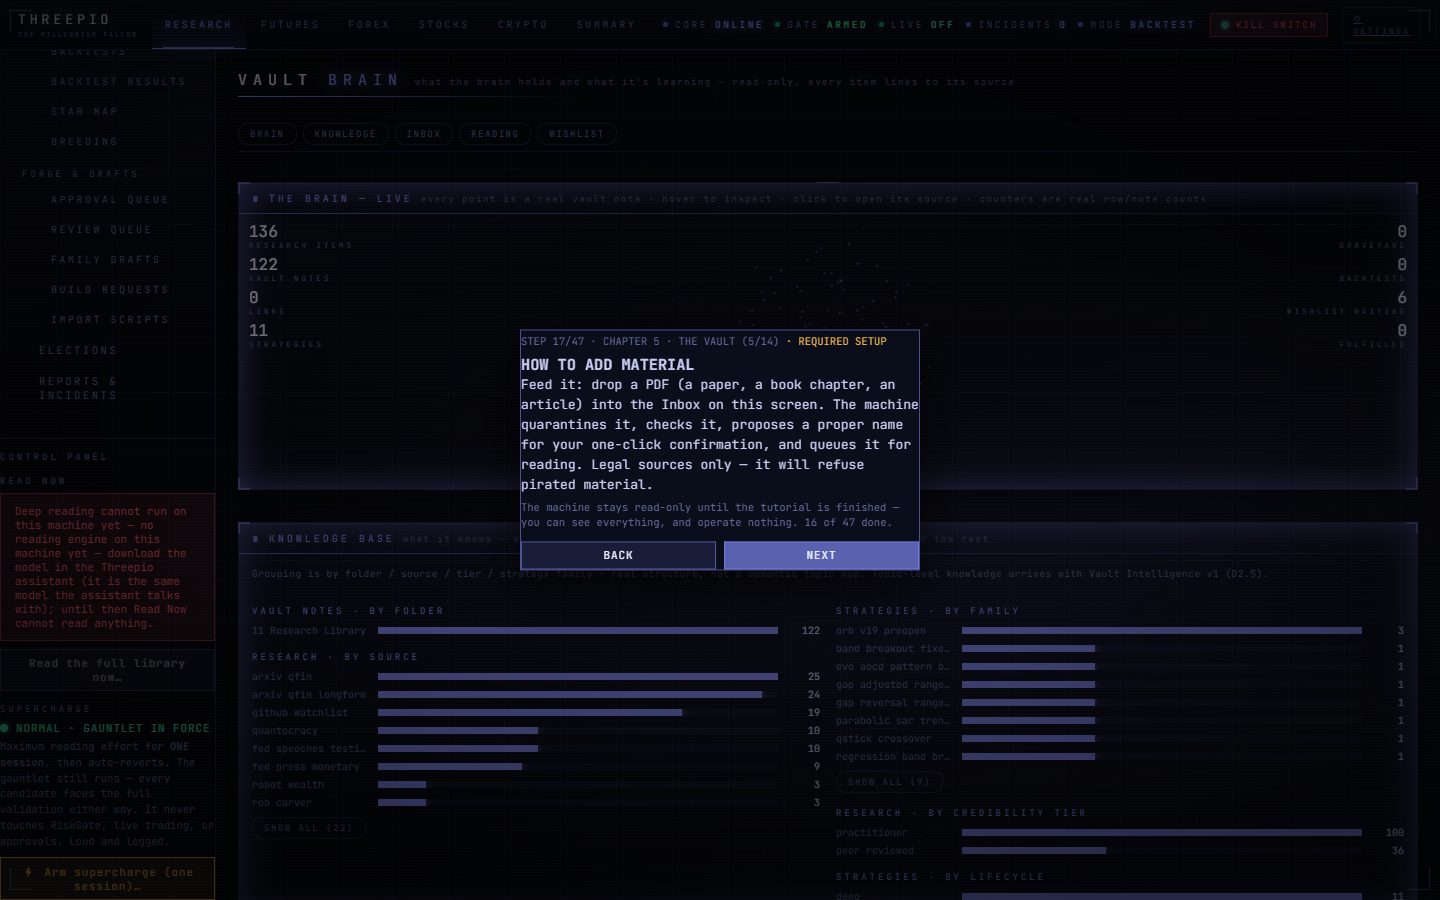
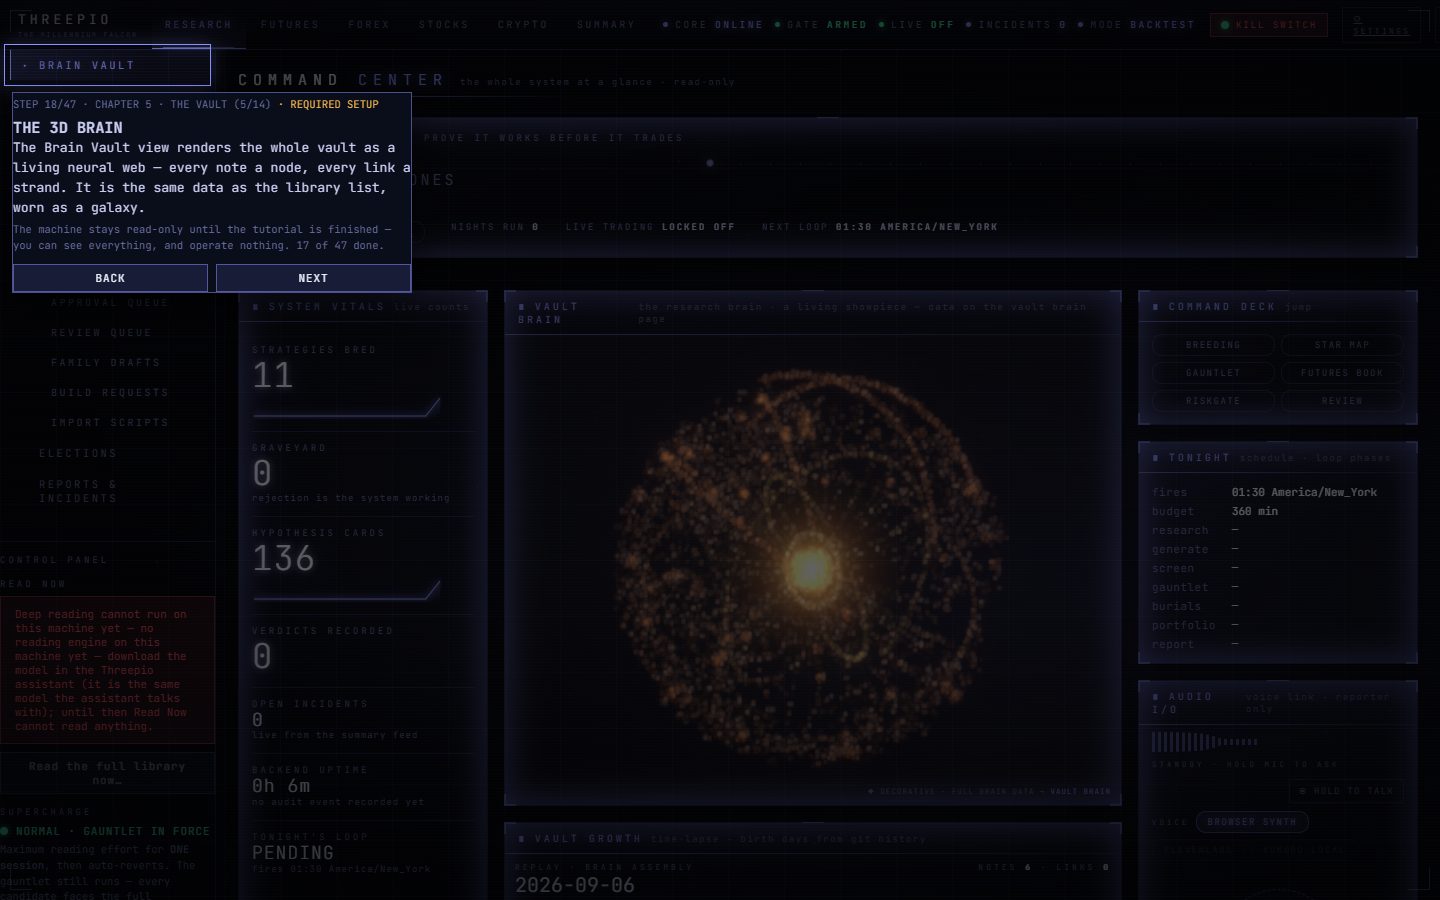
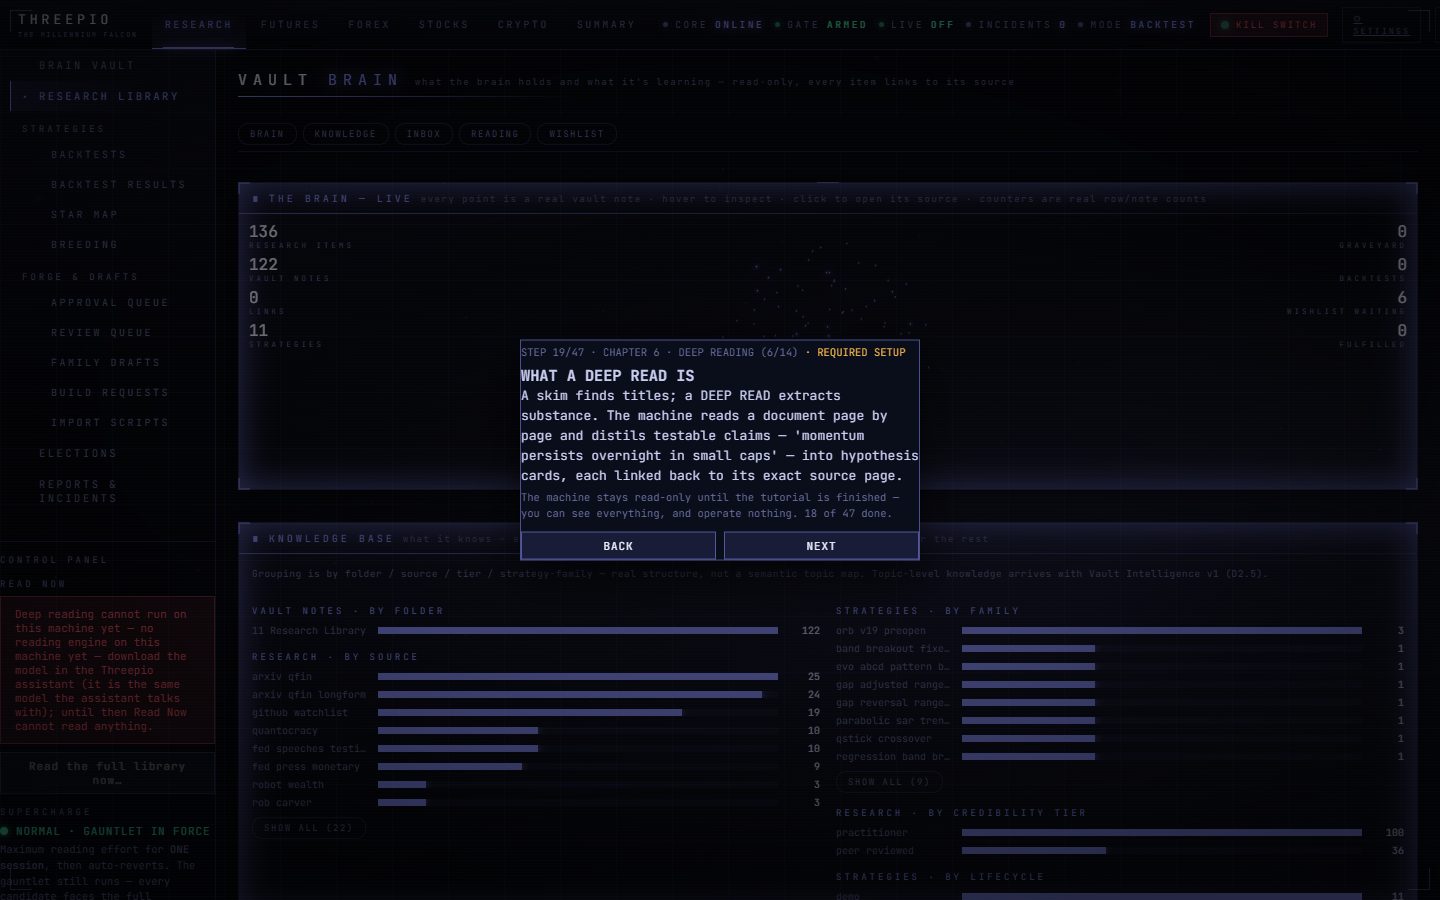
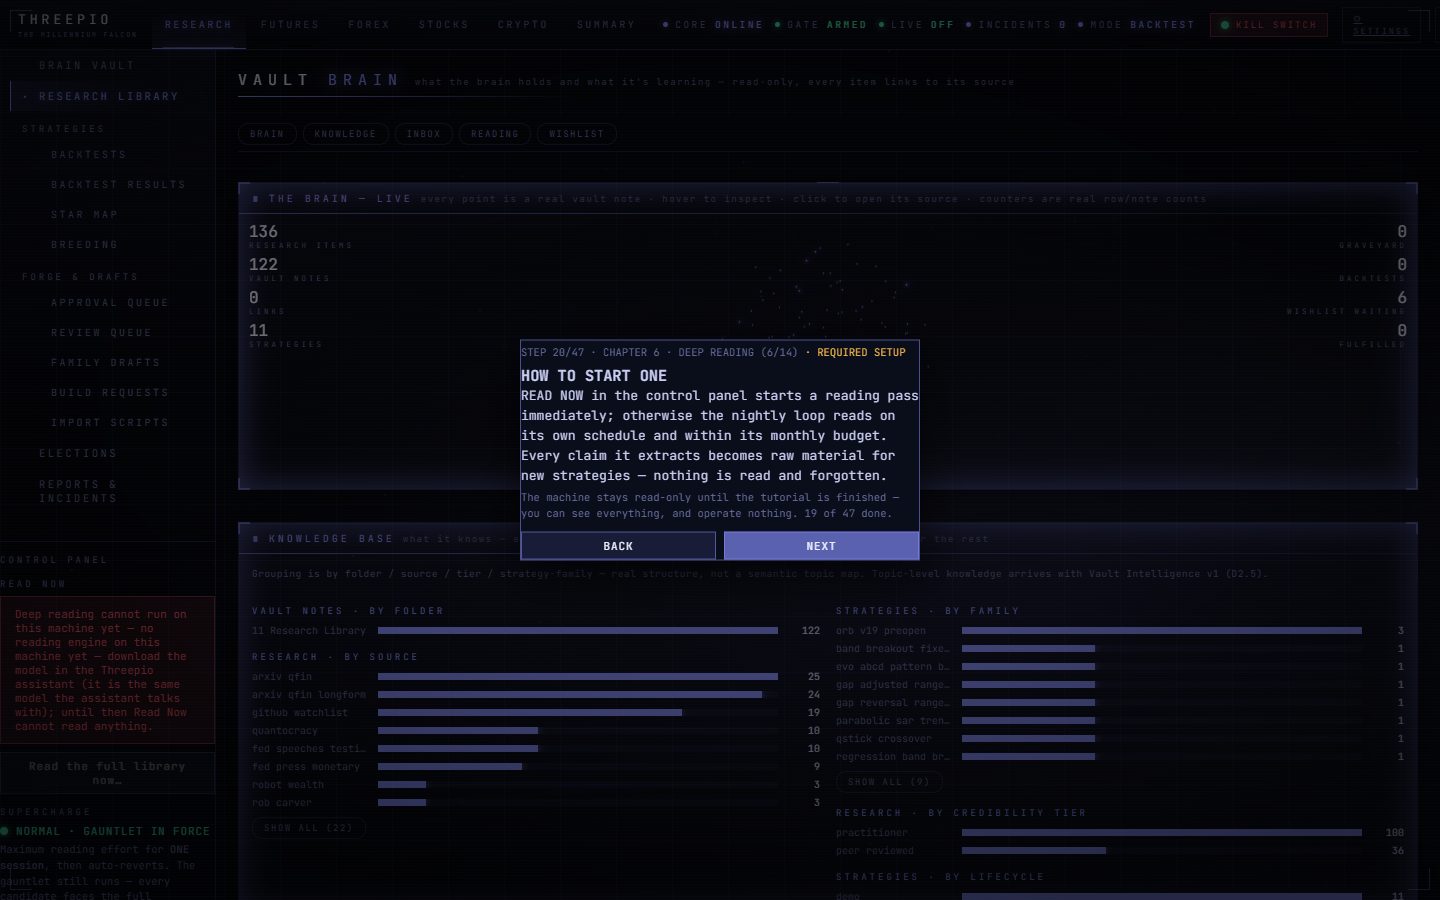
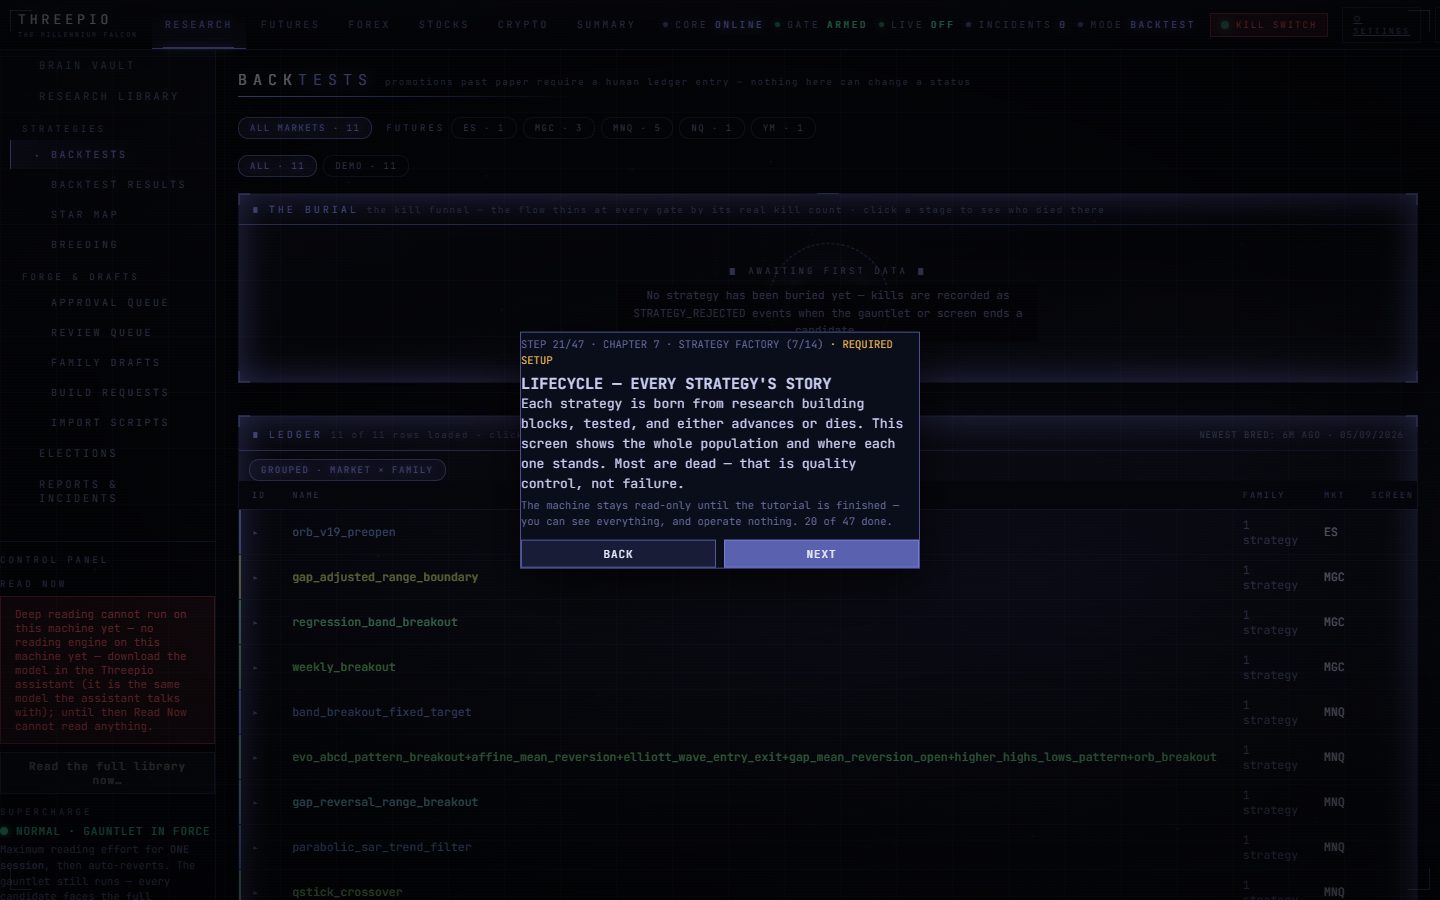
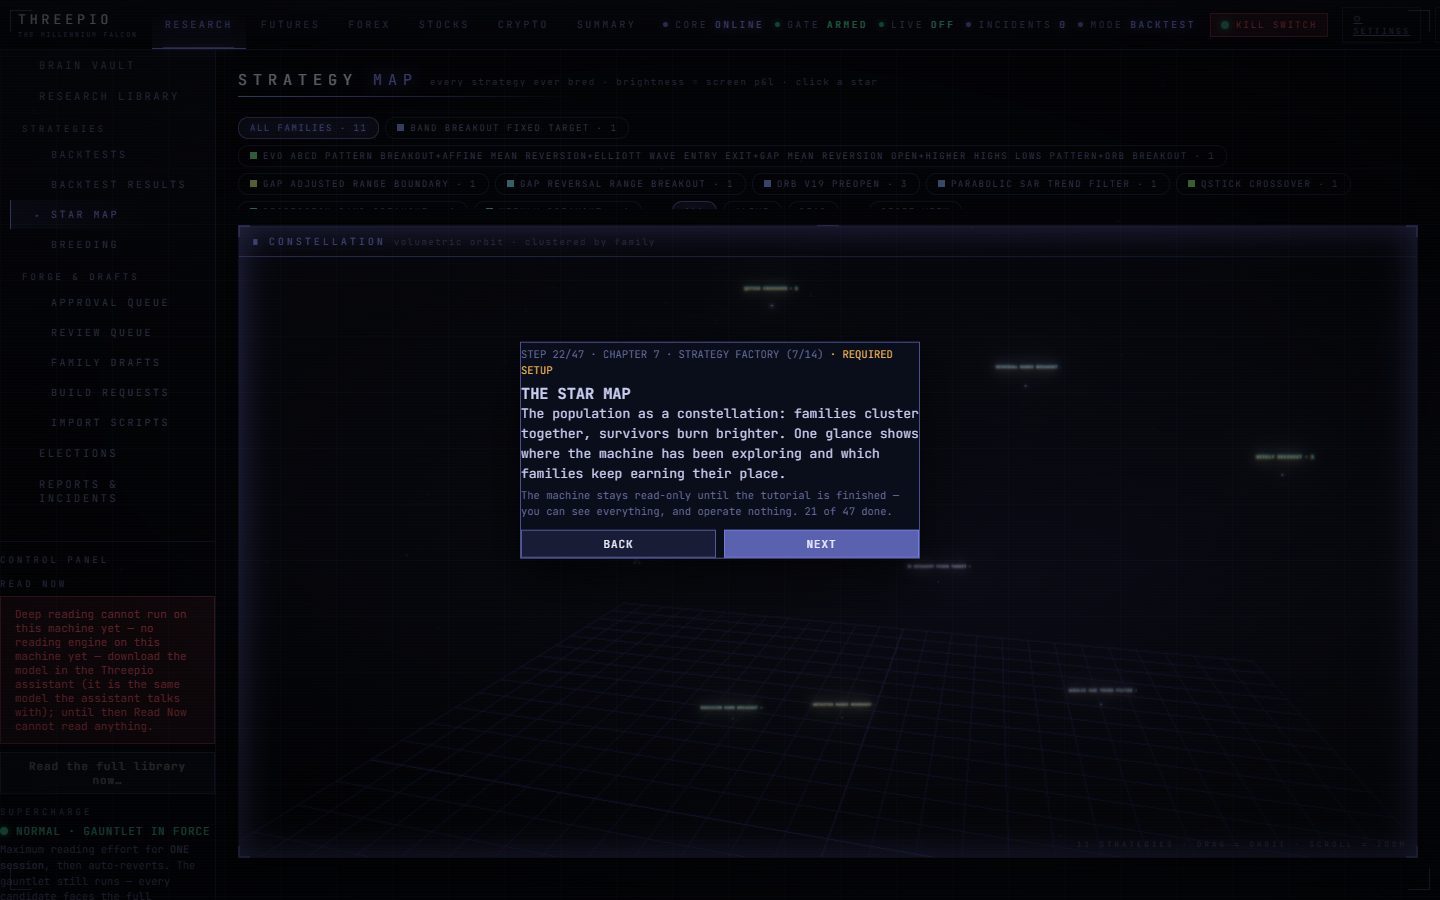
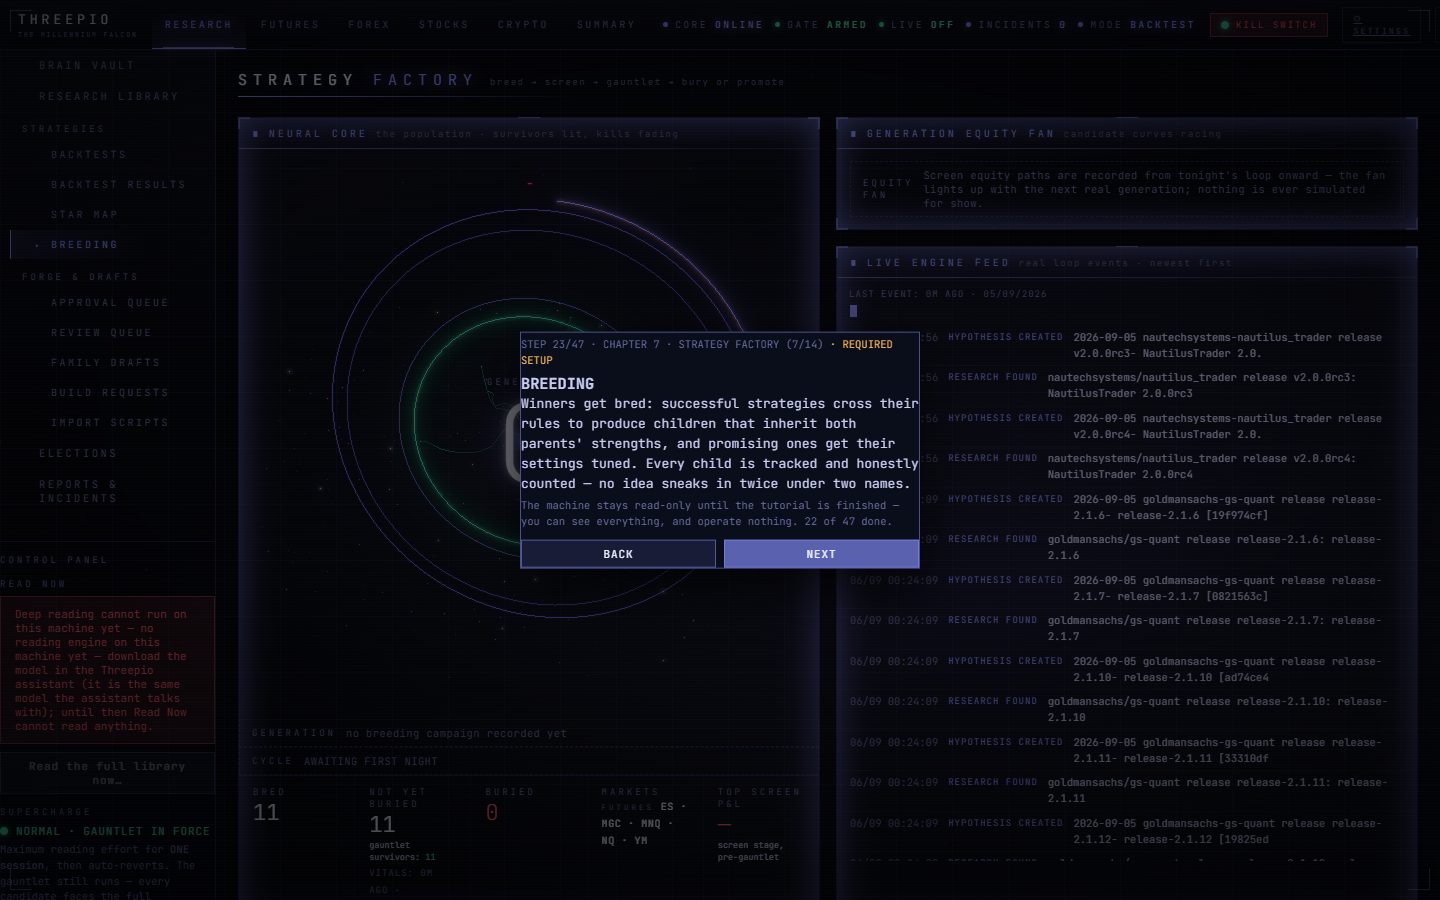
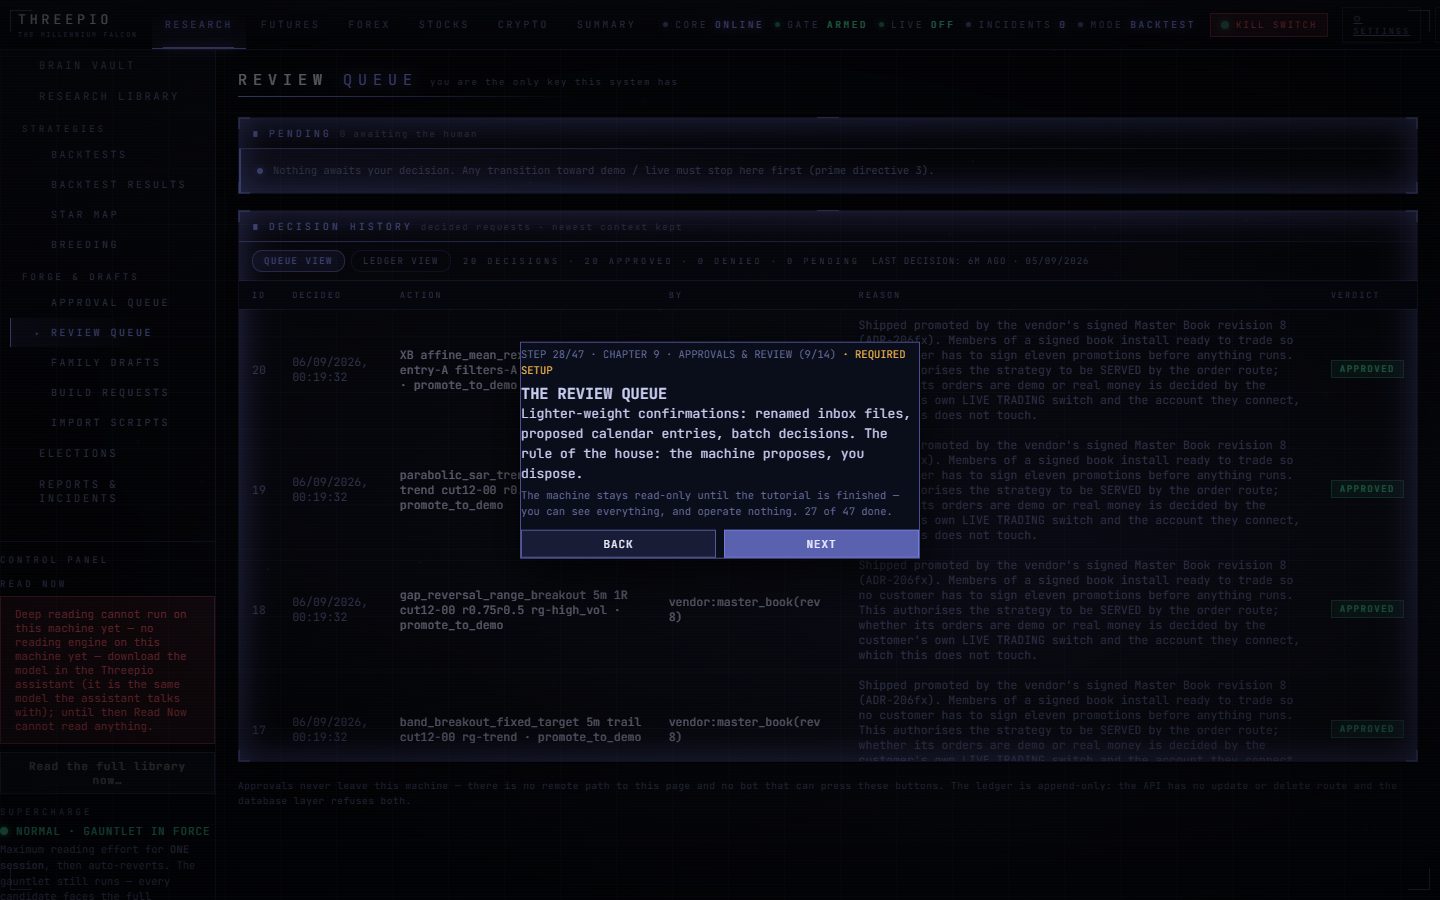
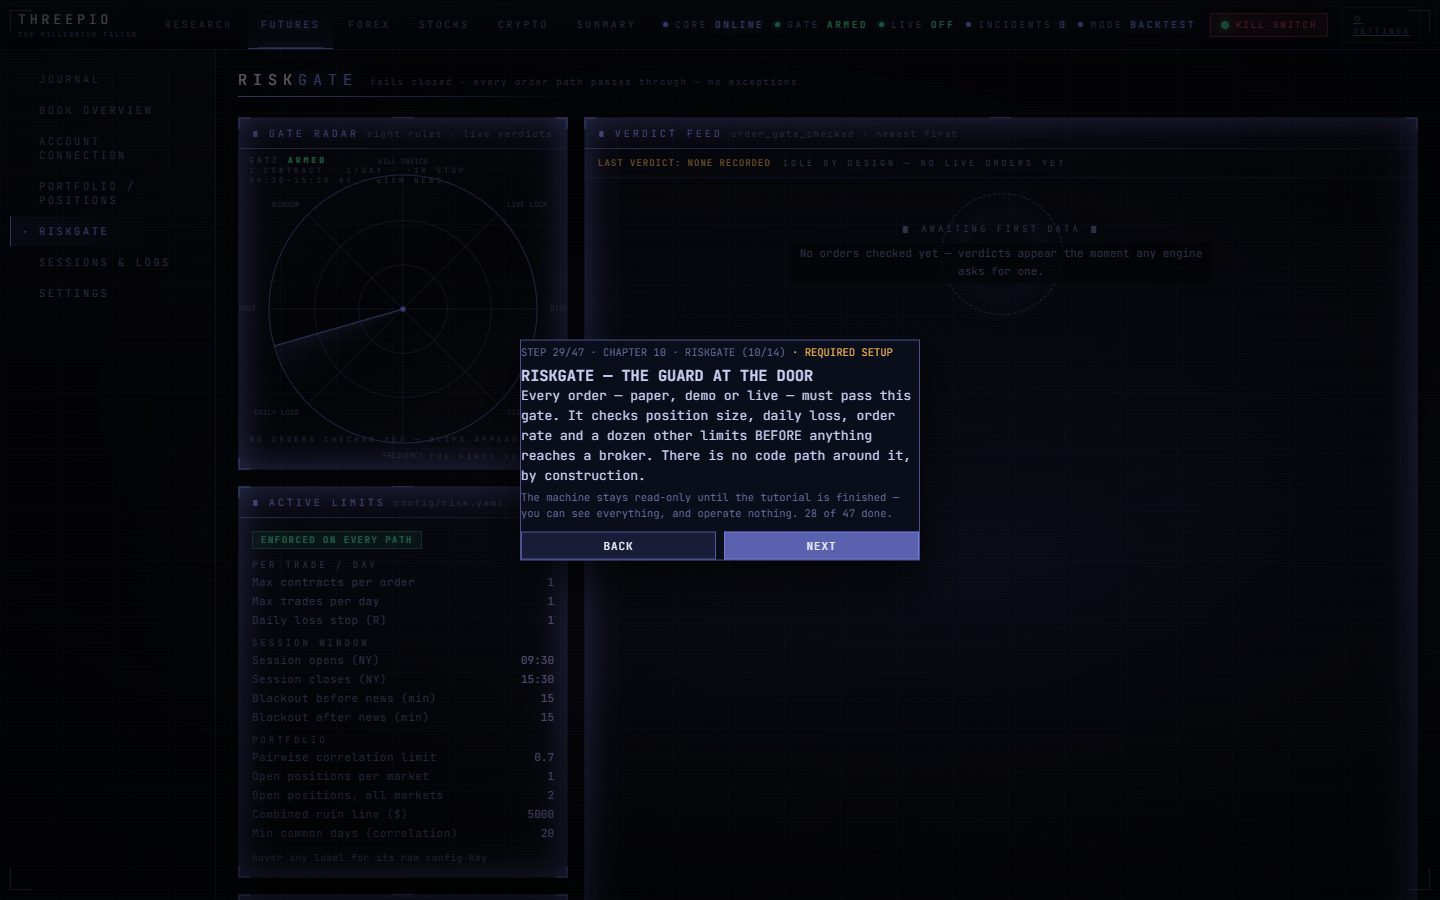
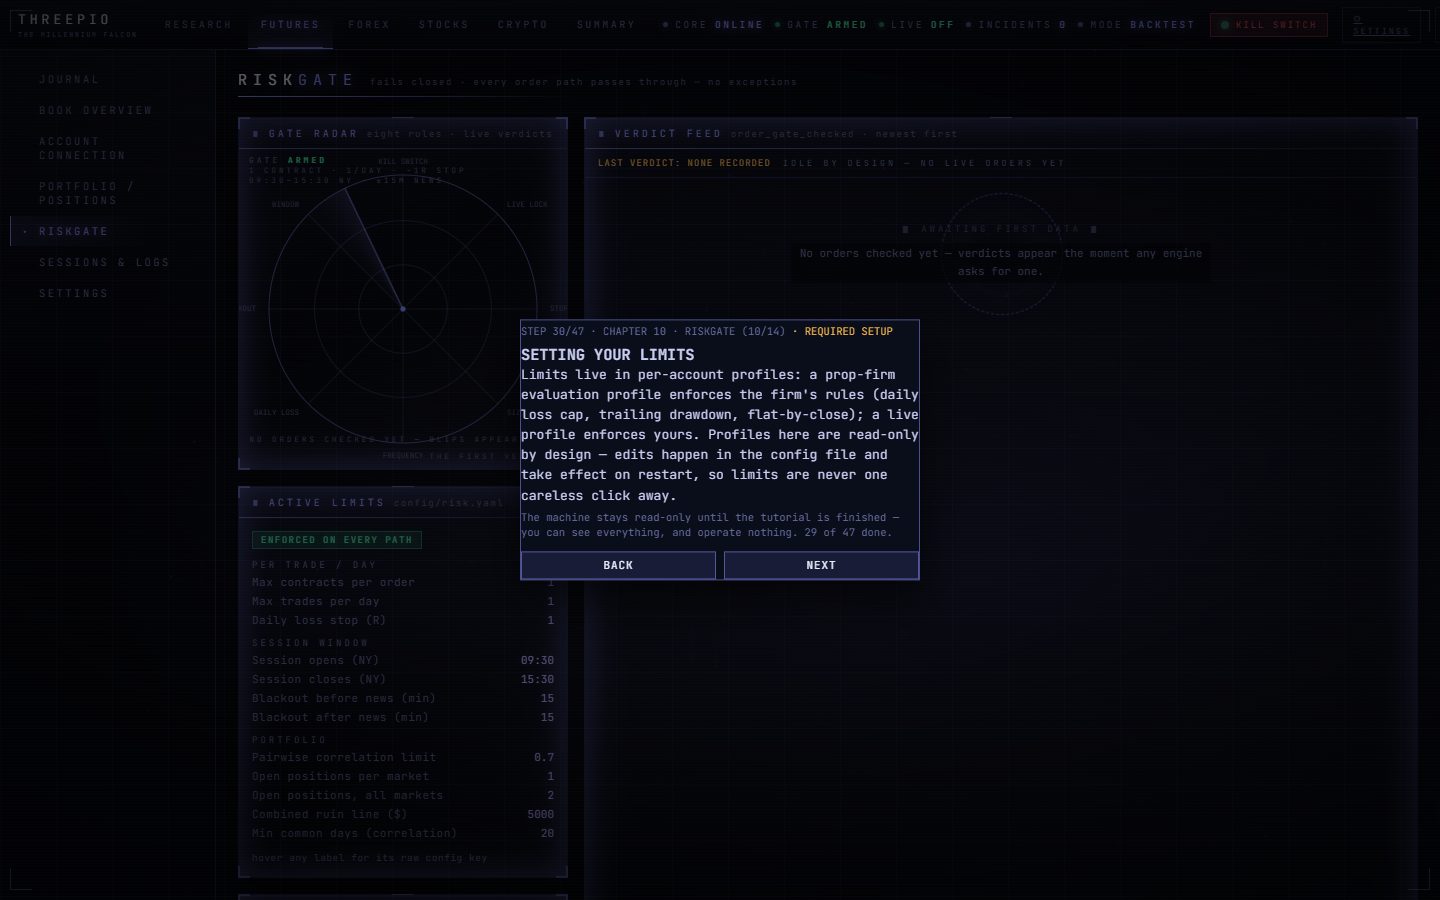
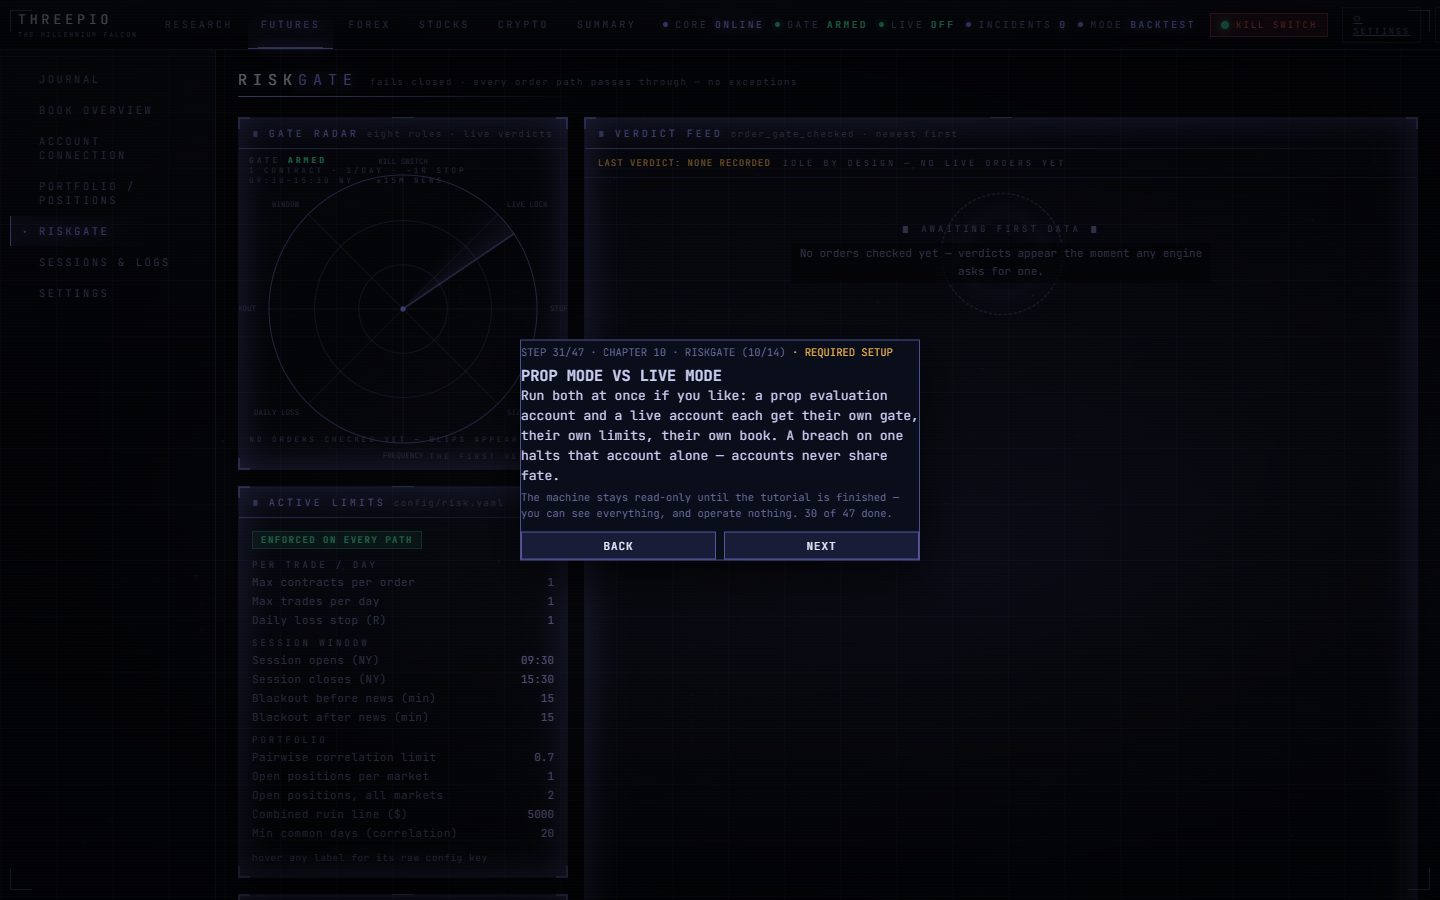
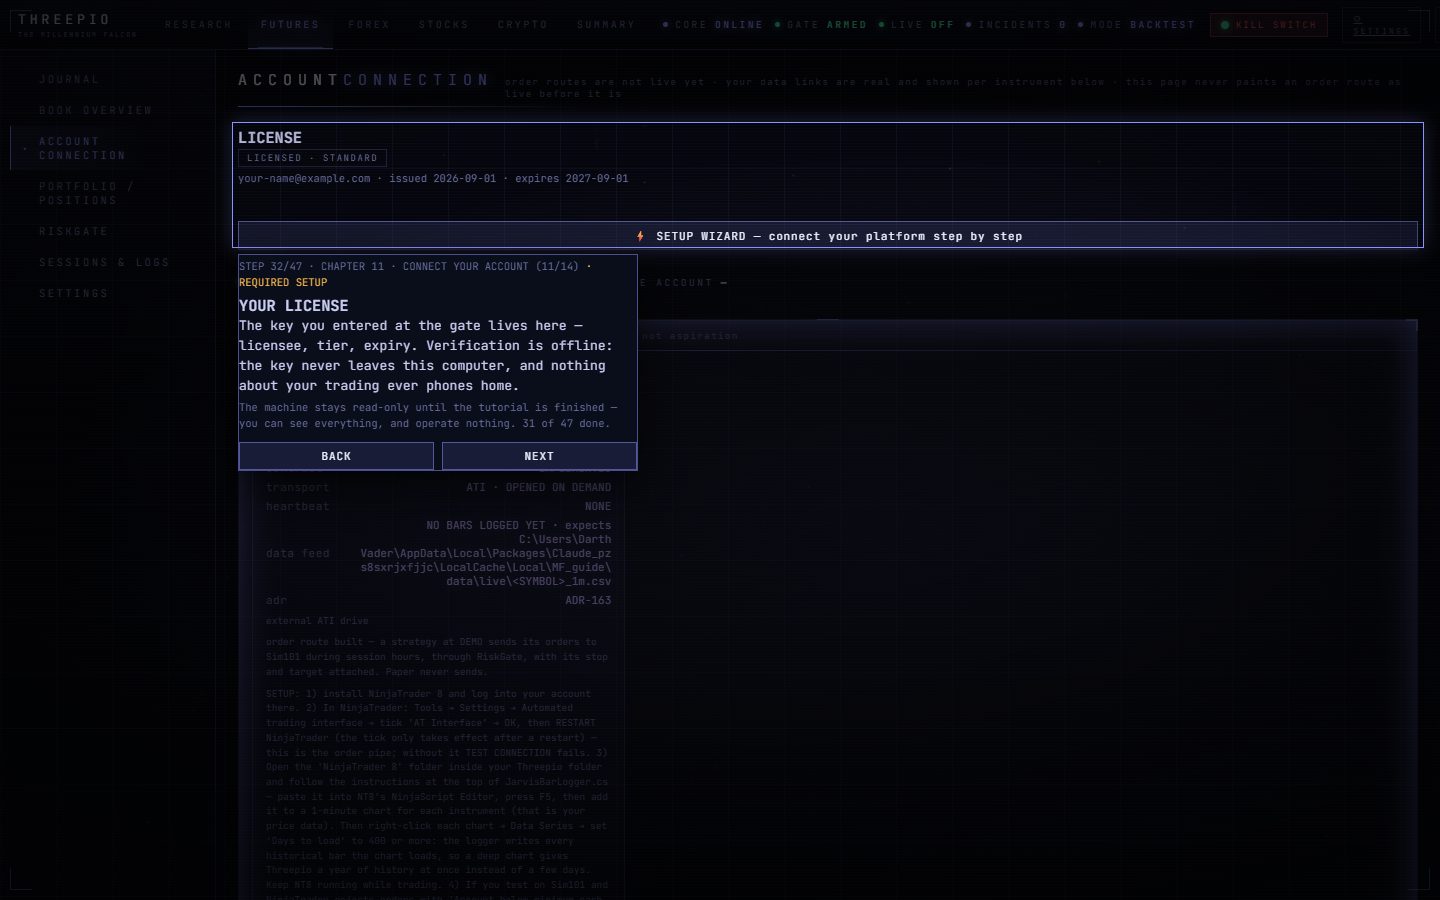
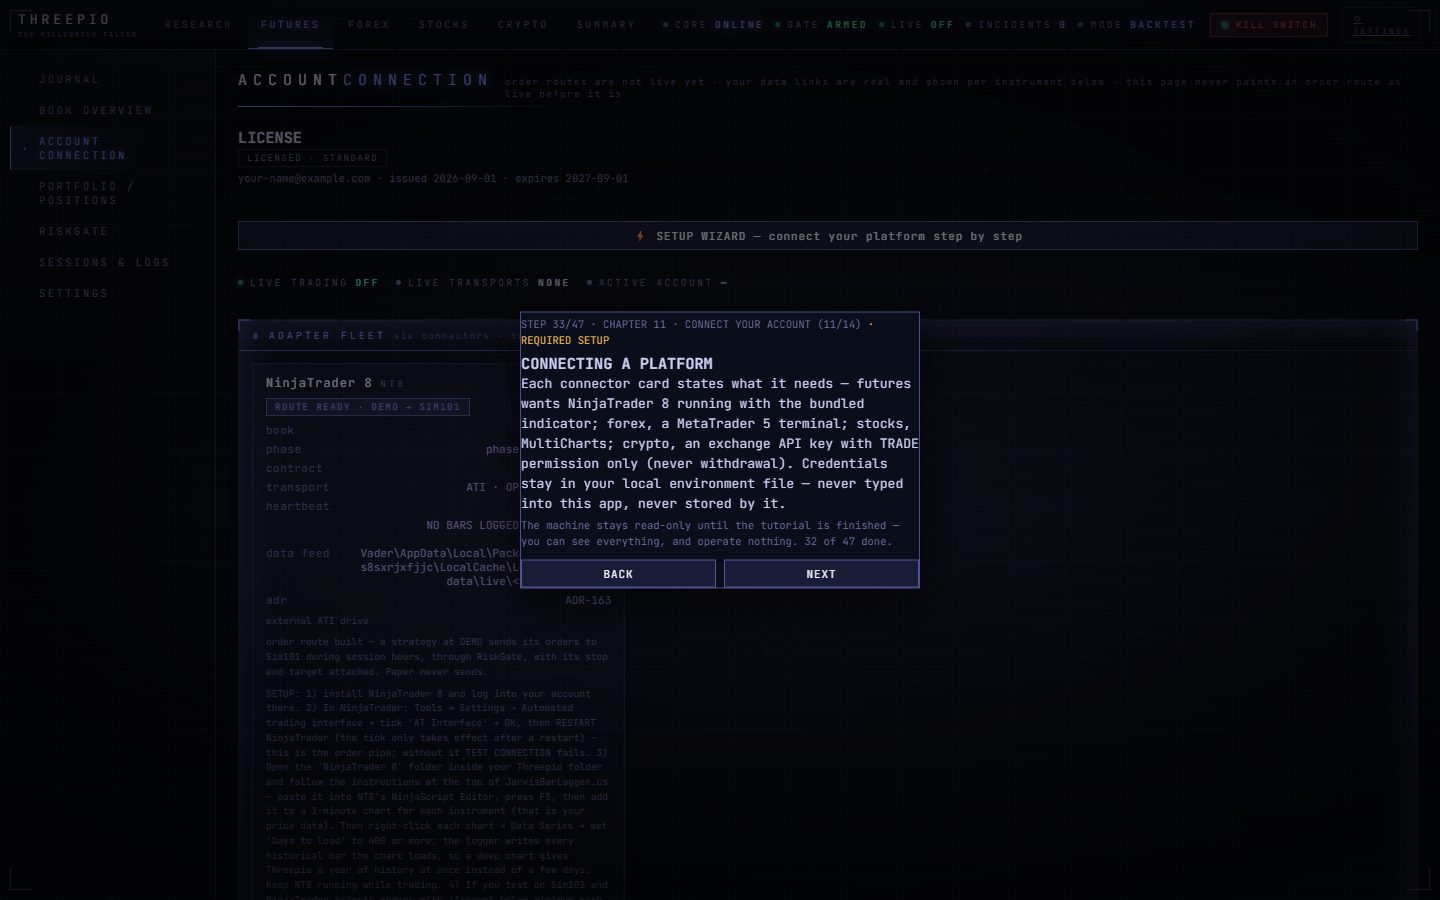
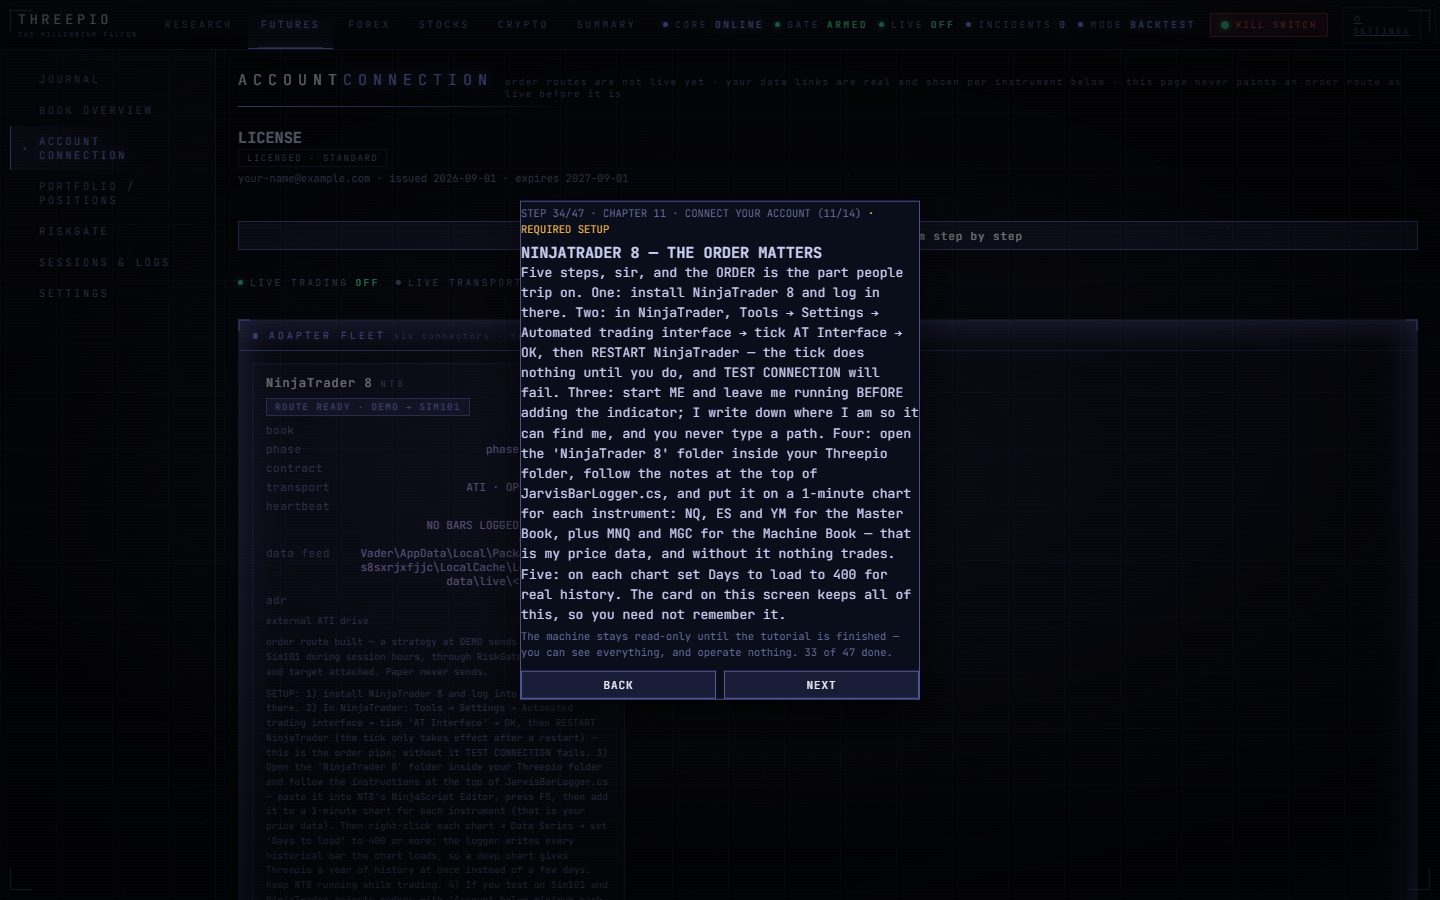
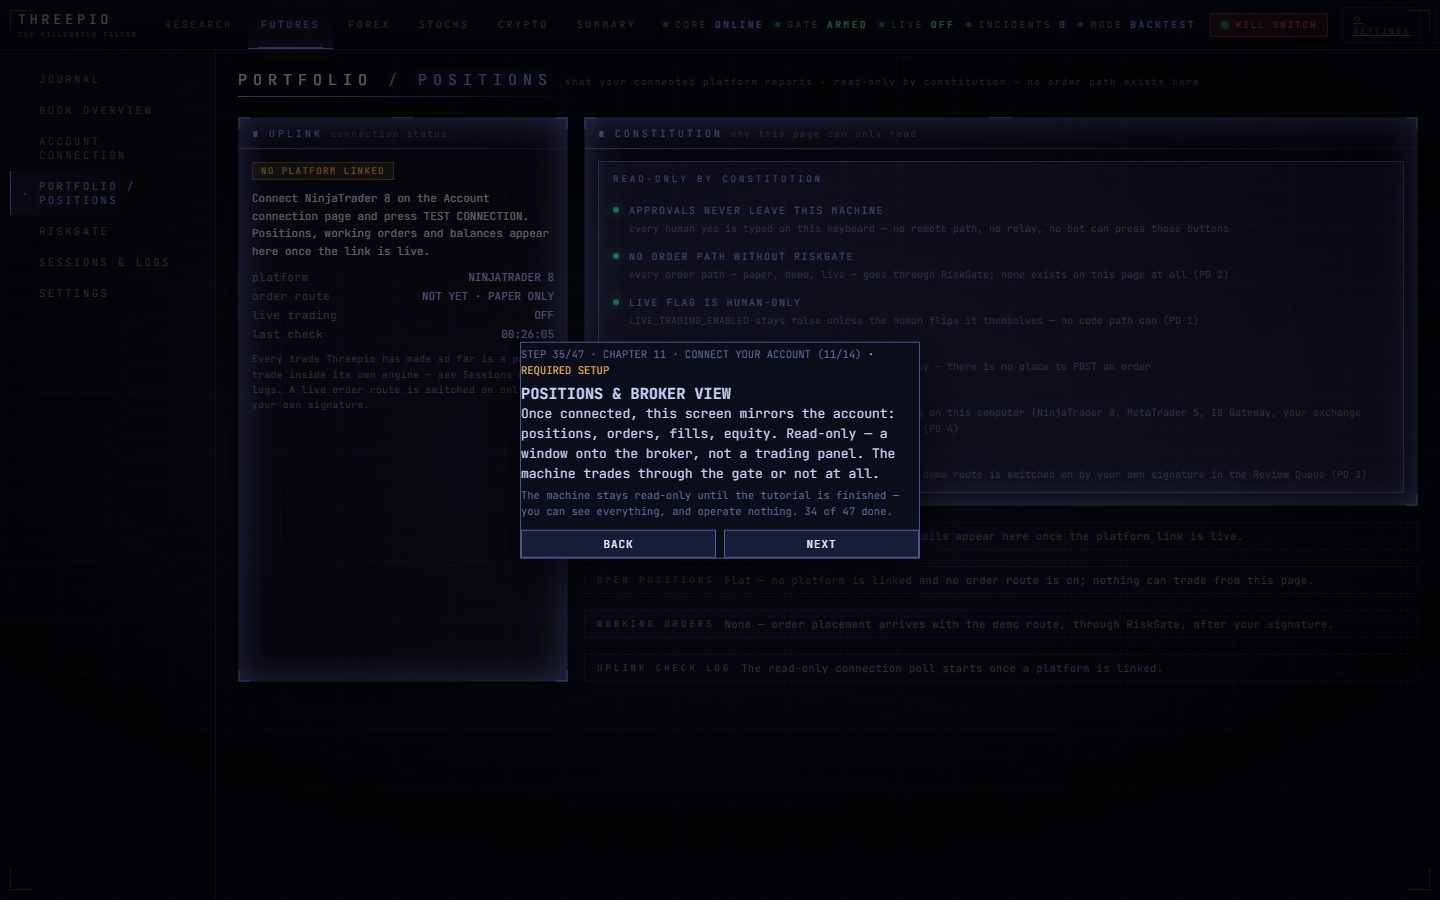
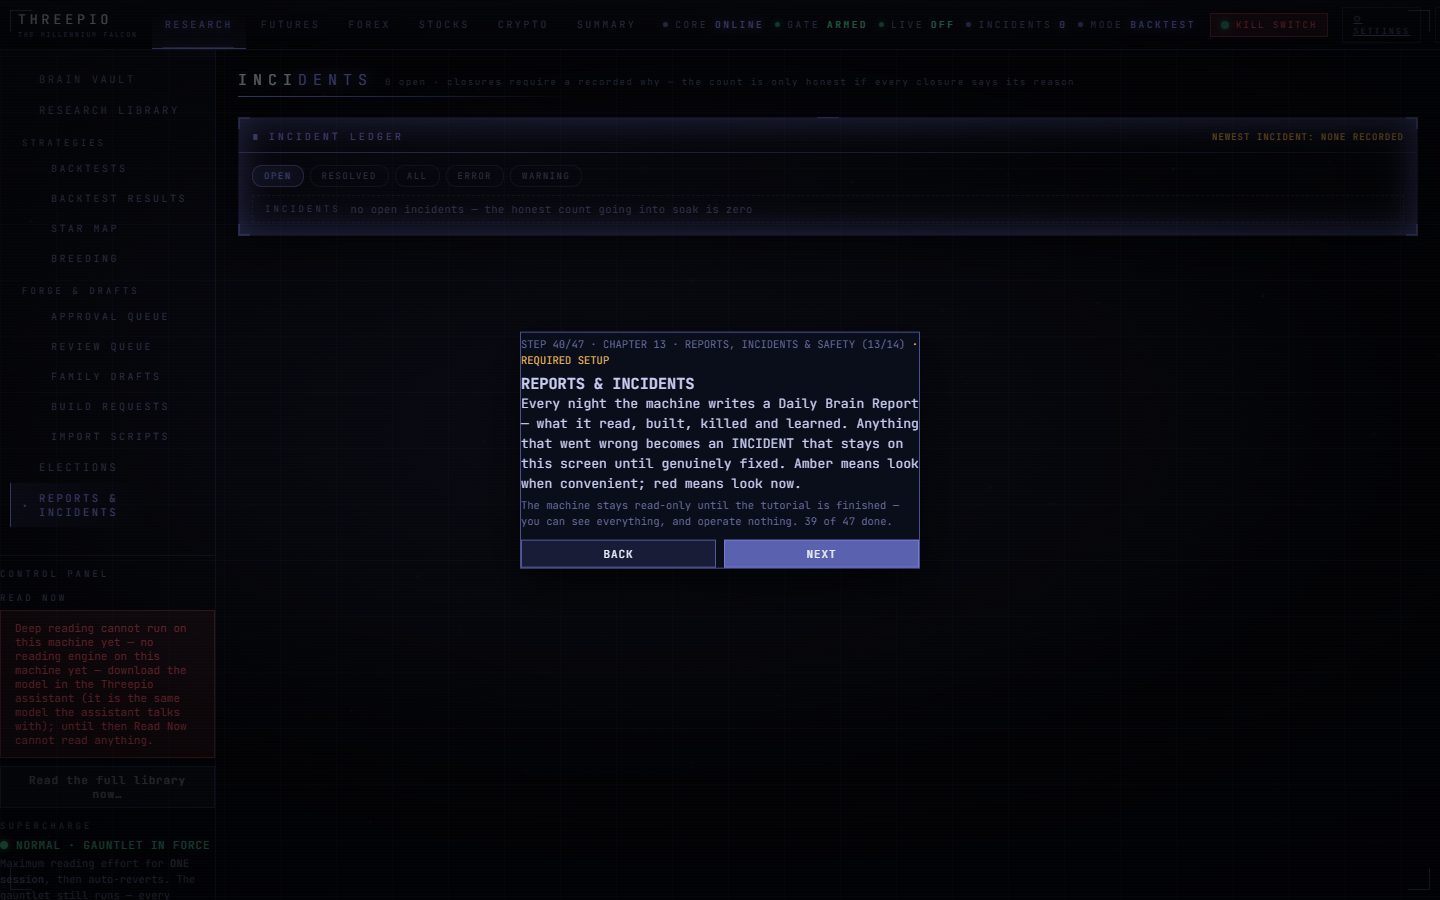
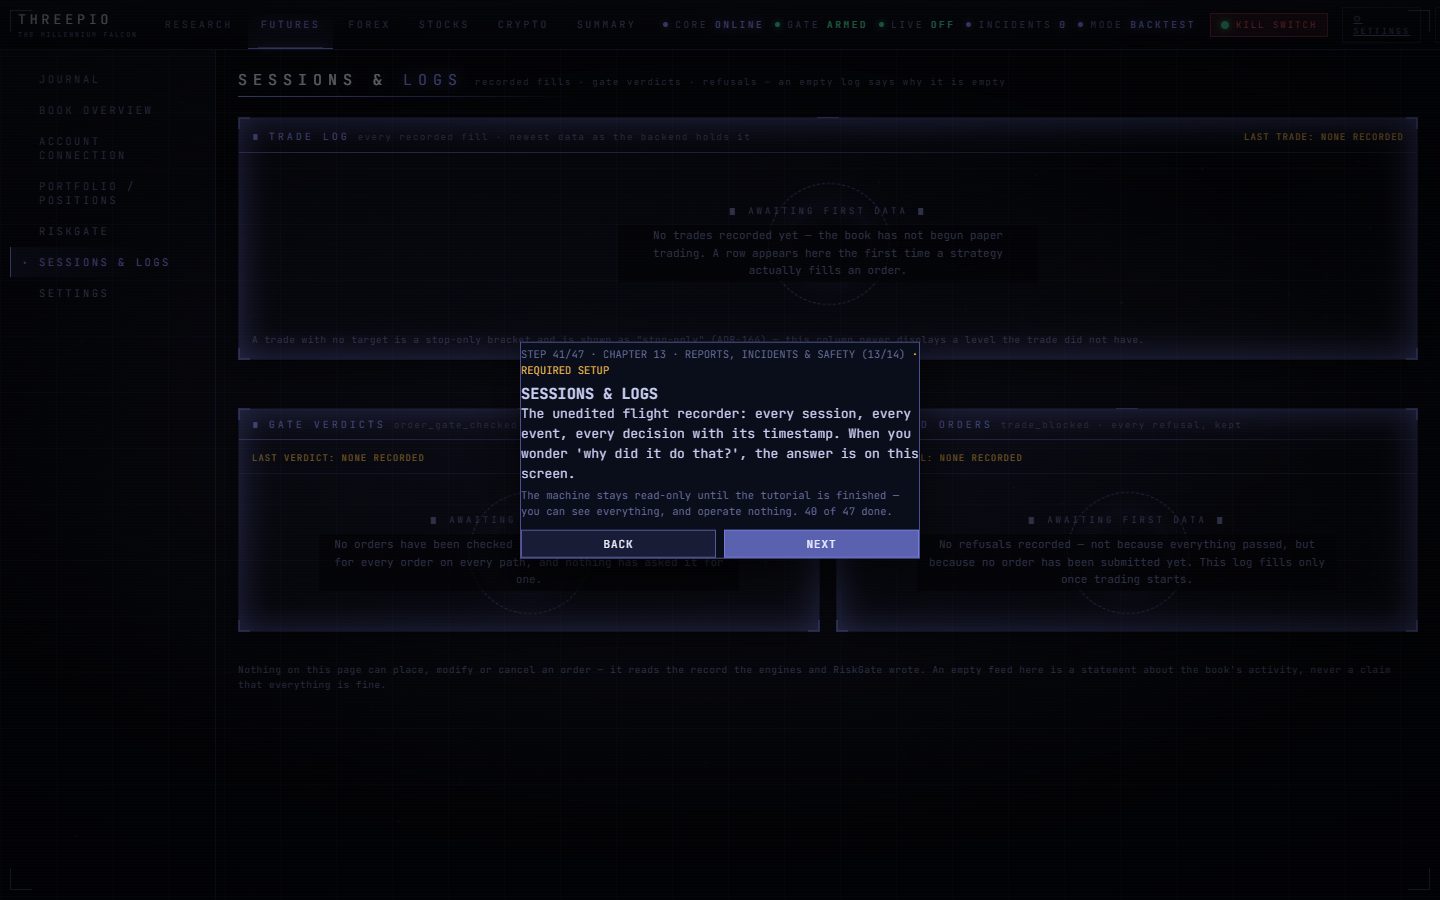
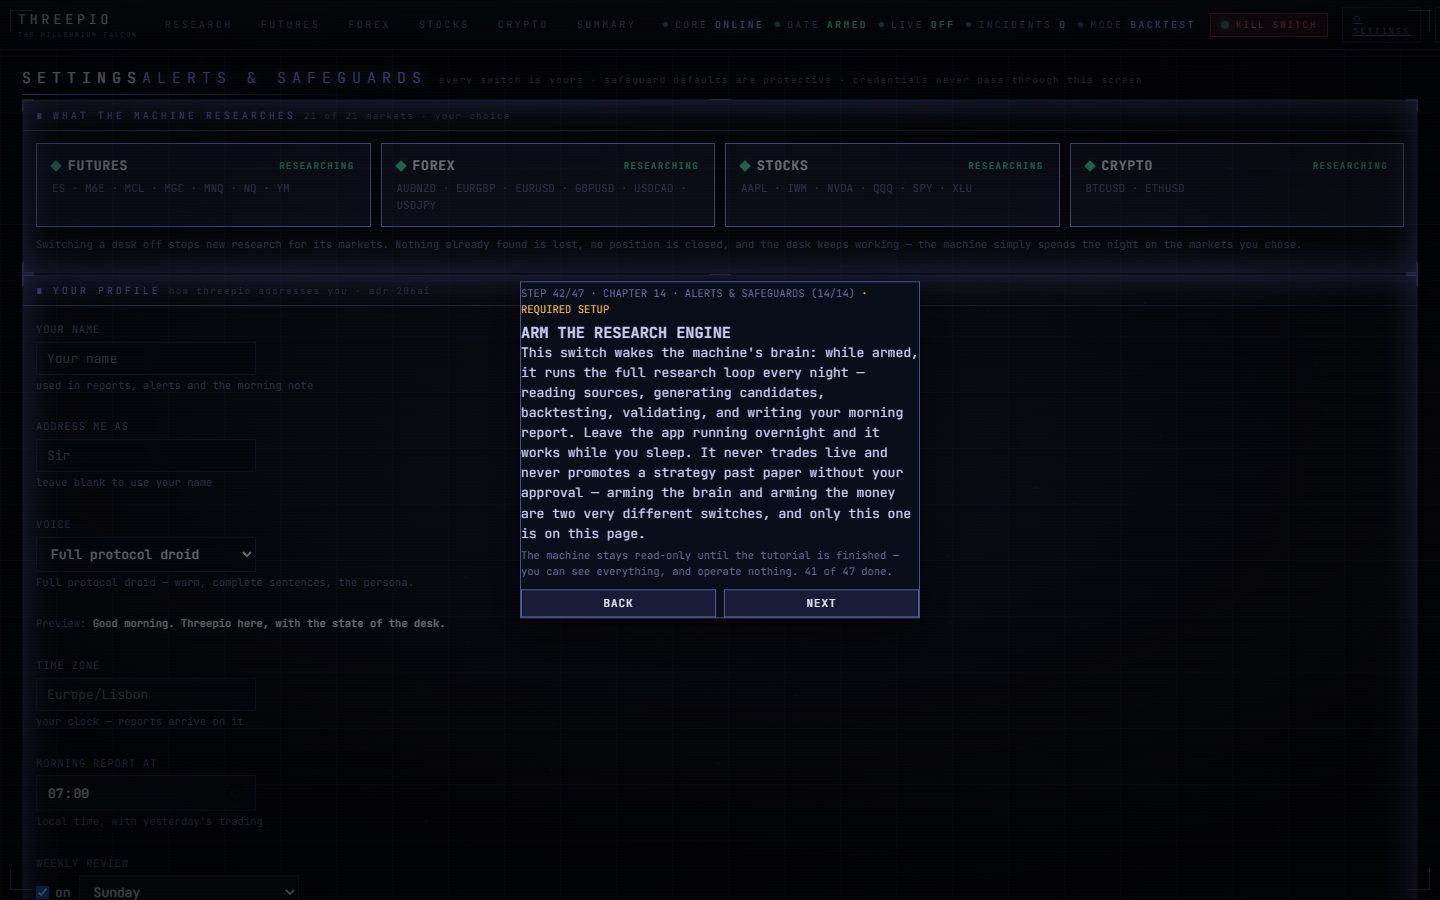
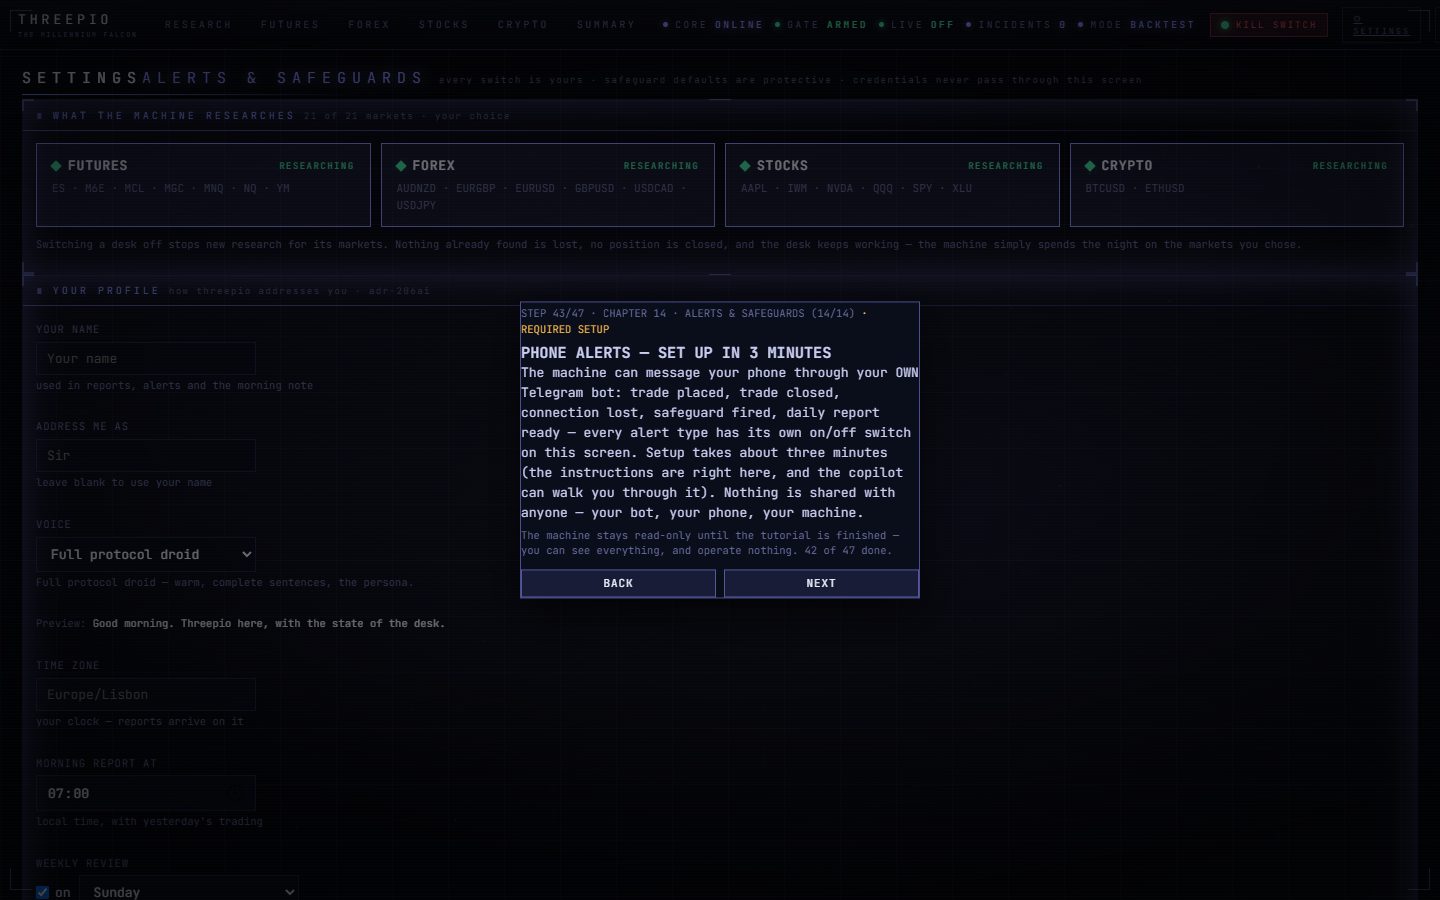
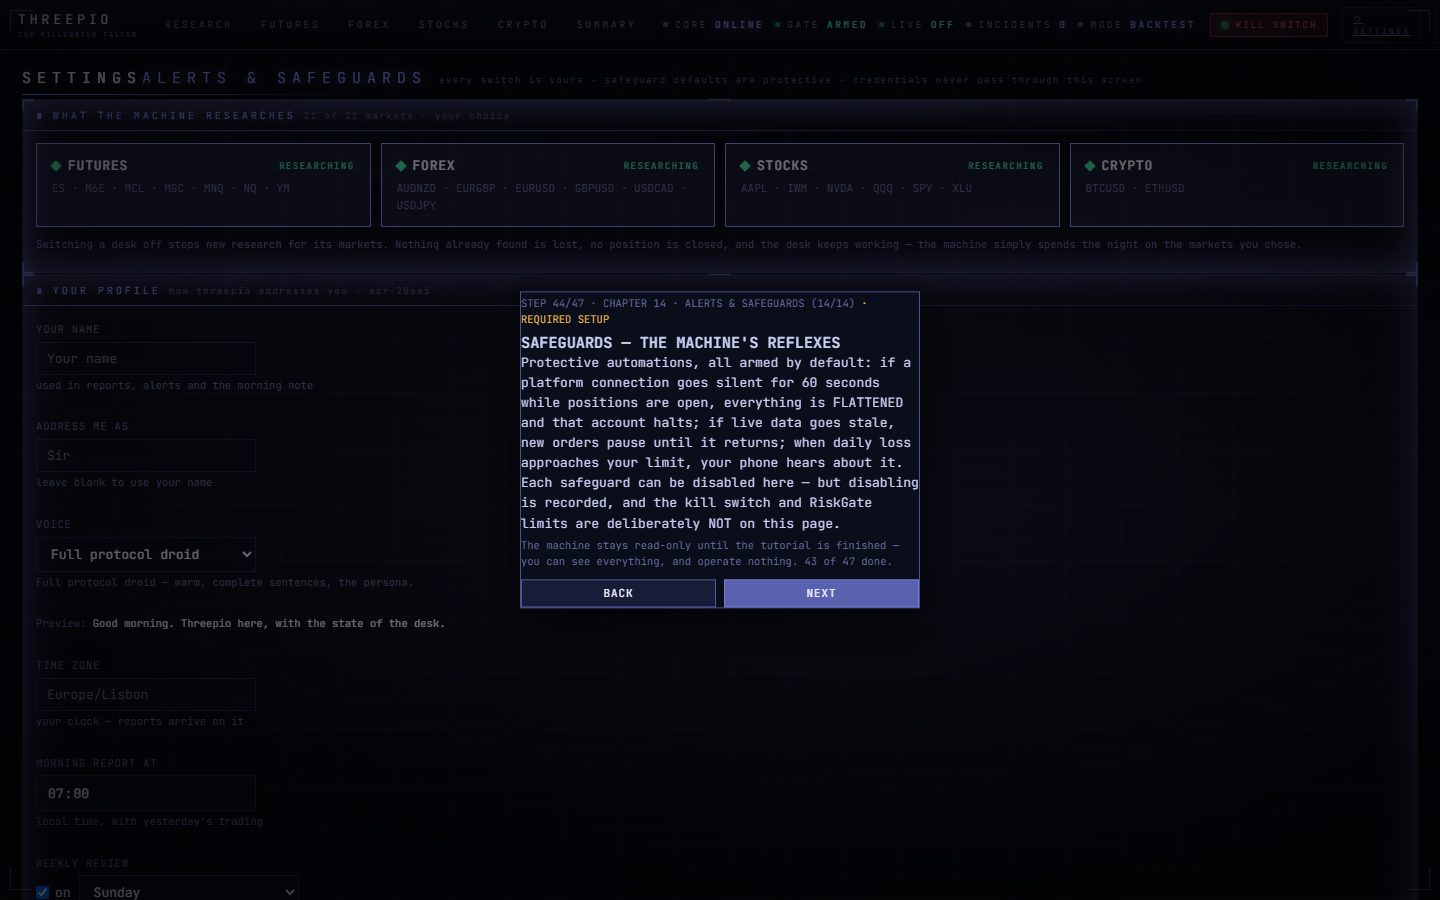
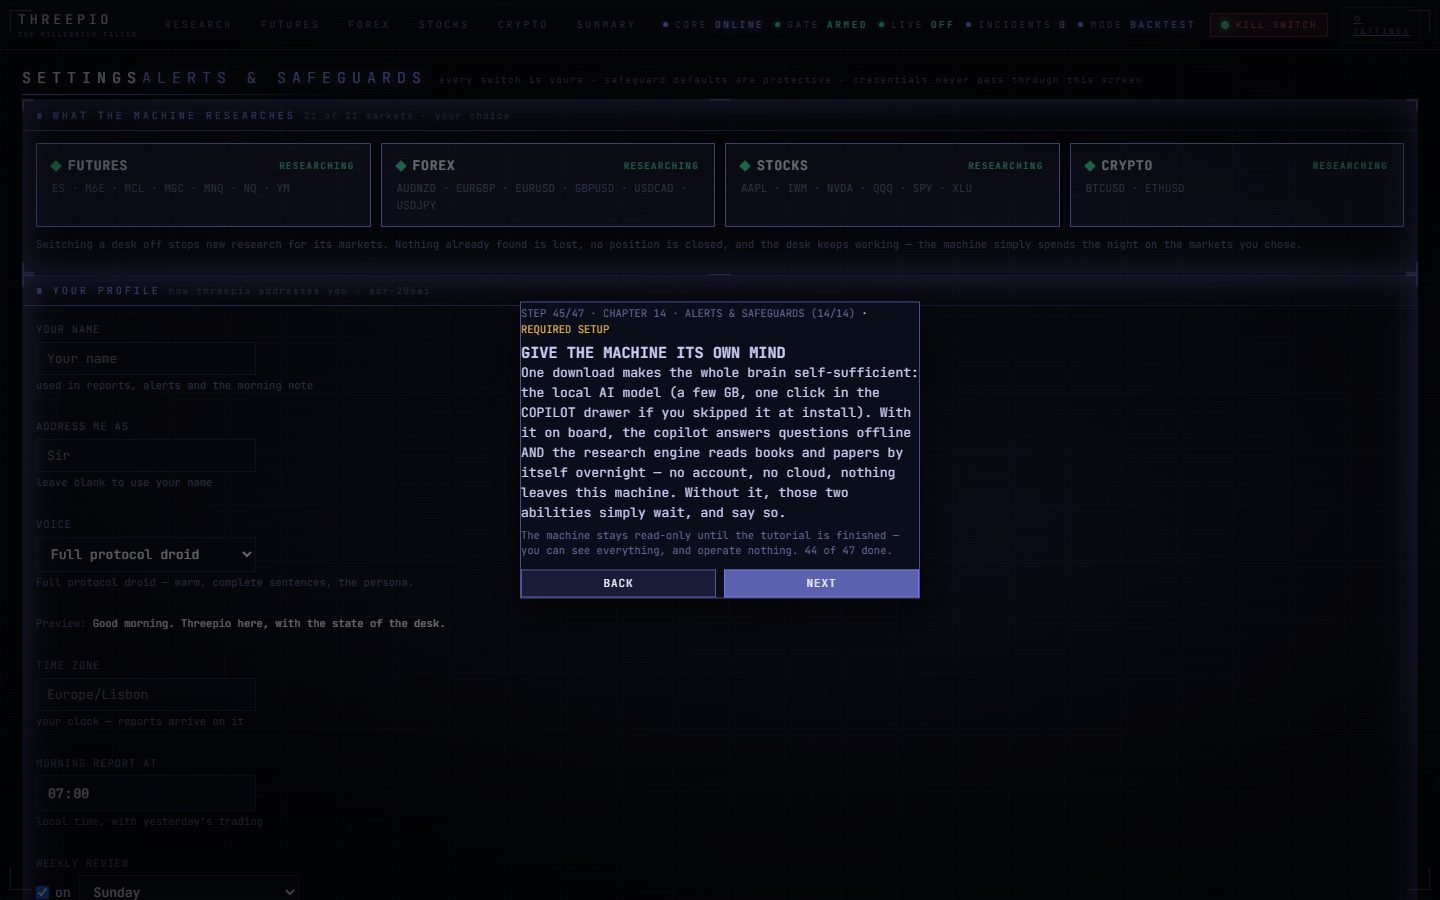
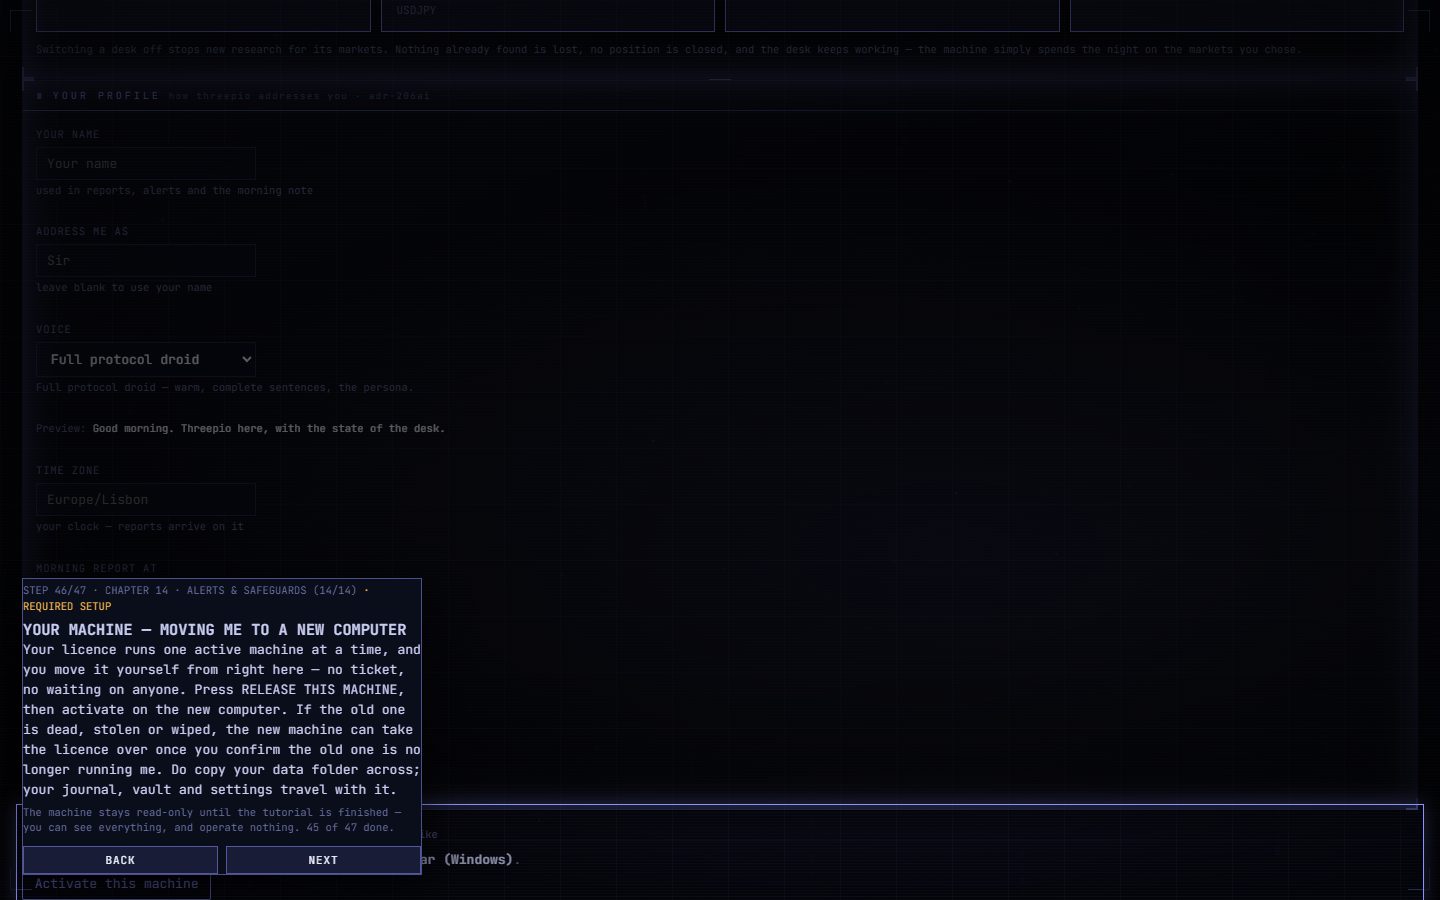
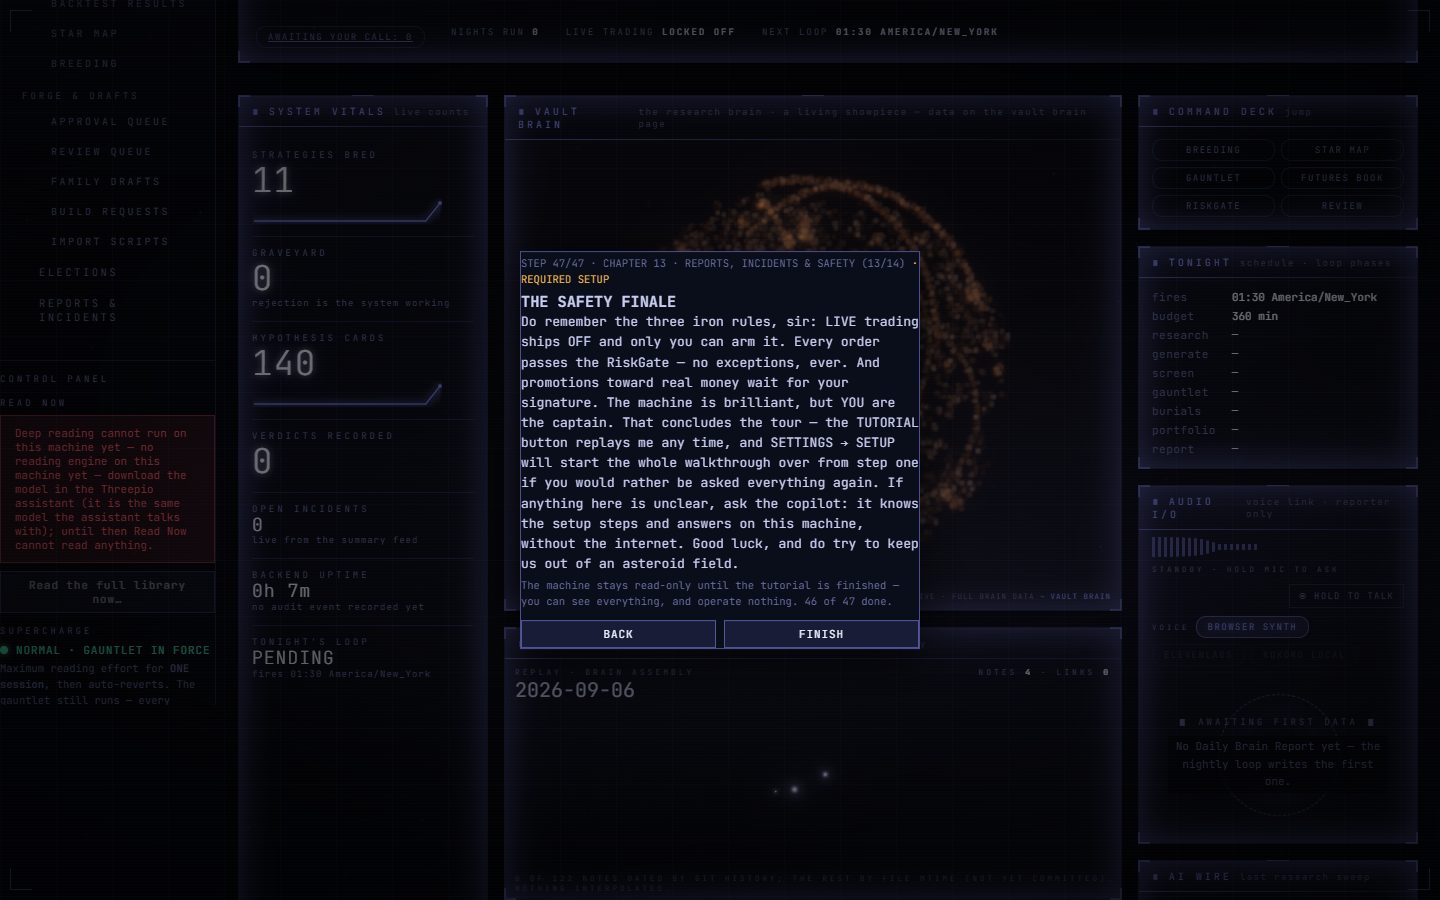
The first time Threepio opens, a guided tour starts by itself. It has 47 short cards. You read one, click NEXT, read the next. Until you have read all 47 the machine lets you look at everything and change nothing — that is deliberate, so that nobody trades with it untaught. It takes about ten minutes. The pictures below are the cards exactly as you will see them, in order, so you know what is coming.
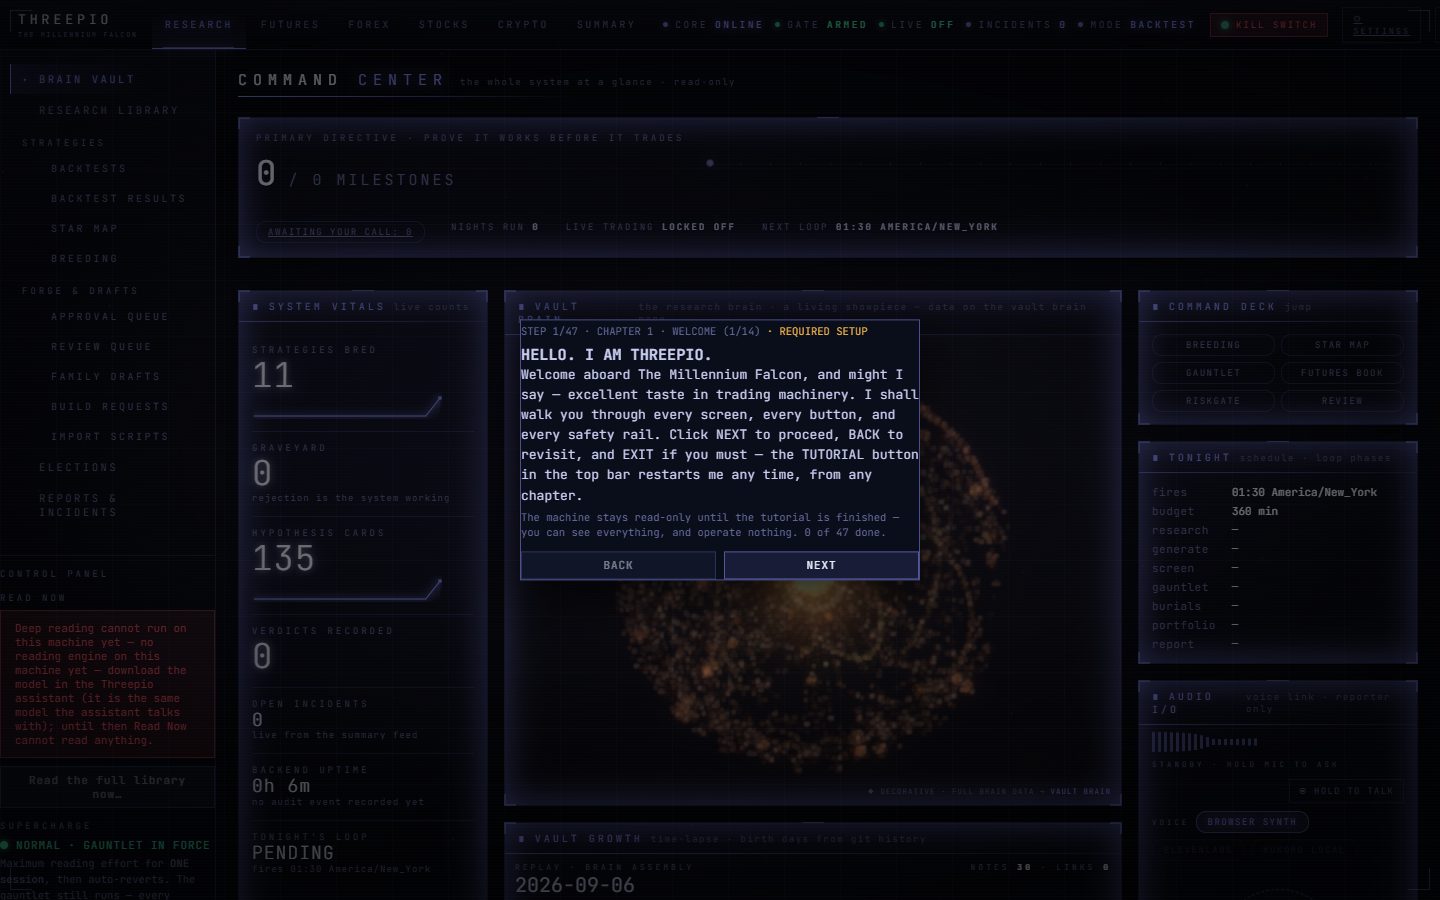
The 47 cards
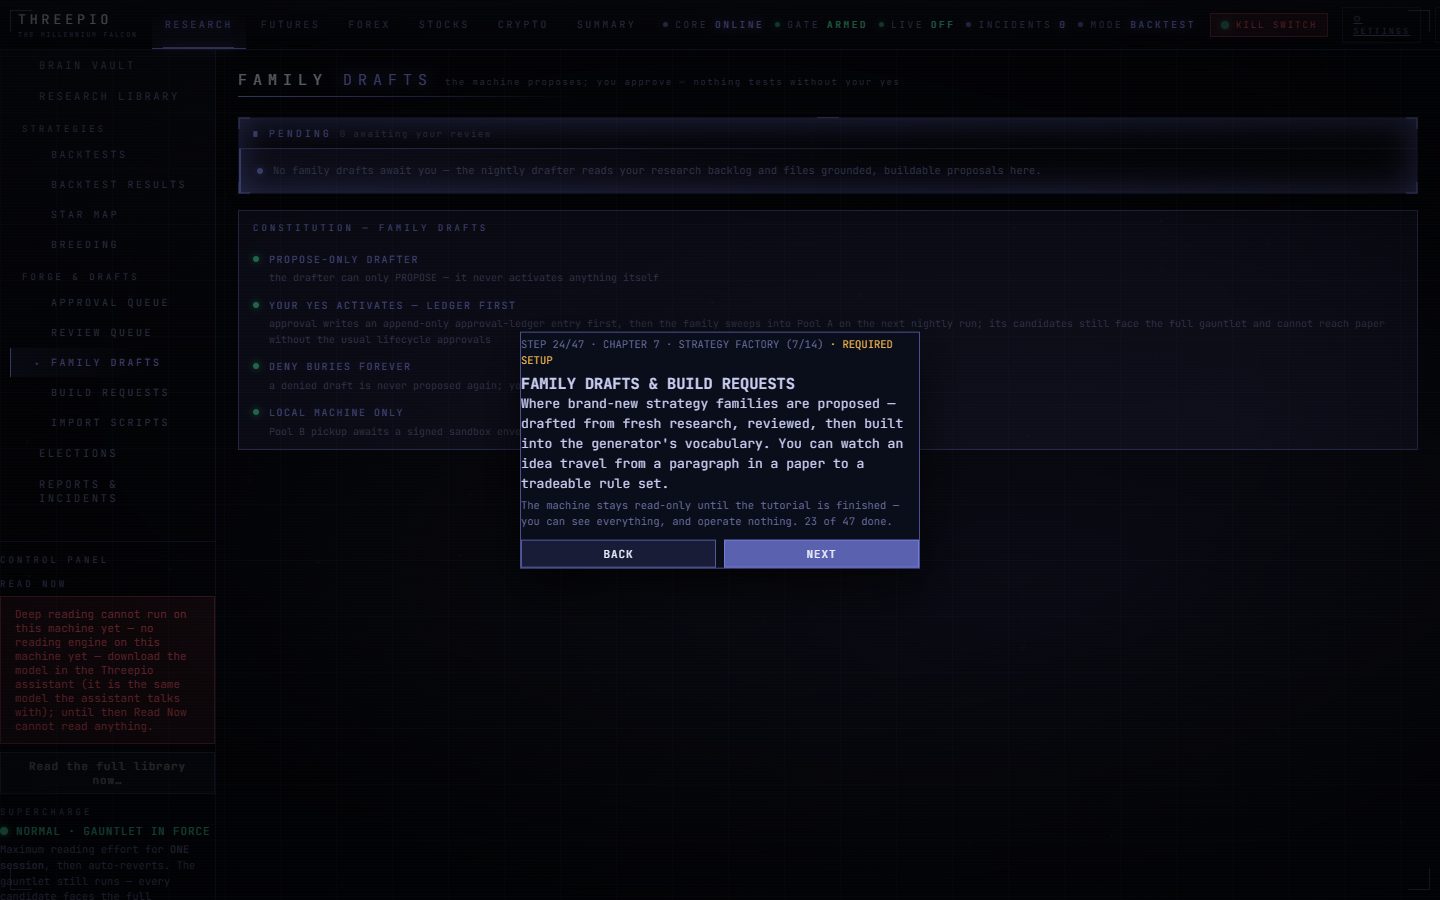
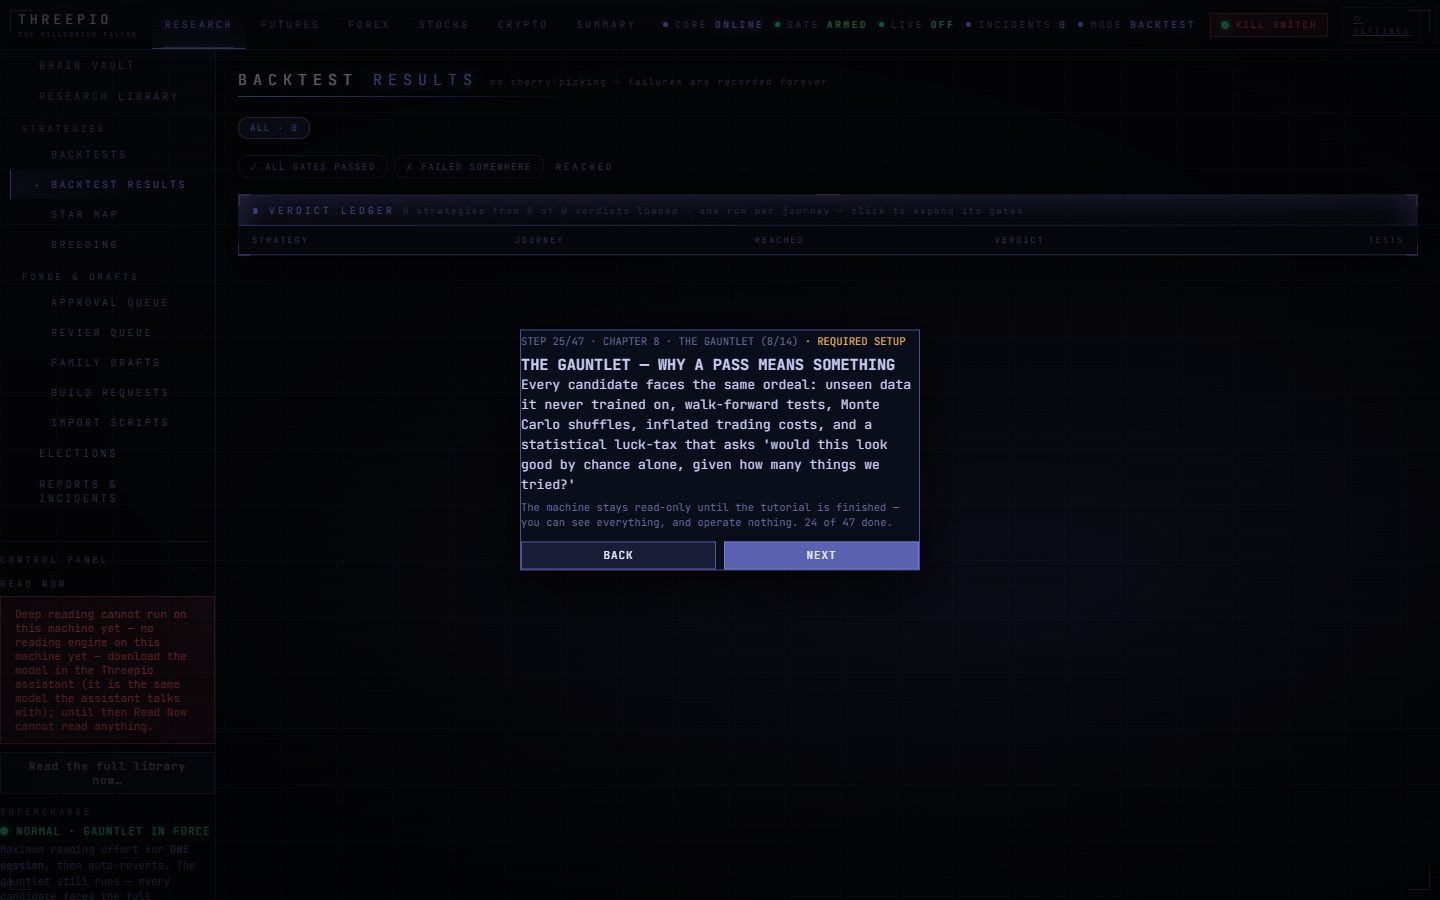
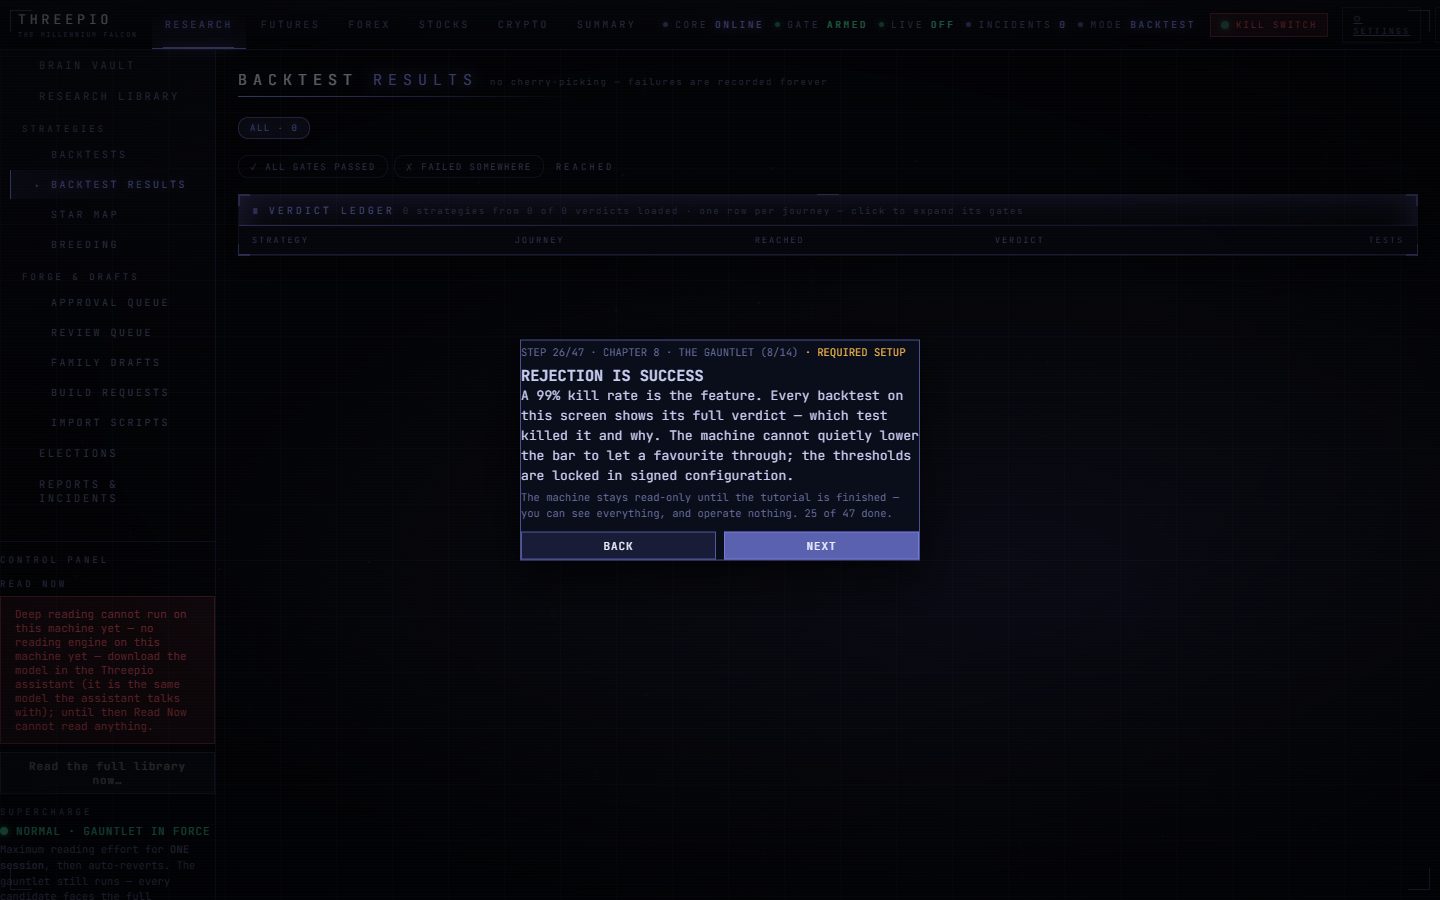
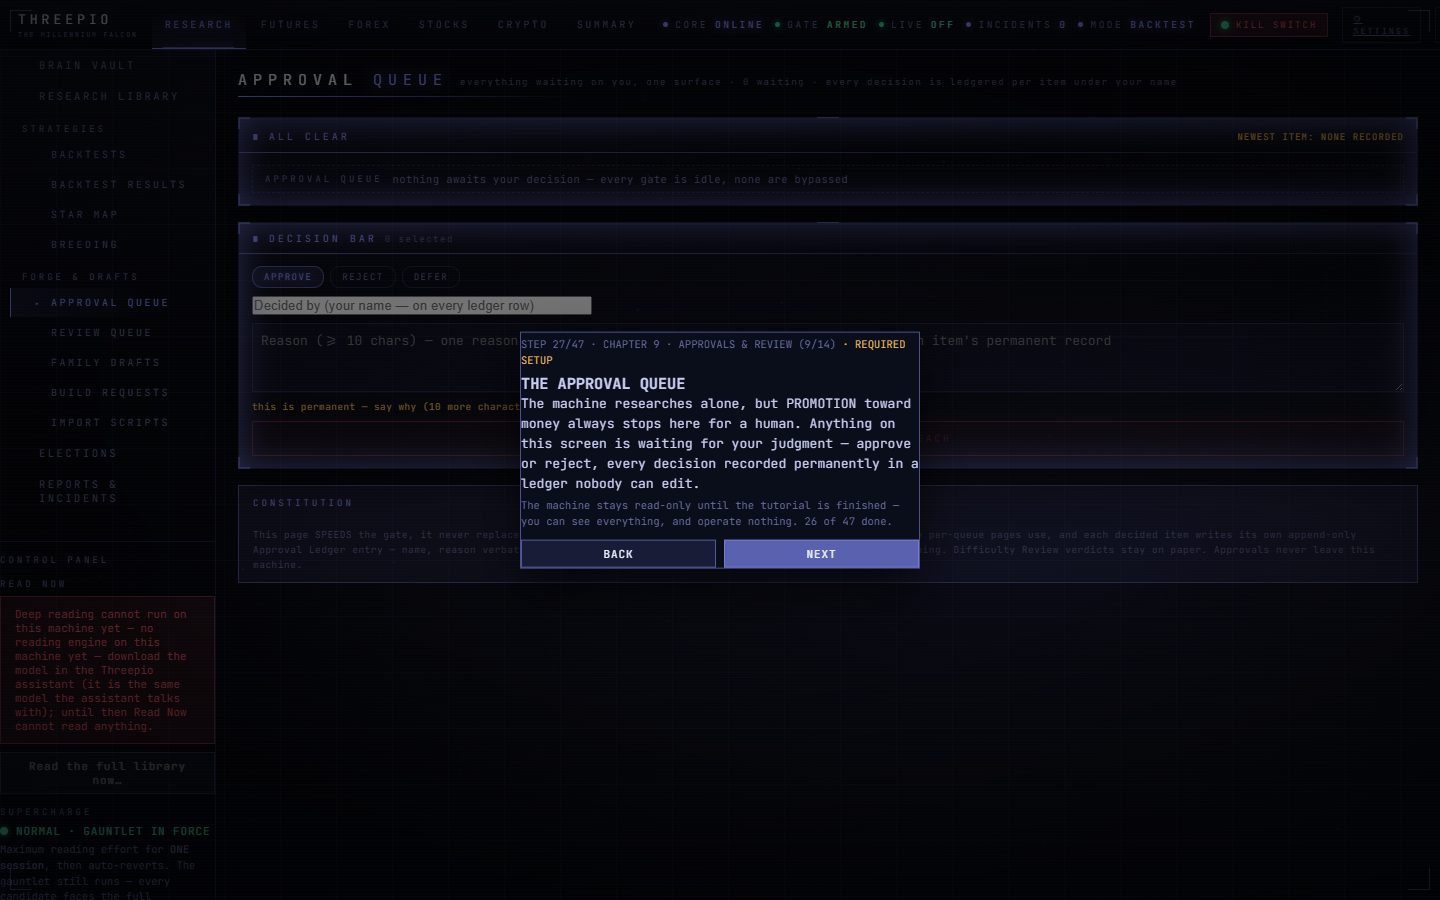
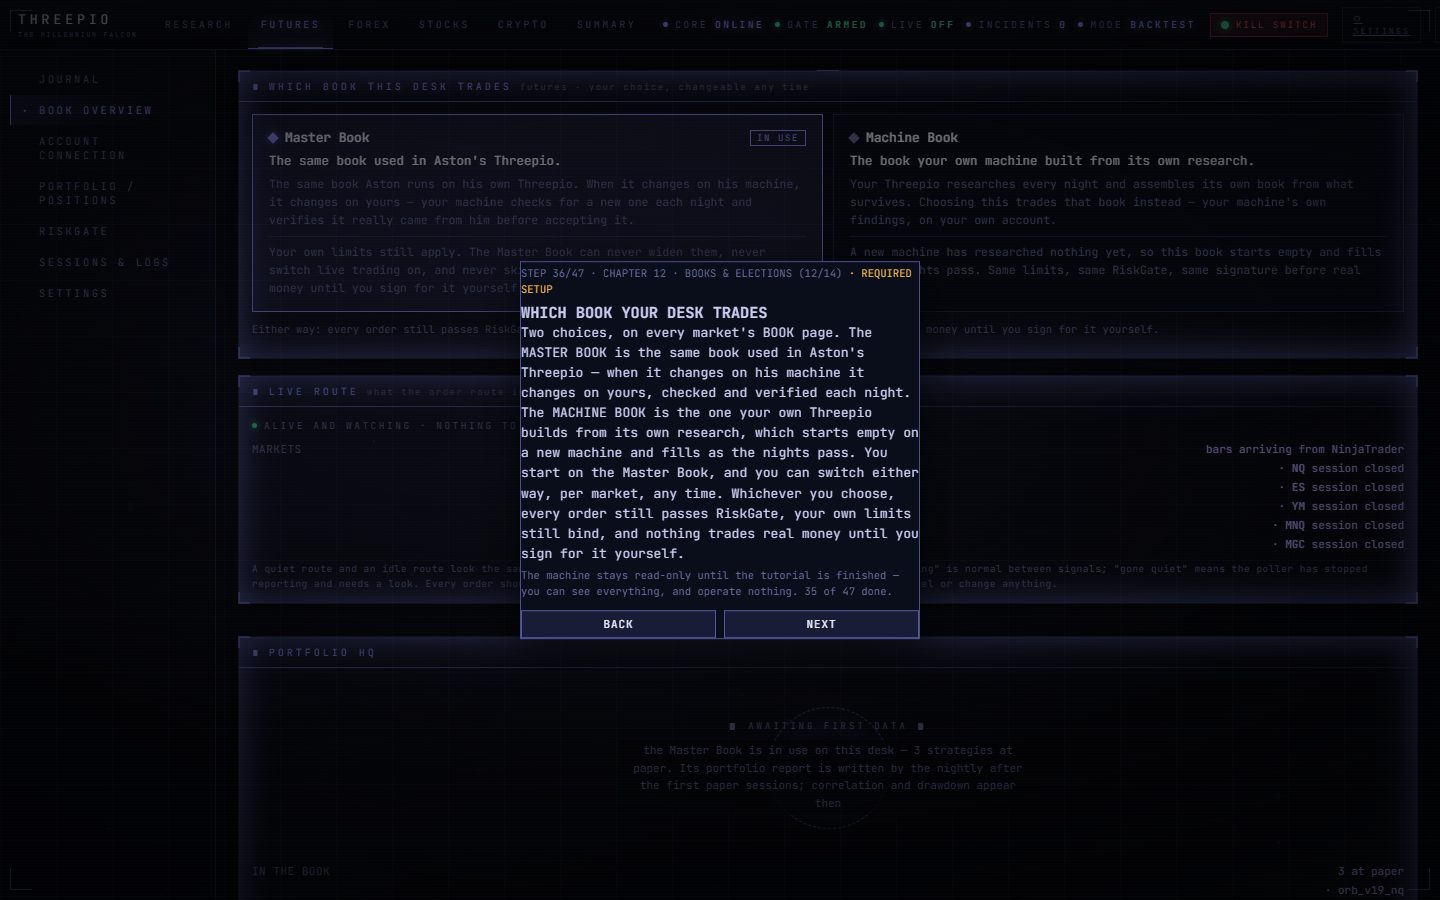
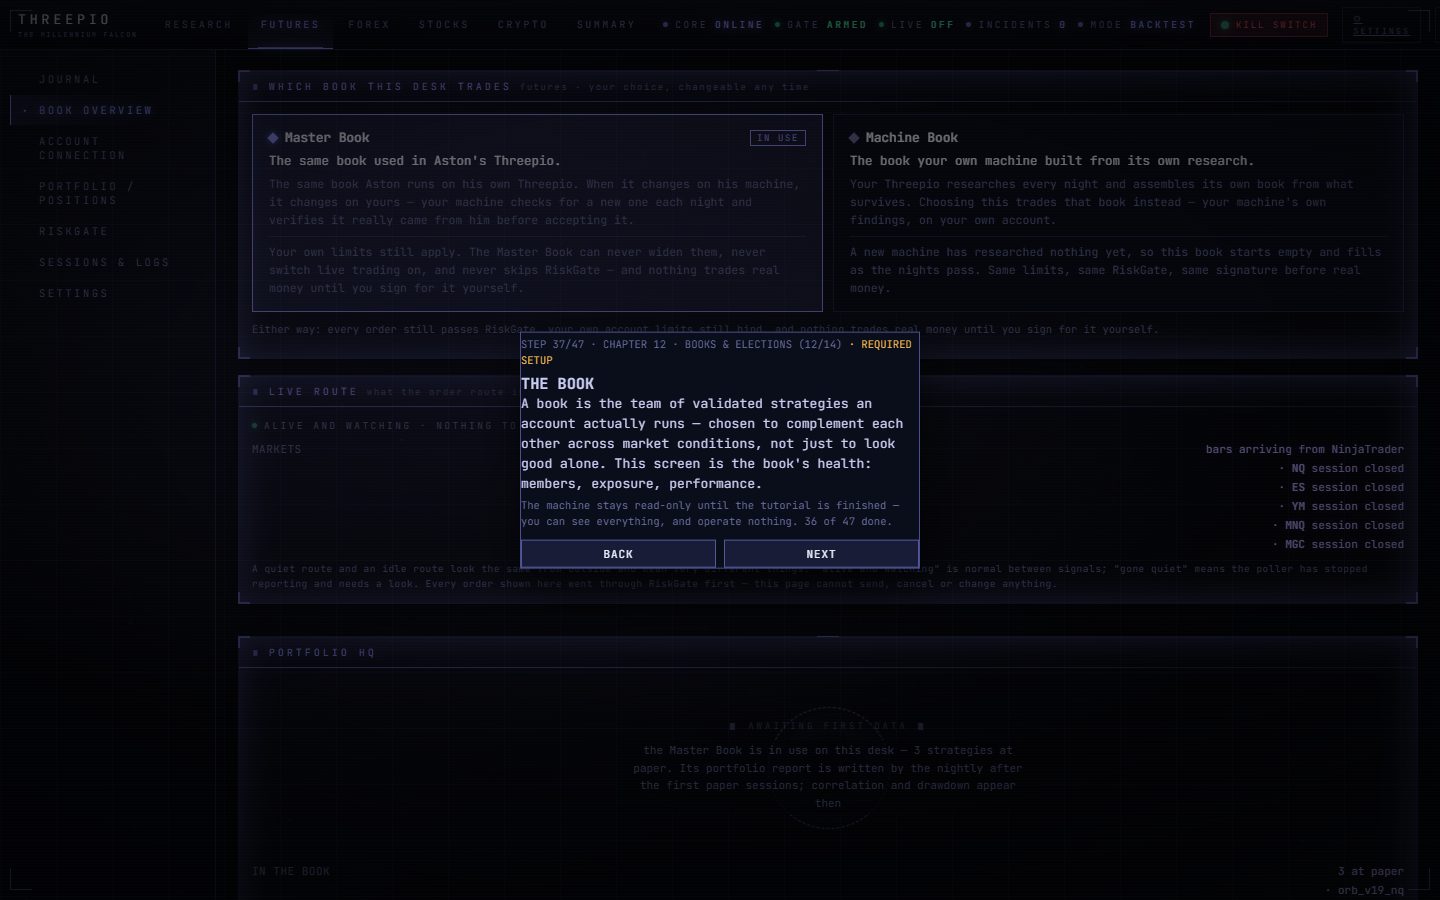
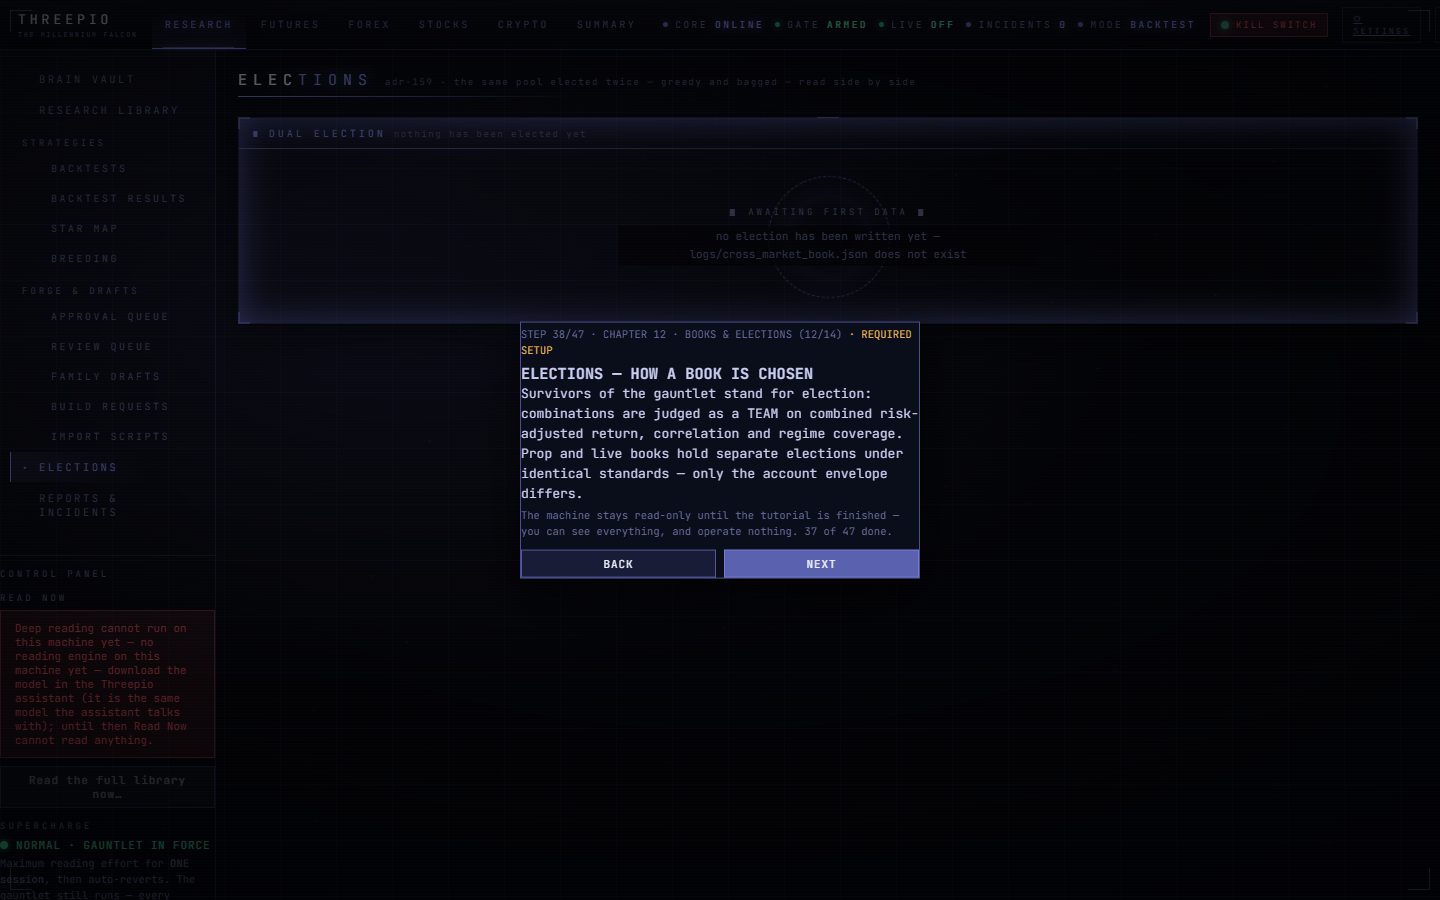
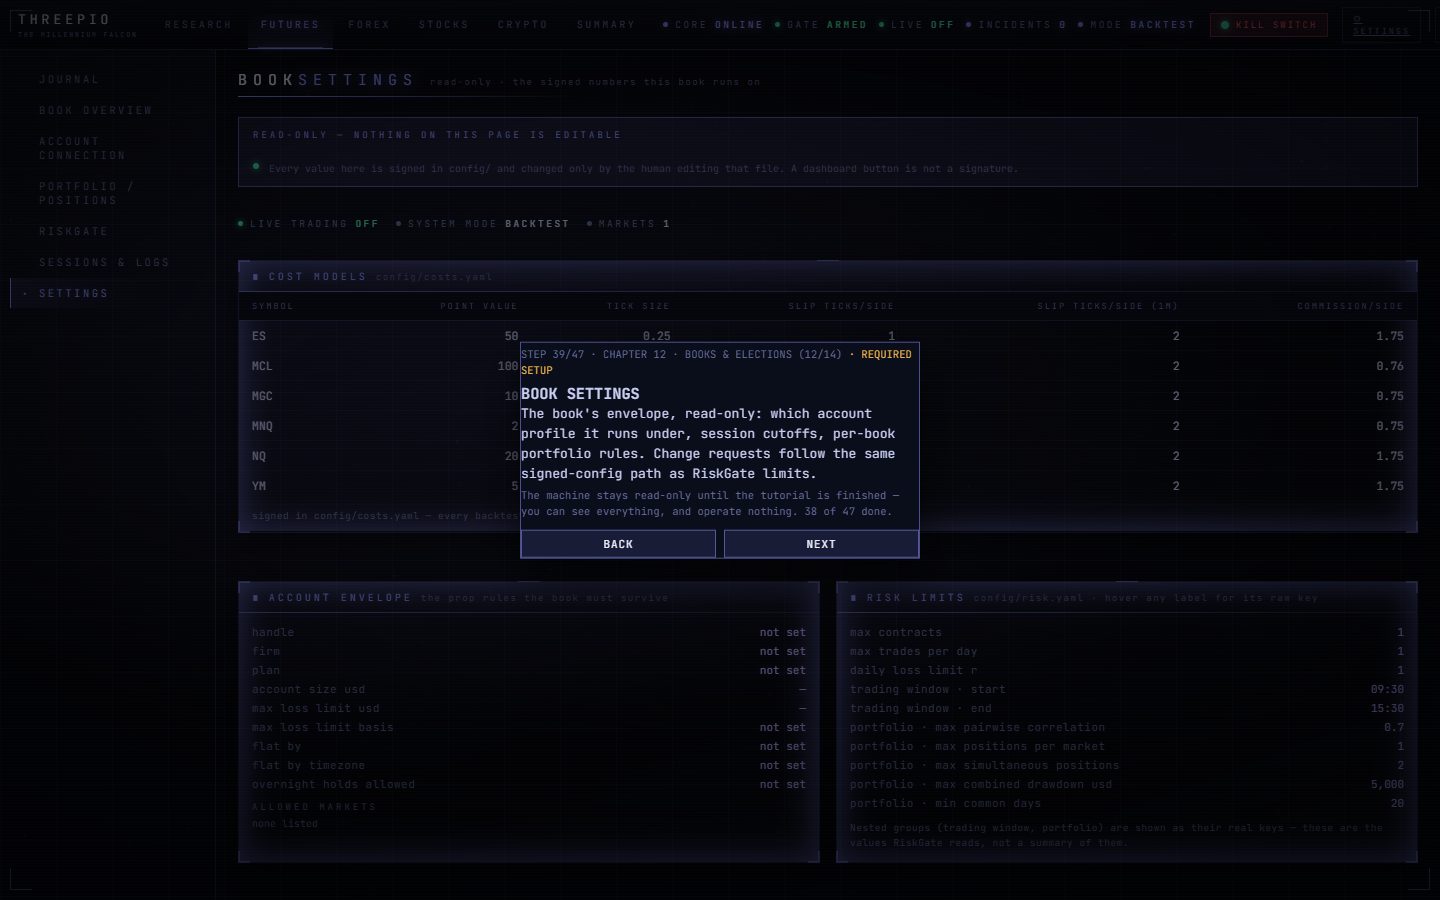
4The setup wizard (three questions)
Straight after the tutorial, and again after each update, Threepio asks the three things that decide whether anything can trade at all. It is three screens. Nothing here can turn real trading on.
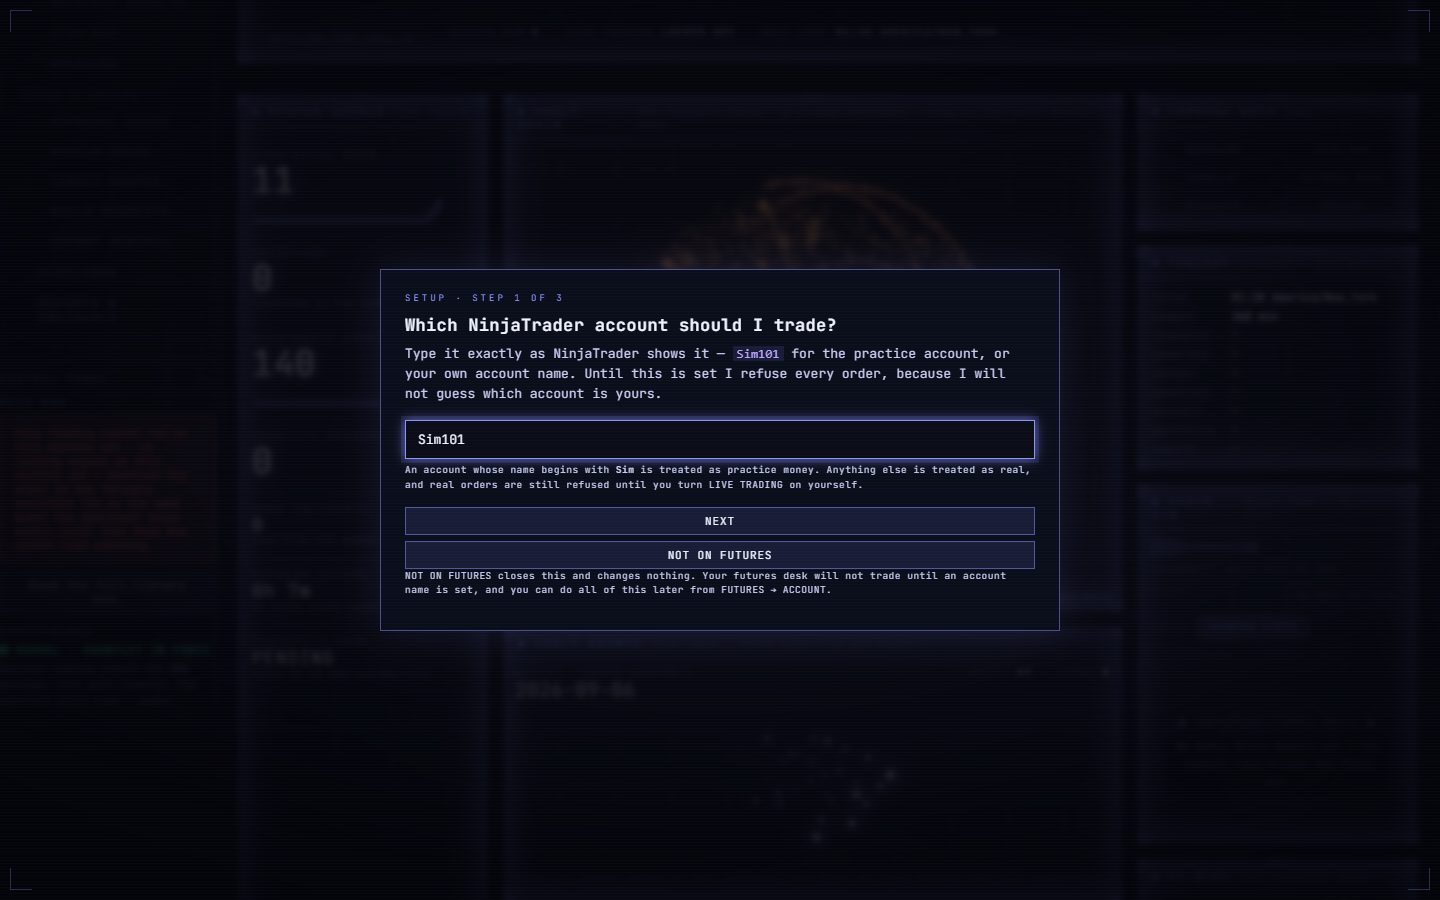
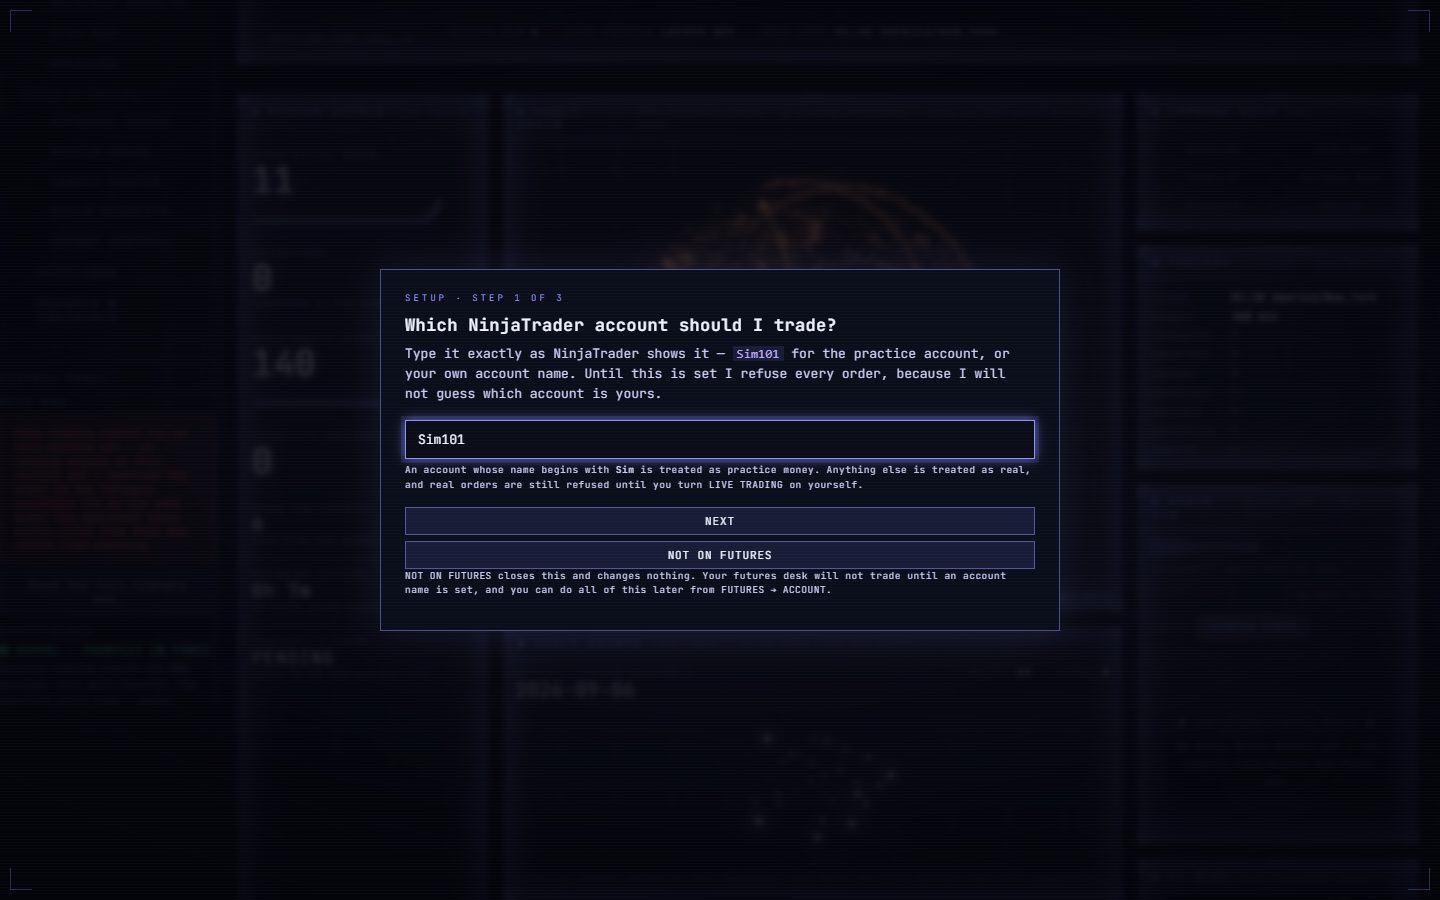
Which NinjaTrader account should I trade? Type Sim101 — NinjaTrader's free practice
account, spelled exactly like that. (If you later want it to trade a real or prop account, you come back here
and type that account's name instead.) Click NEXT.
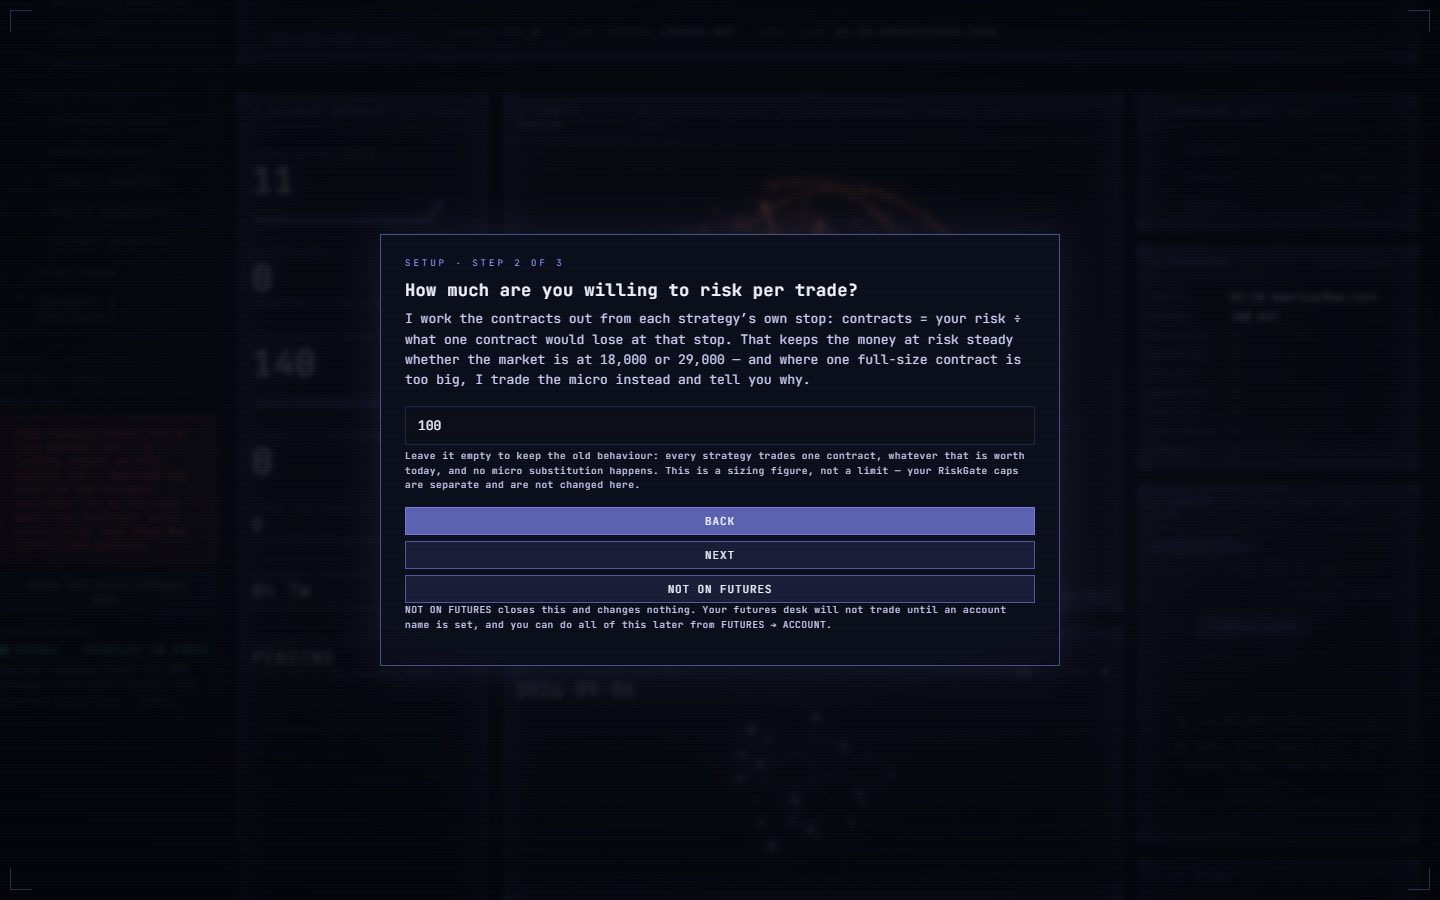
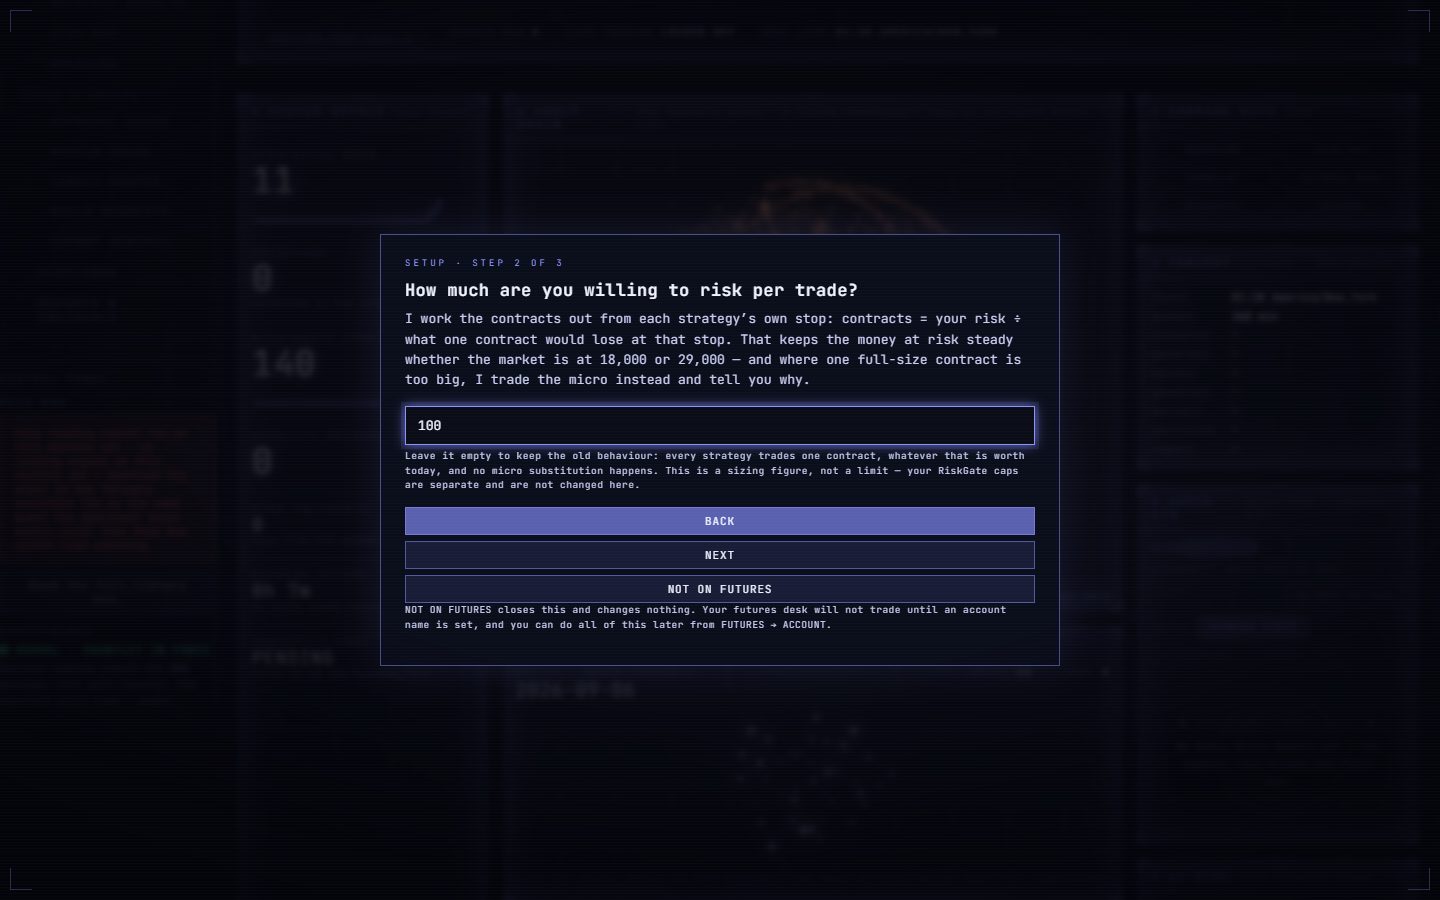
How much to risk per trade, in money. This is the most a single trade may lose if its stop is hit. Threepio works the number of contracts out from this figure every time, and drops to the smaller "micro" contract when the full-size one is too big for it. Type a figure you would be comfortable losing on one trade — on the practice account it is only practice money — and click NEXT. It is a money amount (250, or $1,250), not a percentage; if you type something it cannot read it says so under the box and will not go on.
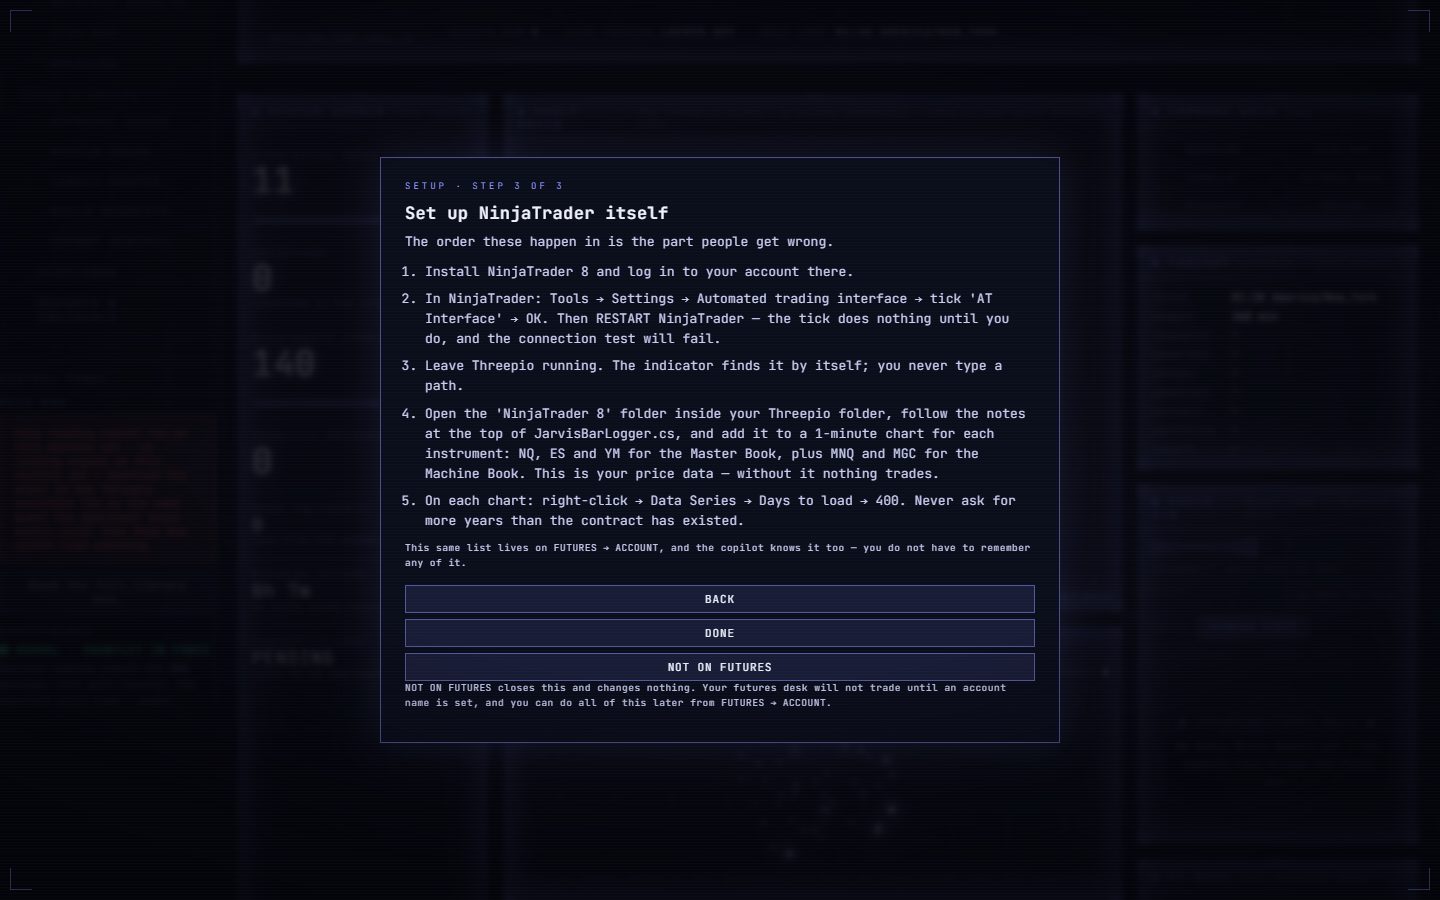
The NinjaTrader steps. The third screen lists what to do in NinjaTrader, in the right order. You do not need to do them this minute — click DONE and follow section 5 below, which is the same list with a picture of each step. The list also lives on the FUTURES → ACCOUNT screen, and the copilot knows it.
5NinjaTrader, step by step
NinjaTrader 8 is the free program that shows the market and places the orders. Threepio does two things through it: it reads prices from it (through a small add-on you paste in once), and it sends orders to it (through a setting you tick once). The order of these steps matters; do them in this order.
Install NinjaTrader 8 and log in. Download it from NinjaTrader's website, create their free account,
install, open it and log in. On the connection screen, connect to their free simulation feed if you have no
broker yet. You now have the Sim101 practice account.

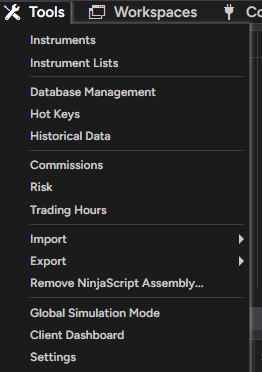
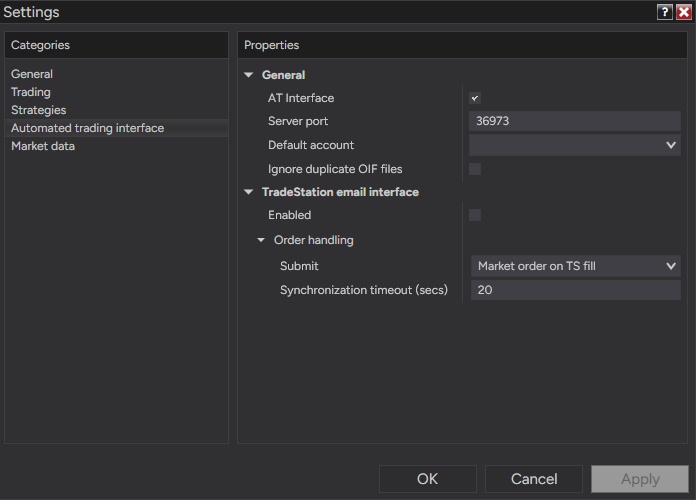
Turn on the order pipe: Tools → Options → Automated trading interface → tick "AT Interface" → OK. Then close NinjaTrader completely and open it again. The tick does nothing until NinjaTrader restarts, and Threepio's connection test fails without it. This is the step almost everyone misses.
Find the add-on file. Open your Threepio folder. It is not called Threepio on disk and Windows
search will not find it: paste %LOCALAPPDATA%\MillenniumFalcon into the address bar of any
File Explorer window and press Enter (or right-click the Millennium Falcon desktop icon and choose Open
file location). SETTINGS in the app shows the same path.
Inside it is a folder called NinjaTrader 8. It holds a file named JarvisBarLogger.cs. Open
that file in Notepad, select all, copy.
Put it into NinjaTrader. There are two ways, and the first is the one that cannot go wrong.
Easiest — drop the file in. Close NinjaTrader. Copy JarvisBarLogger.cs into
Documents\NinjaTrader 8\bin\Custom\Indicators\ — just the file, as it is. Start NinjaTrader,
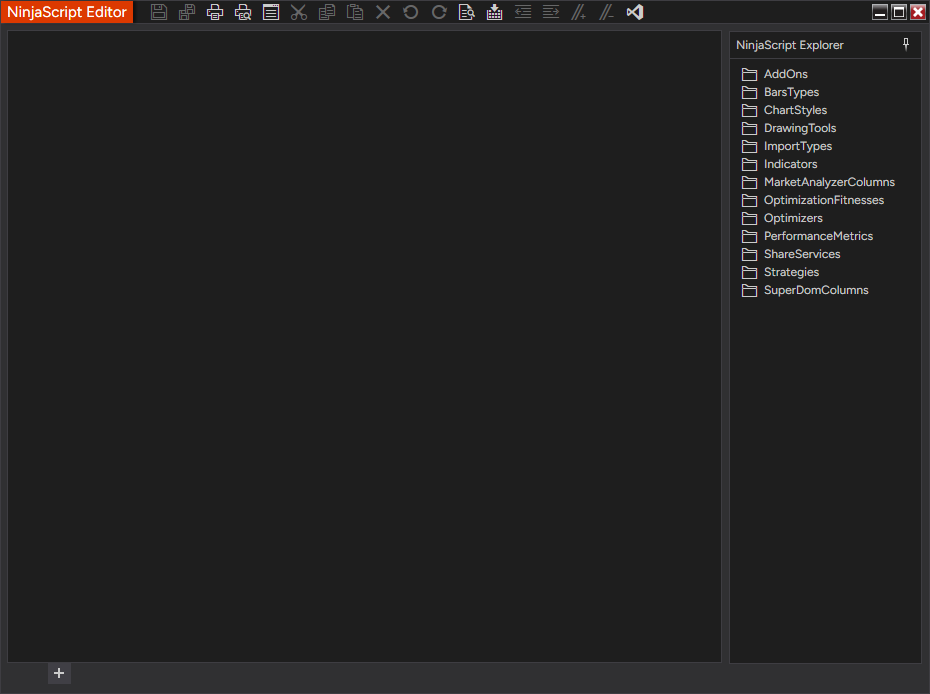
open New → NinjaScript Editor, and press F5 (compile). It builds from the file on disk, so
there is no template to clash with and nothing to select or replace.
Or paste it. New → NinjaScript Editor, right-click → New Indicator, click through the
wizard with its defaults, and when a page of code appears press Ctrl+A to select every line of it
— including the using lines at the very top — then paste over it and press F5. If you
leave those top lines in place the compile fails with errors like
The type or namespace name ‘StringBuilder’ could not be found; that is the usual cause.
Either way the bottom of the editor says it compiled with no errors. You only do this once — and again after an update that changes it (section 9).
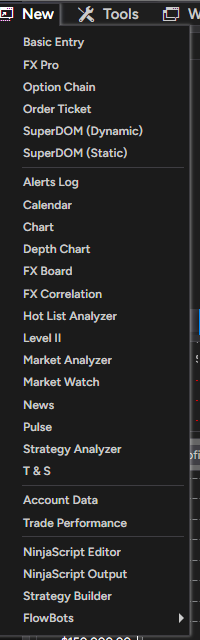
Open one chart per instrument and put the add-on on it. In NinjaTrader: New → Chart, pick the instrument, set the type to Minute and the value to 1, OK. Right-click the chart → Indicators, find JarvisBarLogger in the list, Add, OK. Do this for five instruments: NQ, ES and YM (the Master Book trades these) and MNQ and MGC (the Machine Book). Pick the current front-month contract when NinjaTrader asks.
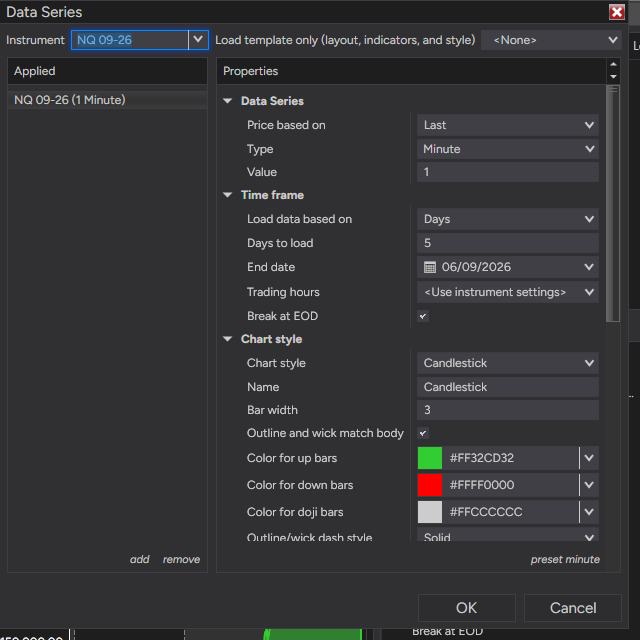
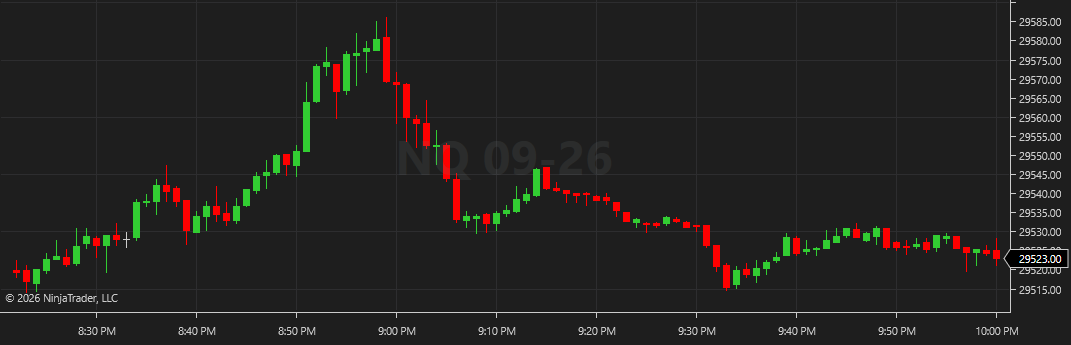
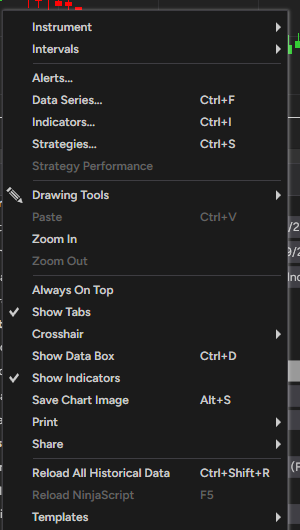
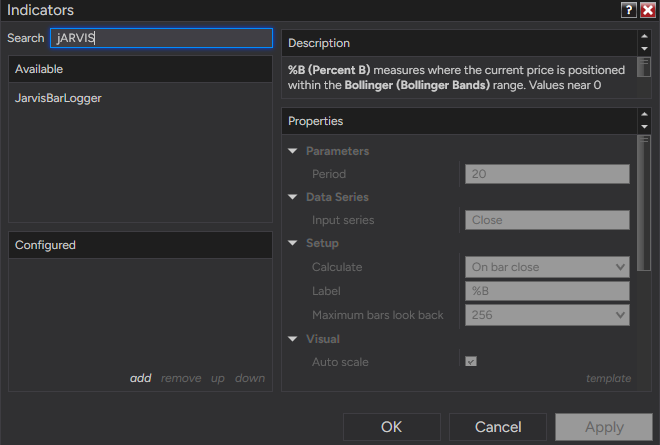
Load history on each chart. Right-click the chart → Data Series → set Days to load to 400 → OK. The add-on writes every bar the chart loads, so this hands Threepio a year of history at once. Back in Threepio, the FUTURES → ACCOUNT screen counts the sessions as they arrive.
6Connecting and testing
In Threepio, click FUTURES at the top, then ACCOUNT CONNECTION on the left. The NinjaTrader 8 card shows the state of the two links: the data feed (the add-on's bars) and the order route.
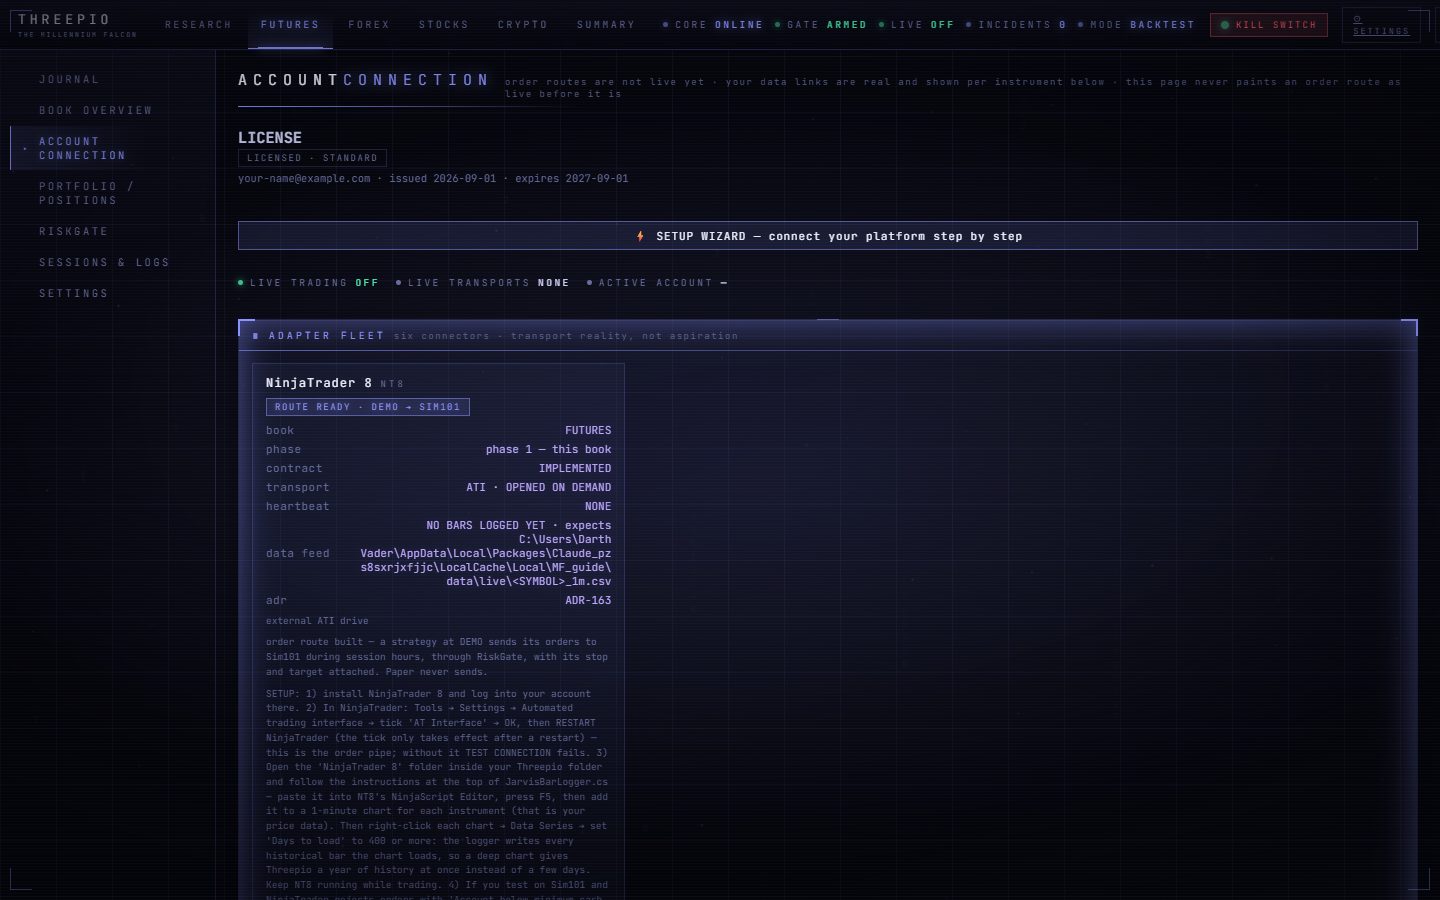
Click TEST CONNECTION. Green means NinjaTrader answered on the order pipe. If it says the interface is not answering, go back to section 5 step 2: the AT Interface tick and, above all, the restart.
Watch the sessions counter. After the add-on has been on a chart with Days to load at 400, the card shows how many trading sessions of bars it has. It climbs as NinjaTrader loads; a year of history takes a few minutes per chart.
7Your risk figure
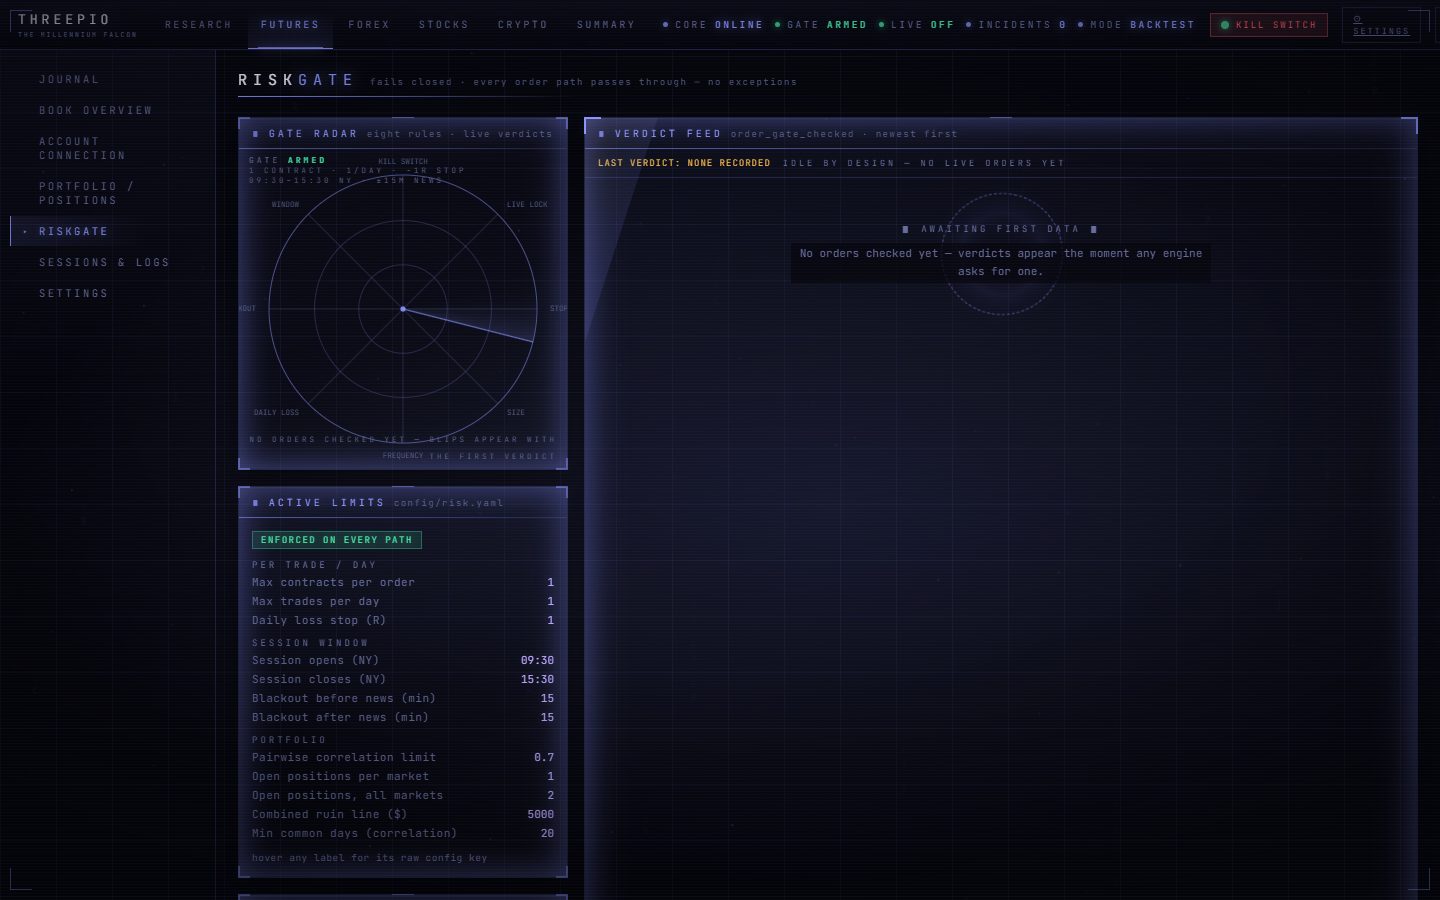
You already gave Threepio the one number it needs (section 4, step 2). The RISKGATE screen shows what stands between any strategy and an order: the risk per trade, the daily loss limit, position caps, the news blackout and the kill switch. Every order — practice or real — passes through this gate; nothing goes round it.
8Day one: what you will see
FUTURES → BOOK OVERVIEW opens with LIVE ROUTE at the top. This is what the order route is doing right now: whether NinjaTrader is answering, the state of each market's bars, and every order it refused with the reason in plain words. Below it, the book — the strategies this desk runs — and, for each one that cannot run yet, why.
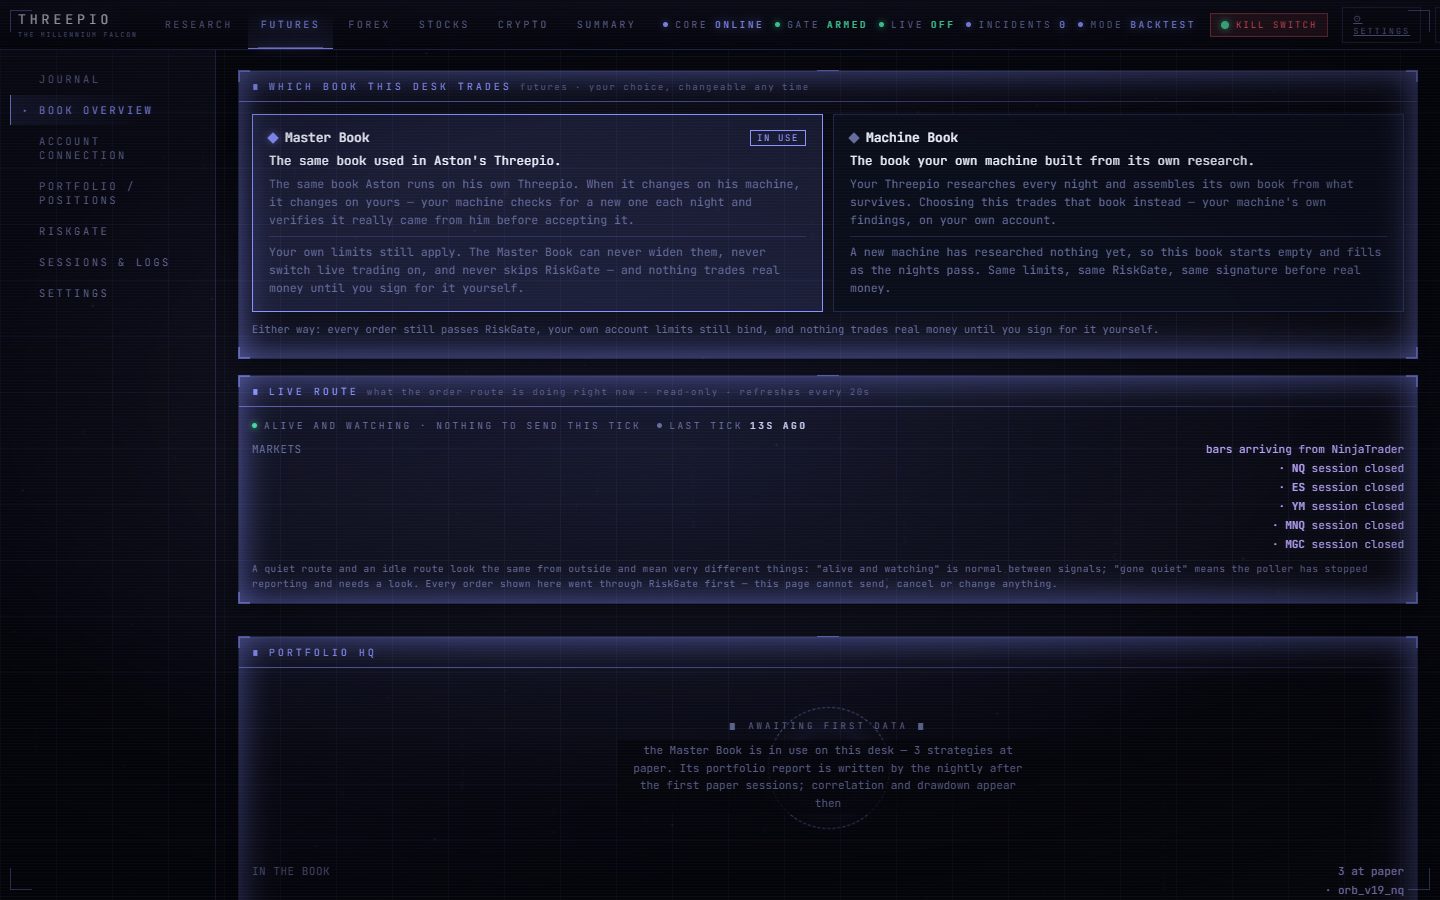
A quiet first day is normal. The strategies trade specific windows of the New York session, sit out days blocked by scheduled news, and need the bars from section 5 first. Futures do not trade at the weekend (they open Sunday 6 pm New York time). No trades is a decision the machine made, and LIVE ROUTE says which.
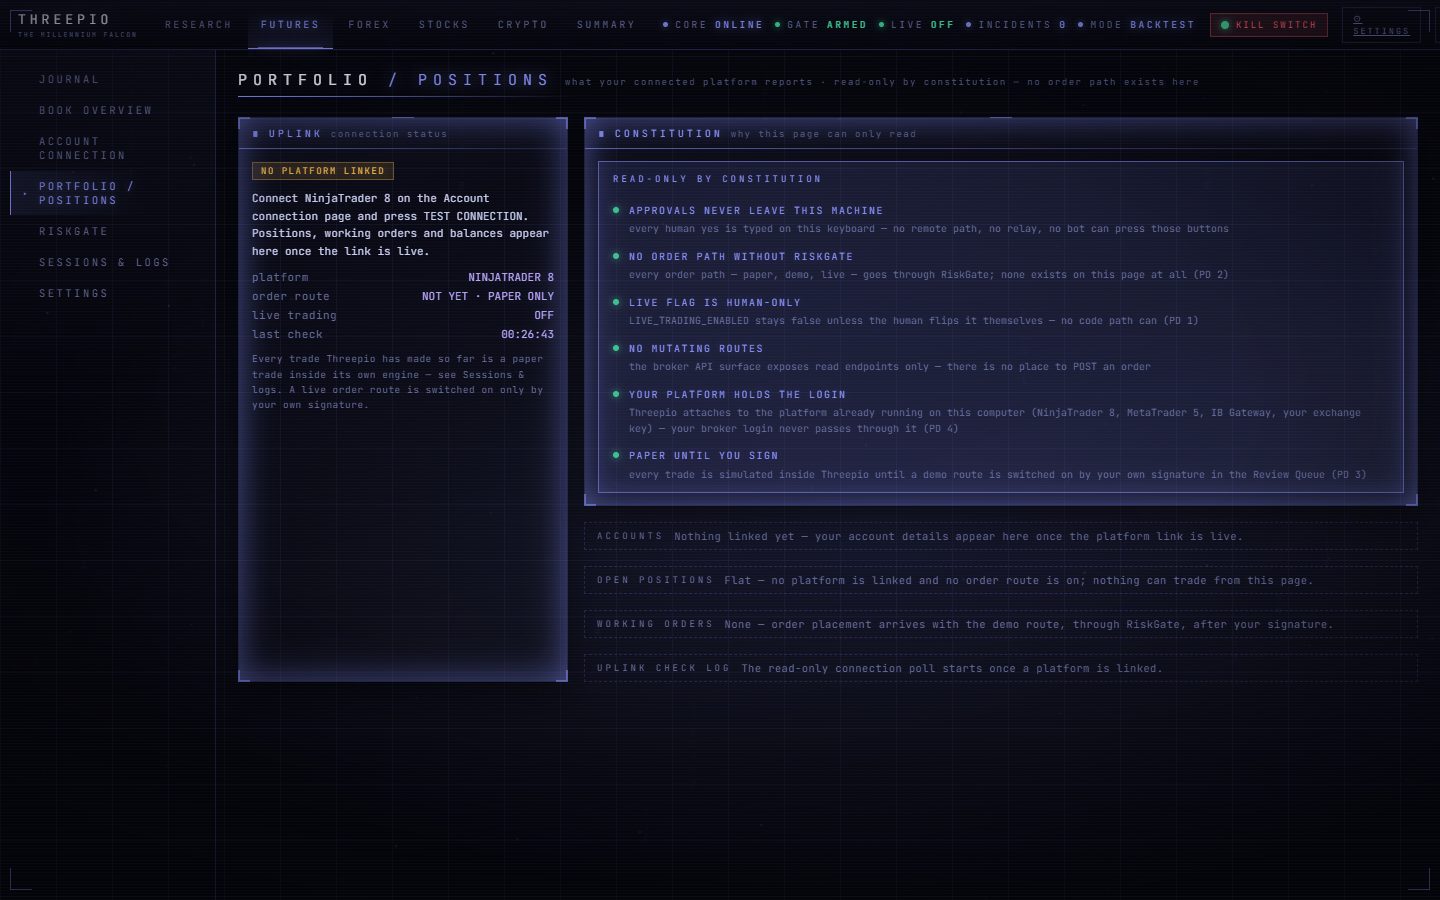
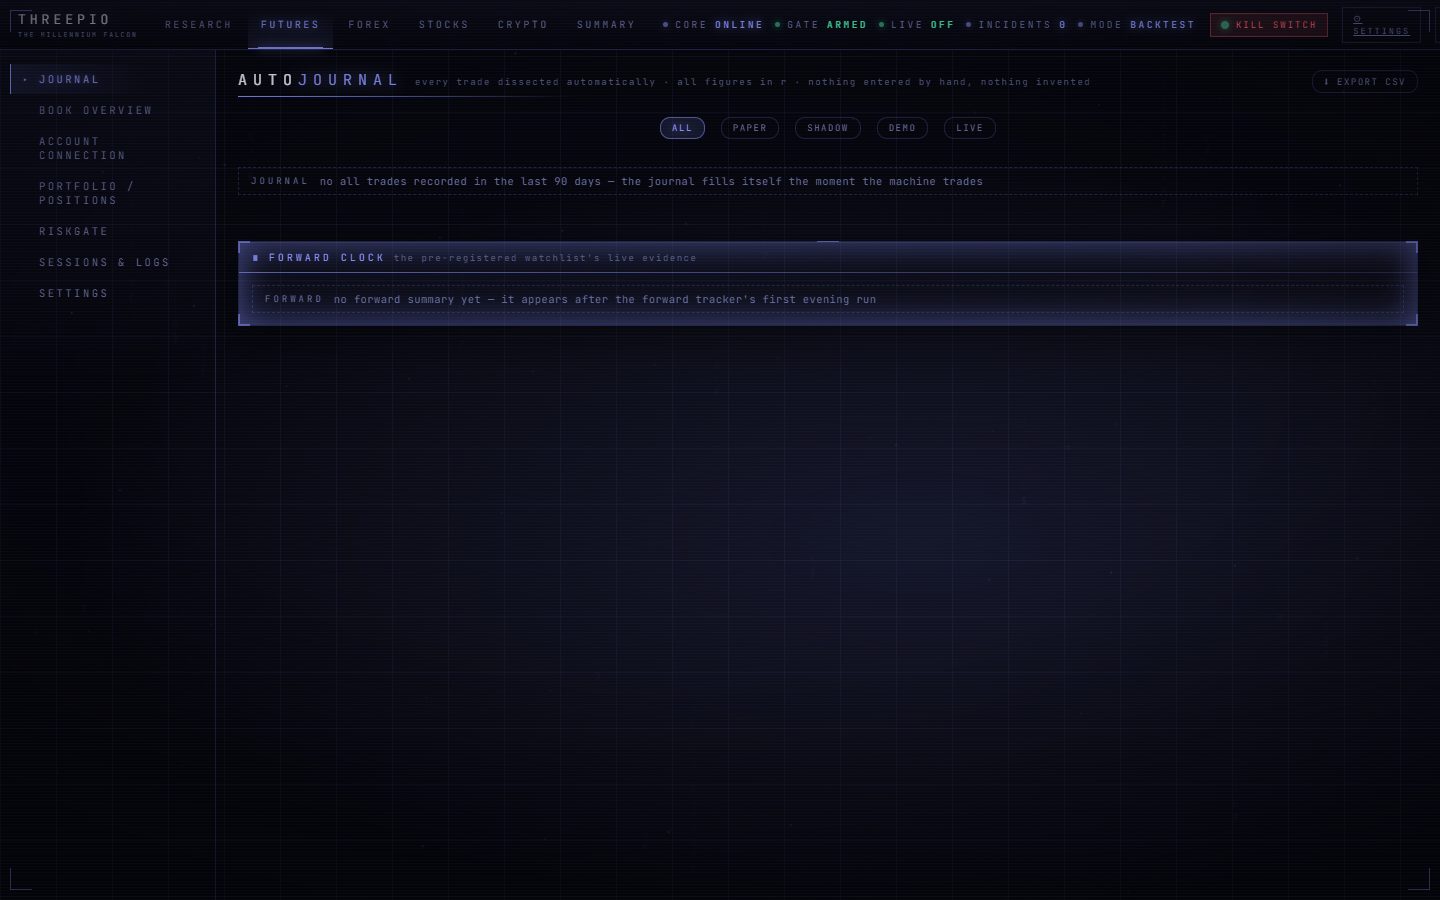
Positions, Journal, Sessions. POSITIONS mirrors the account; JOURNAL records every practice trade; SESSIONS & LOGS is the flight recorder when you want to know why it did something.
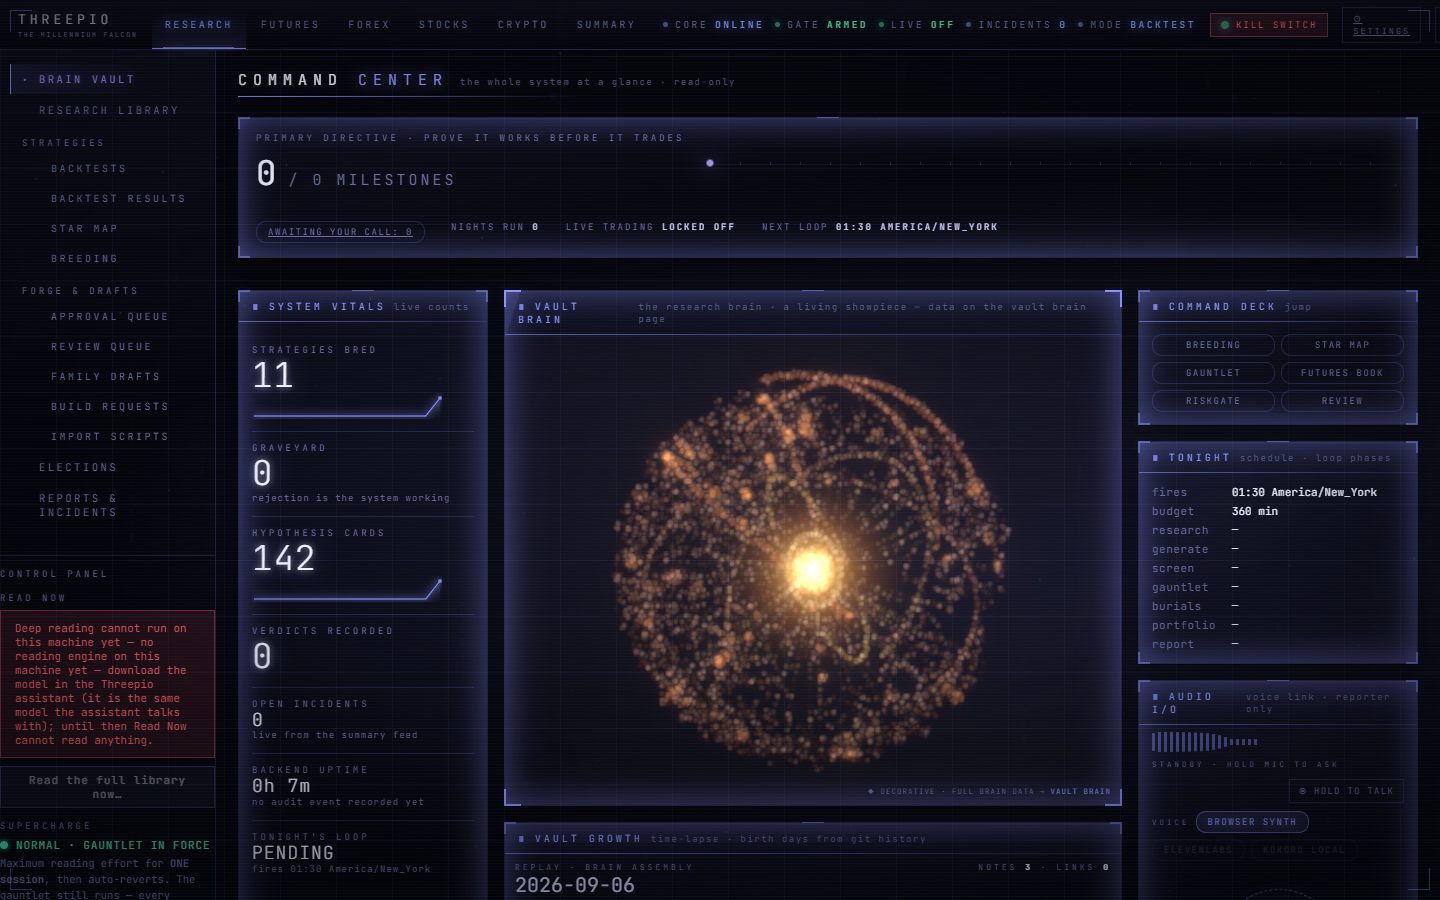
The research side runs by itself. RESEARCH → COMMAND CENTER is where the machine's overnight work shows: what it read, built, tested and killed. You do not have to touch it. If you want it to read your own PDFs, drop them into the VAULT inbox.
9Updates (and the one thing to redo after each)
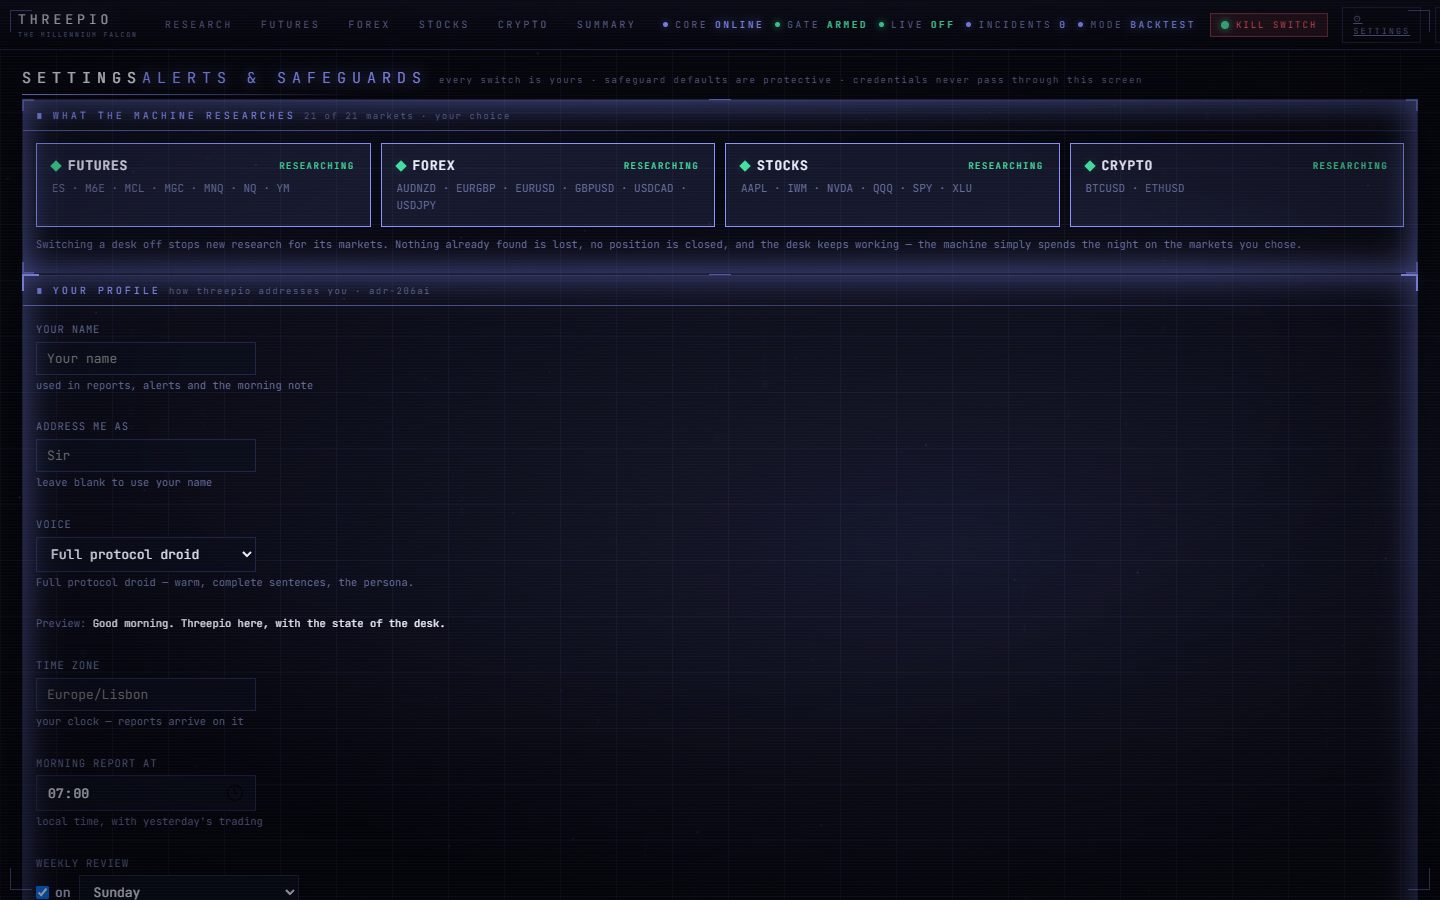
Threepio checks for a new version once a day. When there is one, an update button appears. To ask right now: SETTINGS → VERSION → CHECK NOW.
Run the new installer over the top. Same clicks as section 2. Do not uninstall first, and do not work through versions one at a time — the newest one contains everything.
If the release notes say the add-on changed, paste it again. The add-on lives inside NinjaTrader, so
an update to Threepio cannot touch it. Open the new JarvisBarLogger.cs from the NinjaTrader 8
folder, paste it over the old one in the NinjaScript Editor, press F5, then right-click each chart →
Reload All Historical Data.
If the window looks like the old version afterwards — errors about a "dynamically imported module", or the tutorial saying it is one card short — click inside the Threepio window and press Ctrl+F5 once. Recent versions do this by themselves.
10Run the ORB inside NinjaTrader — this is what trades
The Master Book's three ORB strategies also exist as one NinjaTrader Strategy file,
ORBV19Multi_Threepio.cs, in the same NinjaTrader 8 folder. It runs inside NinjaTrader but asks
Threepio's RiskGate before every entry and trades only on a yes, so Threepio must be running. It is optional —
Threepio trades the same strategies through the normal route without it.
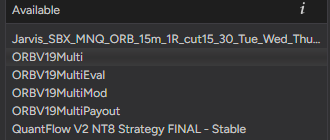
Paste it like the add-on, but as a Strategy. New → NinjaScript Editor → right-click → New Strategy, defaults, paste over the code, F5. It appears under Strategies, not Indicators.
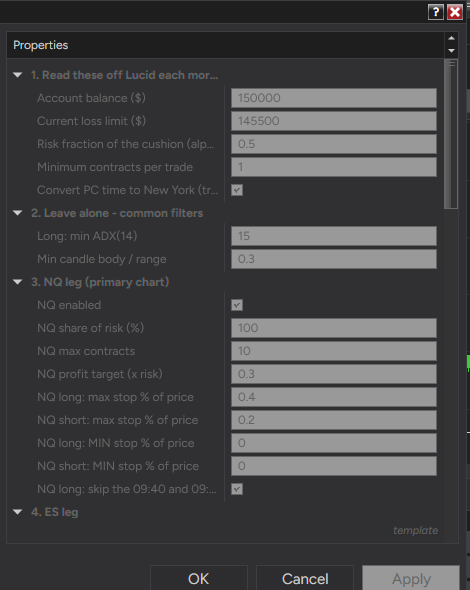
Add it to an NQ 5-minute chart. Right-click the chart → Strategies → add it. In its inputs set
the front-month names for NQ, ES and YM, leave Ask Threepio's RiskGate on, choose the account
(Sim101 to practise), tick Enabled, OK. That one instance trades all three legs from the one
chart. Strategy Analyzer backtests never ask the gate. The three legs carry no daily trade limit: they take every signal their rules produce, and RiskGate still checks each one.
11If something looks wrong
The FAQ has the short answers, the docs have the troubleshooting list, and the copilot inside the app (the drawer at the right edge) knows every step on this page and answers on your machine. In the Discord, say what you see on screen — a screenshot is worth more than a description — and it gets looked at.
Nothing is trading, not even on Sim101
Check in this order: NinjaTrader open and logged in; AT Interface ticked and NinjaTrader restarted; the add-on on each 1-minute chart with Days to load at 400; the account name set (section 4); the market open (weekdays, New York session). LIVE ROUTE on the BOOK screen names the one that is missing.
TEST CONNECTION fails
Nine times out of ten: the restart after ticking AT Interface. Close NinjaTrader completely, open it, log in, test again.
The sessions counter is stuck
Set Days to load to 400 on the chart (section 5, step 6). If you set it after the first load and the counter did not move, paste the newest add-on (section 9, step 3) and Reload All Historical Data.